Teapots, part one
I've had a cold that seems determined to stay squarely in my throat for the past couple of weeks. While this is all sorts of annoying, especially the first week when it made my throat so sore I could hardly swallow (yes, I was cultured, no it wasn't strep), it has forced me to reacquaint myself with tea.
I am generally a coffee drinker, but I can't drink coffee - usually not even decaf - after noon or I don't sleep well. With this cold, I needed something hot to drink in the afternoons that wasn't cocoa, which is usually far too sweet. I am what could only be described as an occassional tea drinker, but I do appreciate good teas. What's more, I'm also an occassional potter and as such, have made a couple of teapots on my time, some as gifts, but two that I've kept.
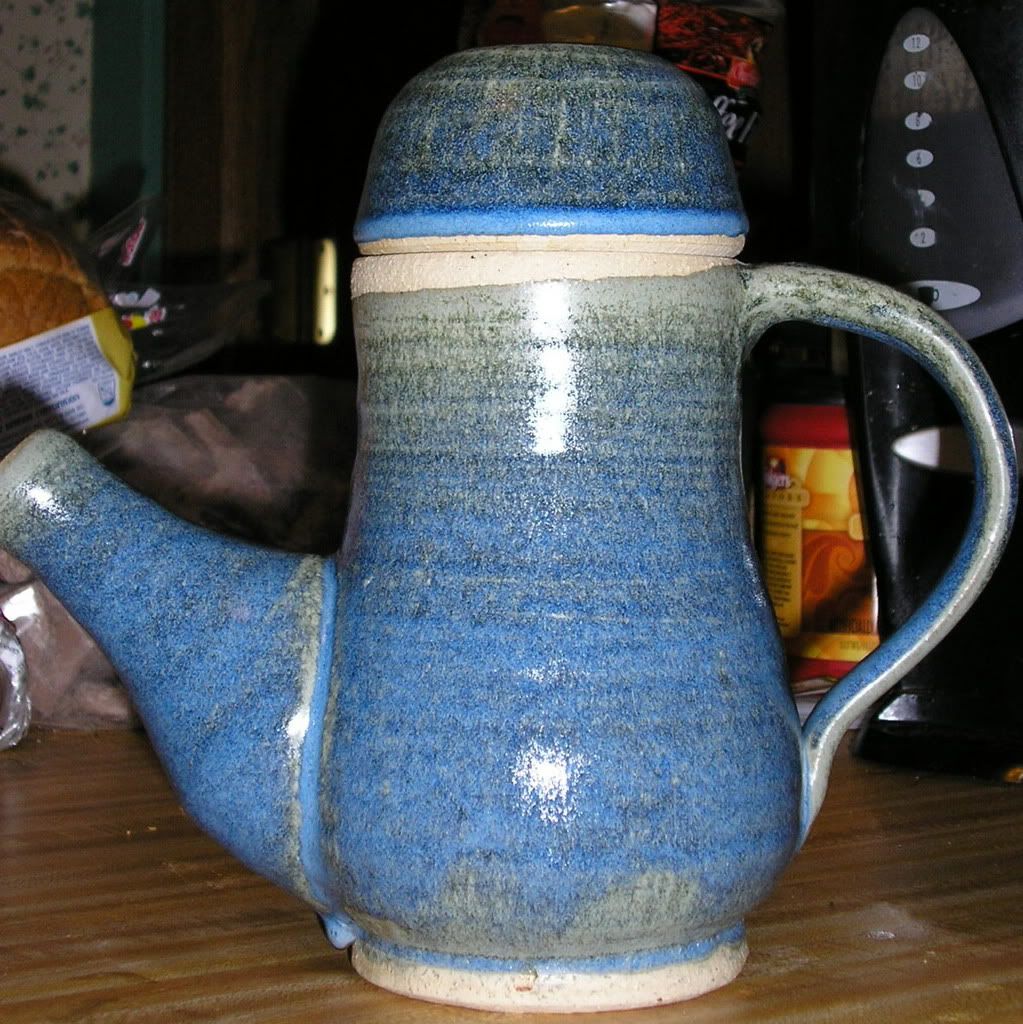
This is the larger of the two and one of the pieces I'm proudest of.
A couple of general comments on teapot construction to start with. First, teapots are generally heavy and somewhat thicker than other pieces. This is so that they hold in the heat a little longer. A tea cozy will also help with this, but I've never been motivated to make one.
Second, they're typically thrown on a wheel in three pieces - the main body, the spout, and the lid - with a pulled handle attached at the leatherhard stage. Putting together the pieces can be tricky, so usually when throwing a teapot, it's recommended that you throw at least one main body and matching lid, but two or three potential spouts. When you put the teapot together, you identify where you want to attach the spout to the main body and then cut the appropriate slant out of the spout so that it matches the point of the body where it needs to attach. This is not necessarily as easy as it sounds, which is why you usually throw more than one spout. When you have the spout ready, you outline it on the main body and then carve holes out of the main body where the inside of the spout will be so the tea will pour through. You can just carve out the whole spout area, but I usually carve out smaller drain holes so that I can leave the tea bag in the pot and not worry about it getting stuck in the spout.
Third, it's important to remember physics. Because the spout and the body of the teapot are essentially one vessel, the water/tea level will be equal in both parts when you fill it. In other words, you can only fill the teapot to a level equal or lower than the bottom of the opening of the spout. You'll notice in the above teapot that this means that the actual capacity of the teapot does not include the tall neck. Even with this limitation, this teapot holds at least two decent cups of tea.
However, the reason this particular teapot is one of my favorite pieces is because I was somewhat clever in designing it. The lid is also a tea cup, you see.
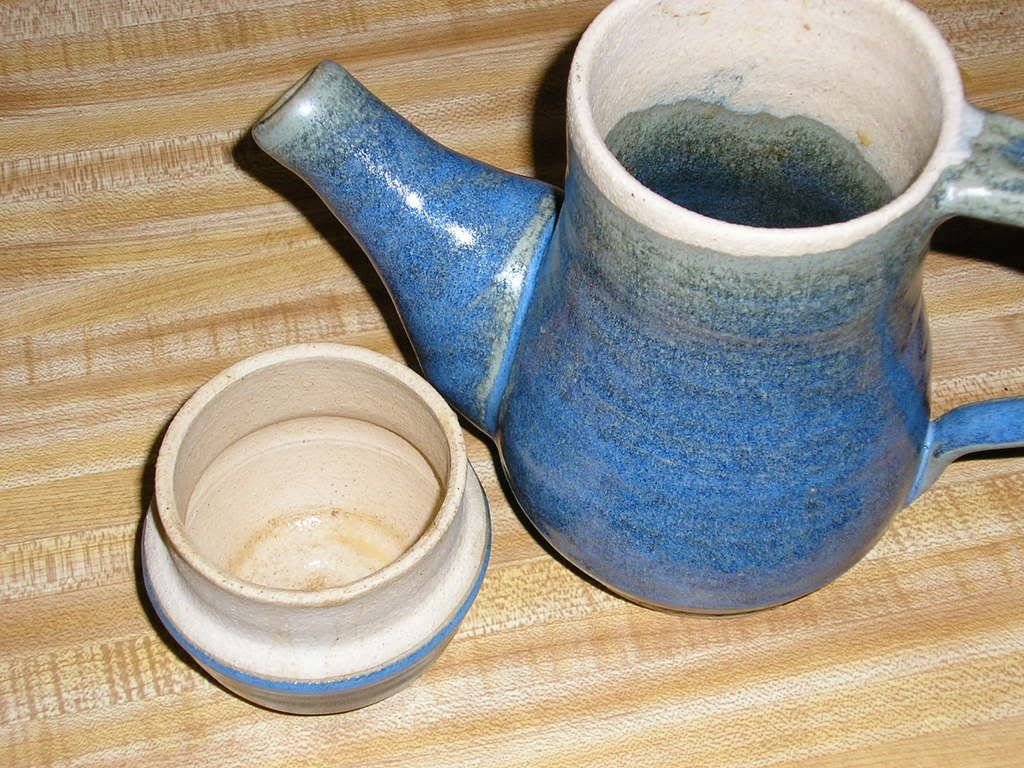
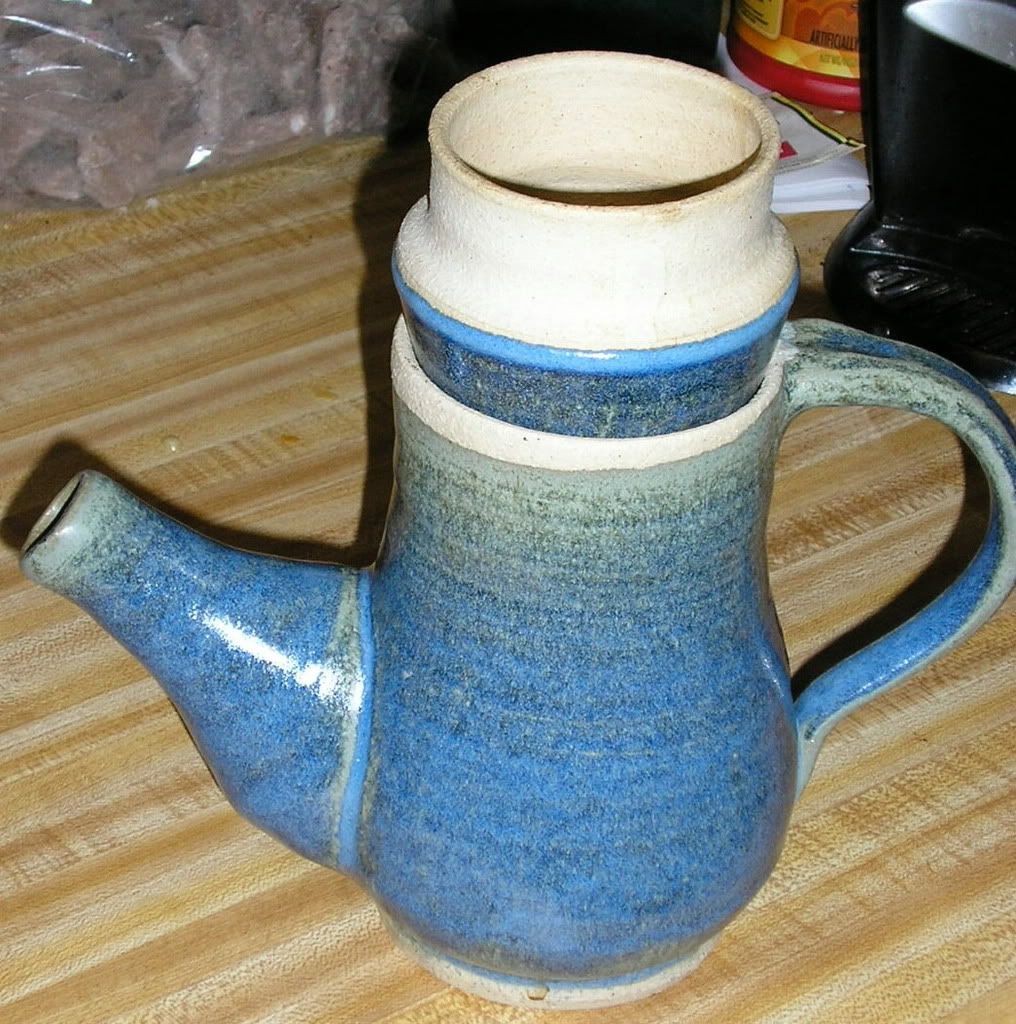
So, I can make tea in the teapot, leaving the lid on while it steeps and then just flip the lid over and have my tea cup ready to go. The steam from the steeping tea warms the cup so the tea in the cup stays warmer a little longer. As an added bonus, the lid fits over the top of the teapot "upside down" as well - which allows the tea in the pot to stay warmer longer, and keeps the tea cup warm at the same time.
So, while this is one of my favorite pieces, it hasn't been used much until this past week when I found myself craving a warm beverage I could drink at any time. The larger capacity makes it ideal for home when I'm unlikely to be too distracted by other things to finish the pot while it's still warm.
My other teapot has migrated to work in the last week, and I'll try to remember to take pictures of it and talk about it tomorrow. It's not nearly as clever, but it's better suited for use in the office.
And lest you think I've been a complete slacker since finishing the stockings last week, here's a picture of the Peek a boo sleeves in process:
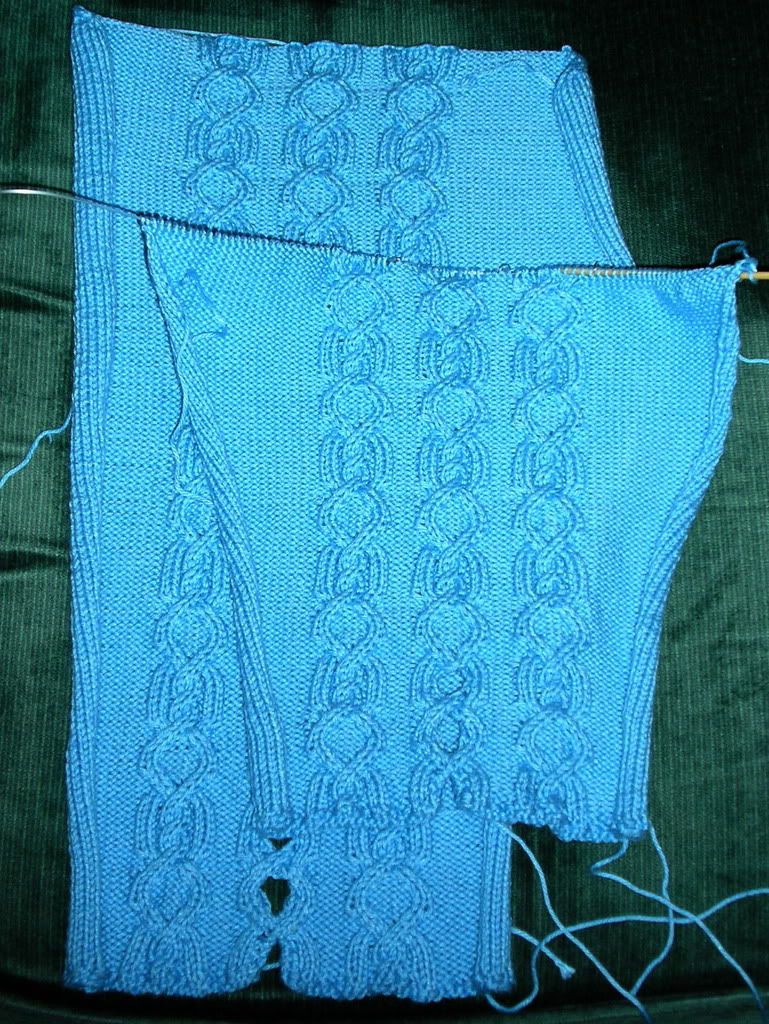
The first sleeve is finished and the second is a little more than half complete. Because the sides of both sleeves are all reverse stockinette, they roll in pretty terribly; the finished sleeve is much wider than it appears in this picture. As this is a gift, it has a deadline of later this month, which I don't think I'll have trouble meeting. I'll need to block each of the pieces separately before seaming, which will take a couple of days, but if I get it seamed next weekend that's still plenty of time to get it off to the recipient.
Then I need to decide what to start next..!
![]()


1 comment:
wow - what a great teapot!!! It's gorgeous.
Send me an email with your snail mail addy and I'll send you a sample of rooiboos ;) saraterry atG ma il.com
Post a Comment