Get it right the first time, that's the main thing!
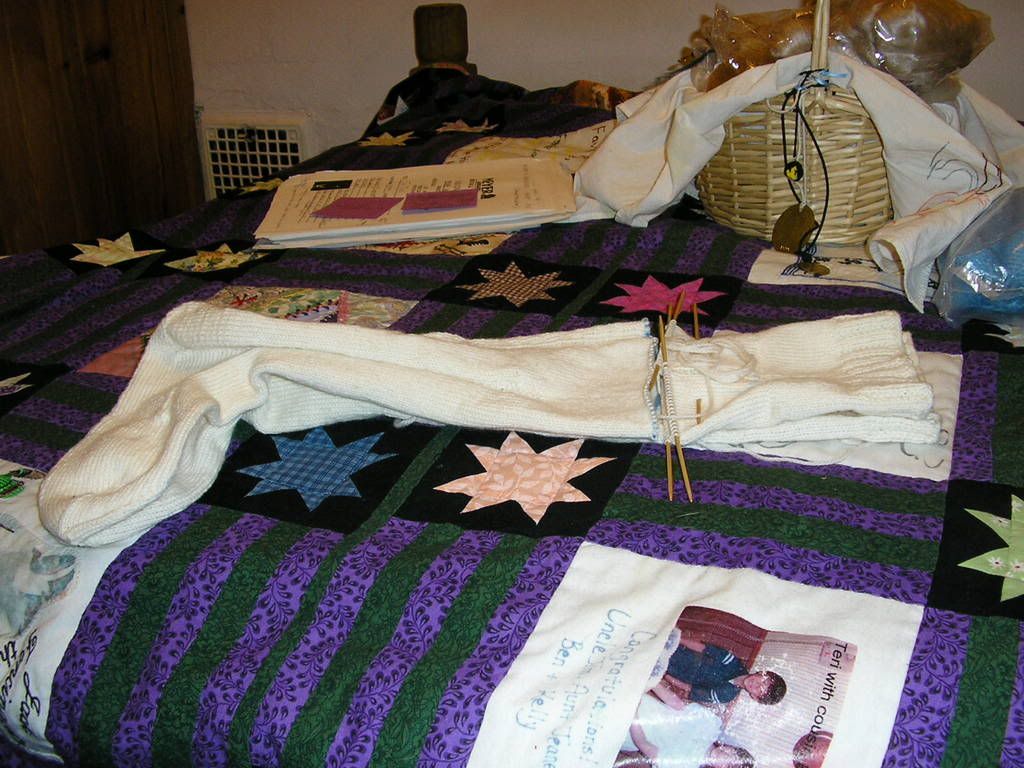
As mentioned, I missed a pattern modification to add three inches of length to the Stockings with Clocks before the calf decreases and didn't figure it out until after the first stocking was completed. Rather than rip back something on the order of 18 inches of completed knitting, I decided to insert the extra three inches into the leg instead. I figured I had a decent enough understanding of the structure of knitting that snipping a stitch, putting stitches back on needles, and then grafting it all together again wouldn't be beyond my skills.
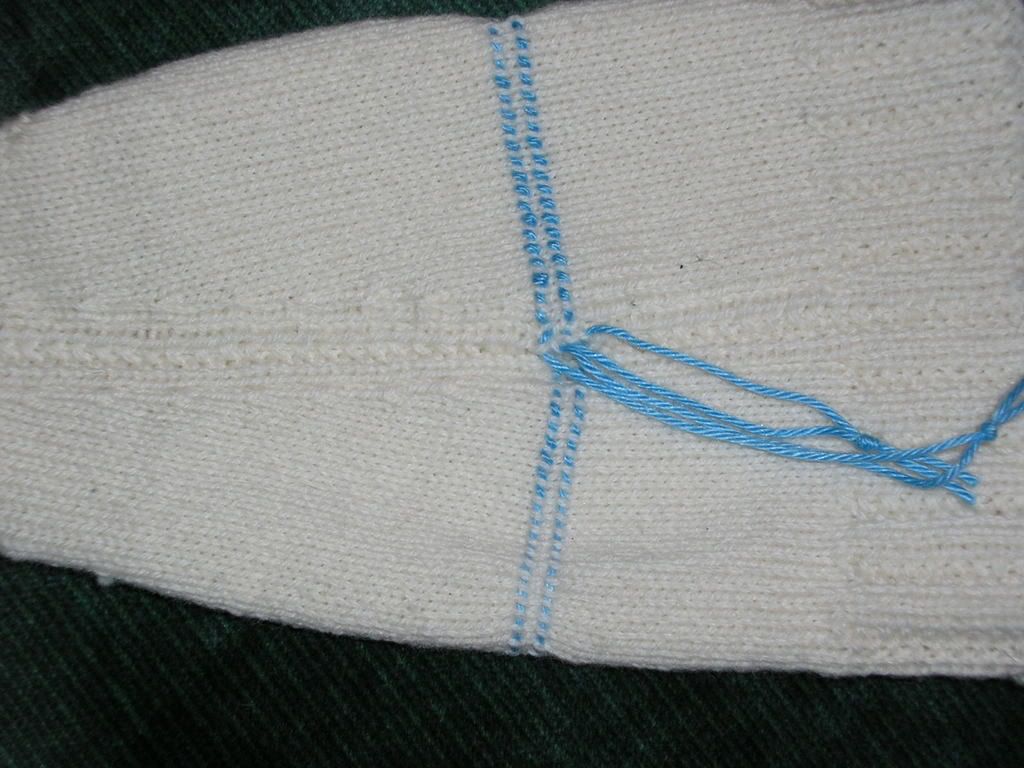
1) The first step was to work in "life lines" so that as I began unraveling the line of stitches that would be removed, I wouldn't have to worry about dropping any stitches. I chose a row two rows above the first calf decrease for the lower life line, and then left one row to unravel and worked a second life line the row above that. I used a smooth cotton yarn in a contrasting color and knotted the ends of each loop together so they wouldn't get accidentally pulled out.
I didn't try to figure out getting the stitches on the life line without twisting them, but instead picked one "leg" of each stitch and ran the life line through the same leg for all stitches in the round. The hardest part was not jumping up or down a row and I often had to pull the life line back out a few stitches to adjust accordingly.
2) The moment of truth was in snipping the yarn to begin unraveling the sacrificial row. I selected a stitch at the center of the front of the stocking, which meant I'd have to unravel it half a round in each direction to get the two pieces separated and ready for the next step. To be sure that I only cut the piece of yarn I wanted, I pulled the loop of the stitch out slightly with an extra needle.
3) Once the stitch was snipped, I used the extra needle to unravel the sacrificial row. Unlike when you rip stitches back, you can't just grab the yarn and unravel it because there are still stitches holding the yarn on both sides, so each stitch has to be pulled out separately; it turned out that snipping a stitch half way through the round meant that I didn't end up having to pull a whole round of knitting's worth of yarn through the last few stitches. As the stitches are unraveled, the life lines catch and hold the stitches on the two resulting pieces and prevent them from unraveling further.
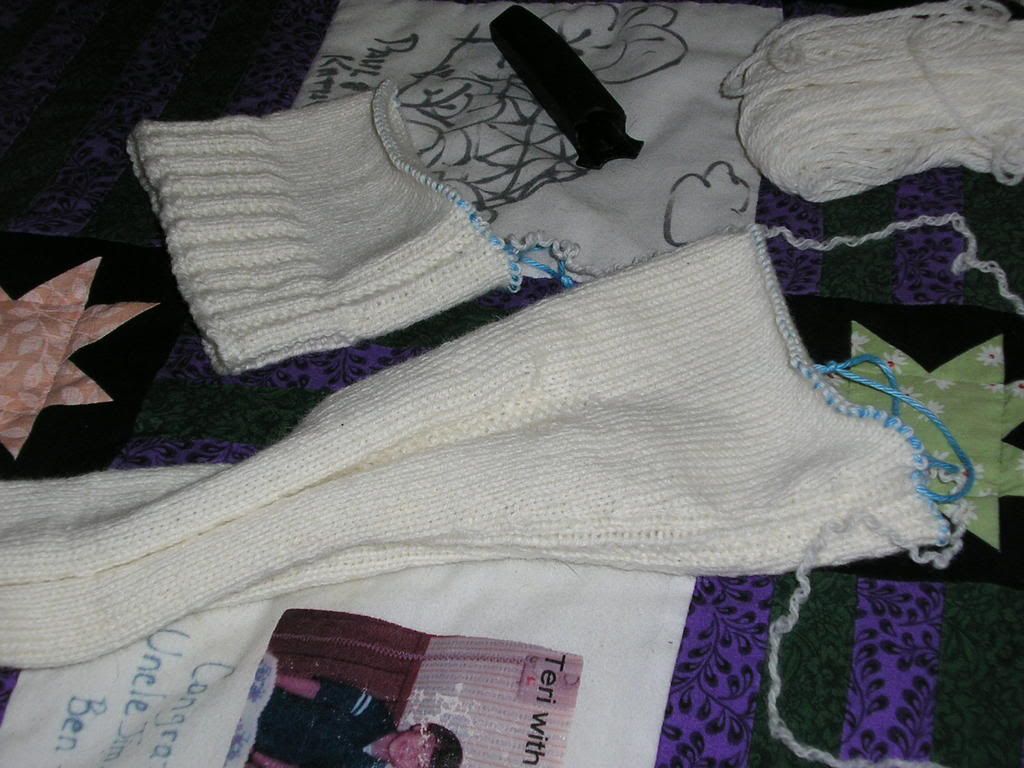
4) Once the unraveling is finished, you'll have two separate pieces, each with live stitches held by live lines, and each with a tail of yarn connecting to those live stitches.
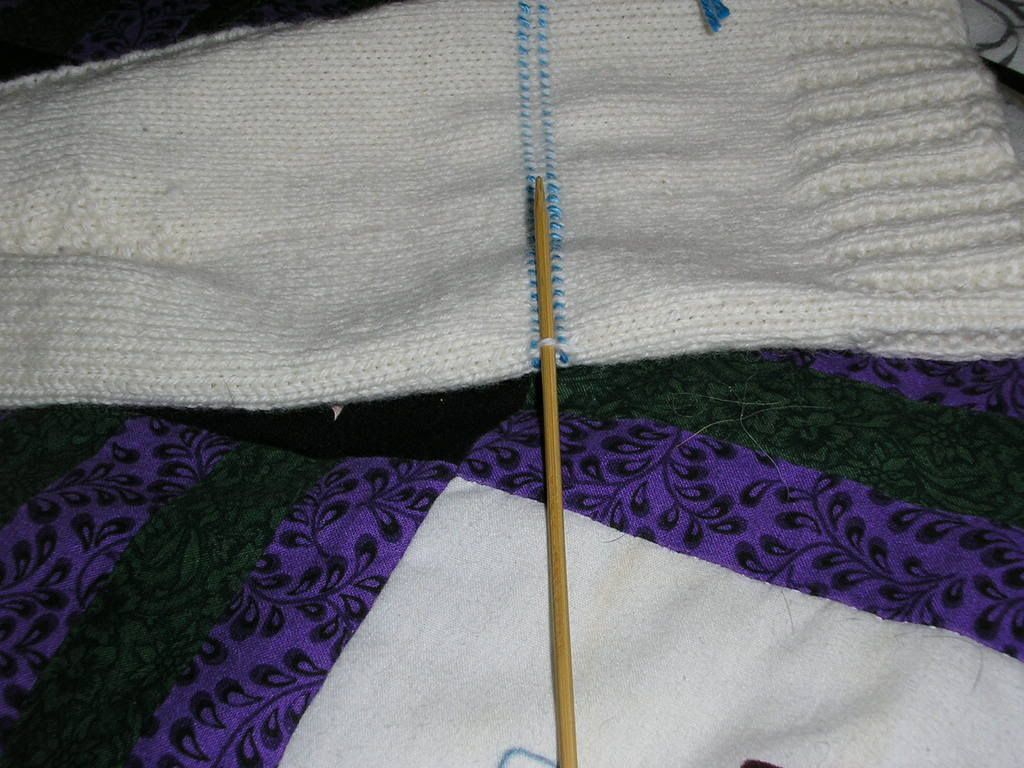
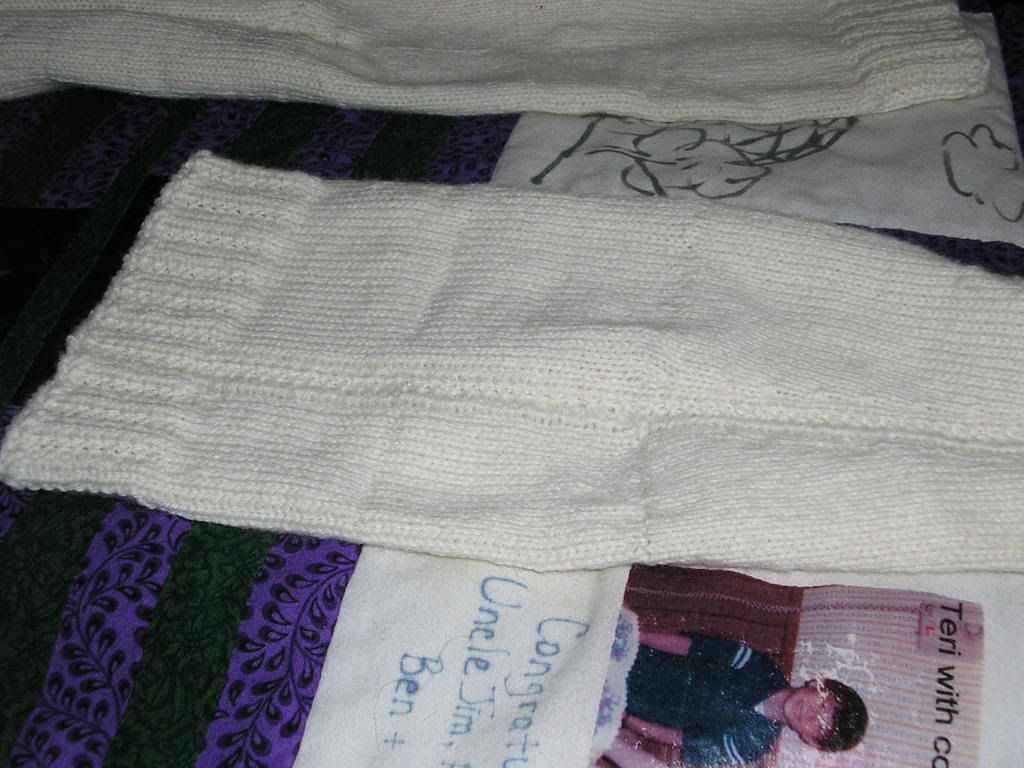
5) These stockings were knit from the top down, so in order to make sure that the stitches all line up without jogging, I wanted to add the extra length to the cuff piece. Using the life line as a guide, I placed the live cuff-side stitches back on the same needles I used to knit the stockings and knit an extra three inches, maintaining the seam stitch patterning through every round. Because the seam pattern is two rows and I'd be adding a row in when I grafted the two pieces back together, I ended on the same pattern row as the next piece begins with. To be sure that the two stockings would end up the same length, I laid the pieces of the first stocking over the completed second stocking.
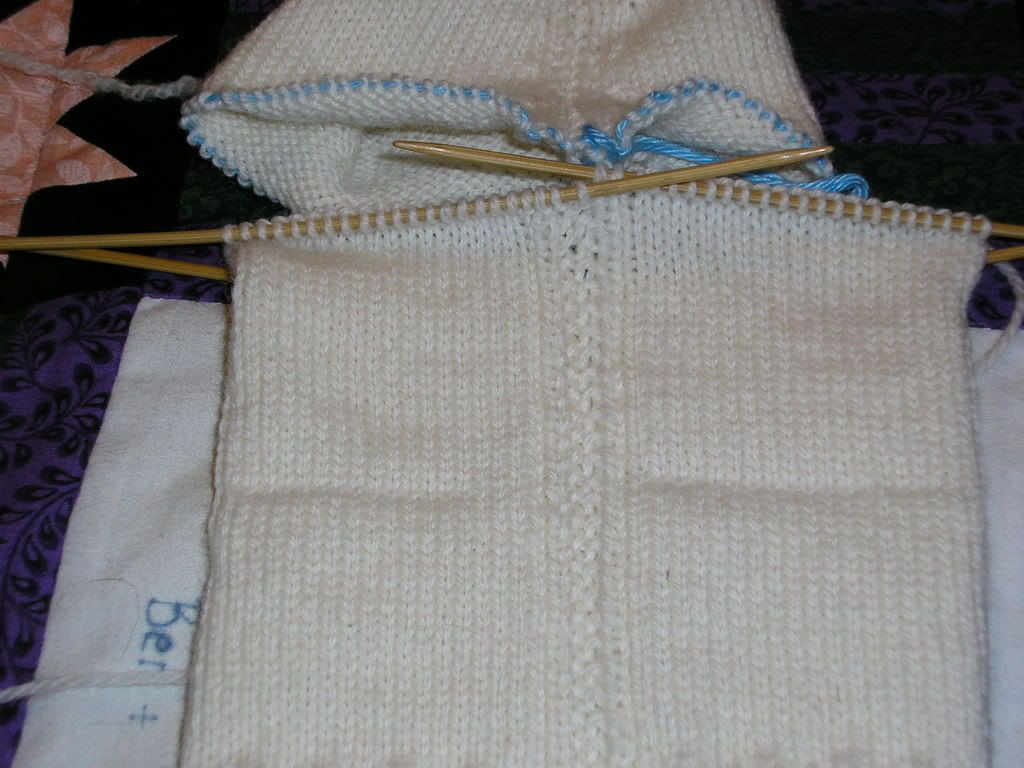
6) The trickiest part with the patterned seam stitches was lining them up so that when I grafted everything together the seam wouldn't jog. The first time I did this, I was off a stitch and had to pull out the entire row of grafted stitches and re-do them! Learn from my mistake and pay attention as you start grafting to make sure the stitches on the two pieces will line up.
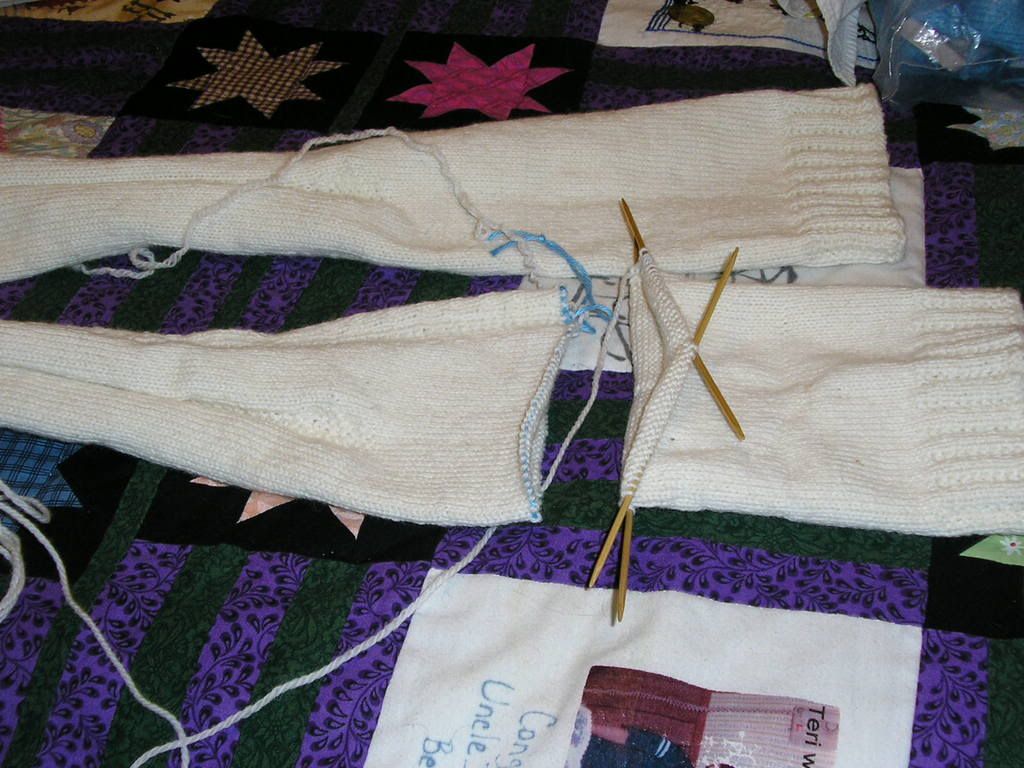
(You'll also notice in the second picture above the "indented" row - that's where the original stitches were "picked up" to start the added section; washing and blocking will make that go away.)
7) When you're ready to start grafting, you'll need to put the stitches from the second piece on to a needle and make sure they're not twisted. You can leave the rest of the stitches on the life line yarn until you need them.
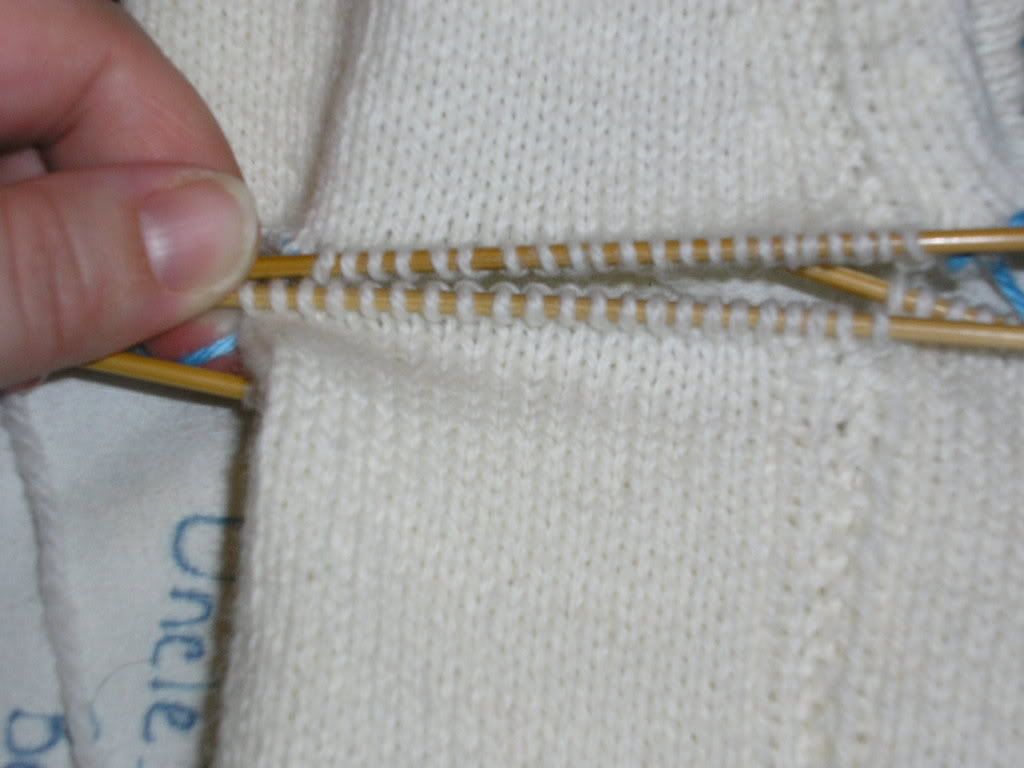
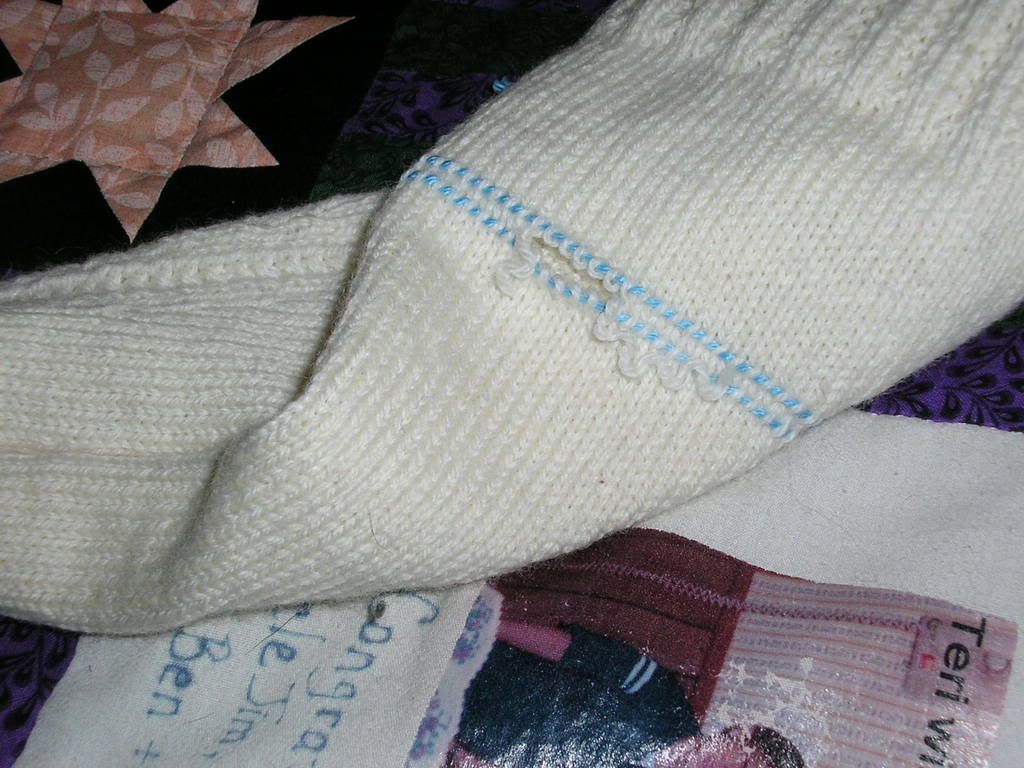
8) Using instructions from any of a variety of places - Interweave Knits usually has grafting or kitchener stitch instructions in the back, as will most sock pattern books; I used the instructions from The Knitter's Book of Finishing Techniques by Nancie Wiseman - graft the two rows of live stitches together; when you need to work a purl stitch, you'll want to work the grafting "backwards" from the instructions. As you work, gently tug the working yarn after every stitch to avoid leaving the stitches too loose; you can monitor this as you work to be sure you're not grafting too tightly or too loosely. When you're finished grafting, work in all the ends securely.
9) Washing and blocking the finished piece after you're finished grafting will help remove any unevenness left from picking up stitches and grafting. As I mentioned, the first time I grafted the two pieces together, I was off a stitch and had to pull out the row of grafting. When I re-worked the row, I must have picked up some dust on the yarn that darkened the row slightly. The stockings are mostly dry now and the darkened part is still noticeable, so I'll have to wash them again using some wool wash to try to get it out.

![]()


1 comment:
Wow! That is increadably impressive!
Post a Comment