Showing posts with label remodeling. Show all posts

10 May 2007

With a little help...

.. from my friends and family (all pictures are clickable thumbnails; click them to load a bigger version):


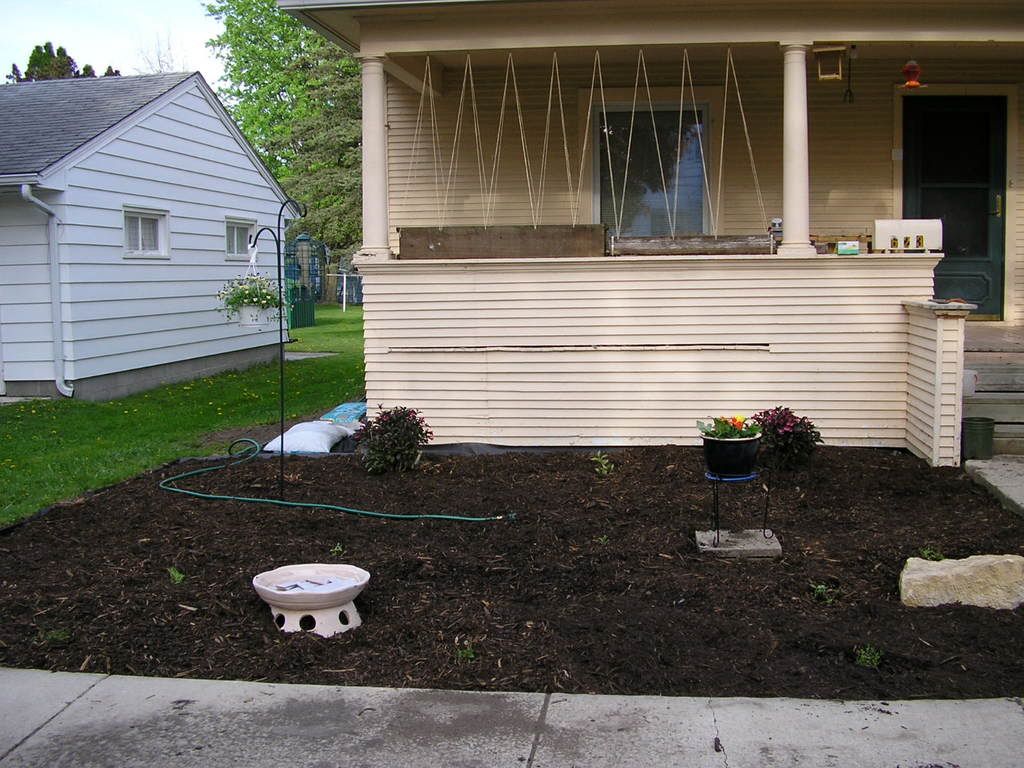
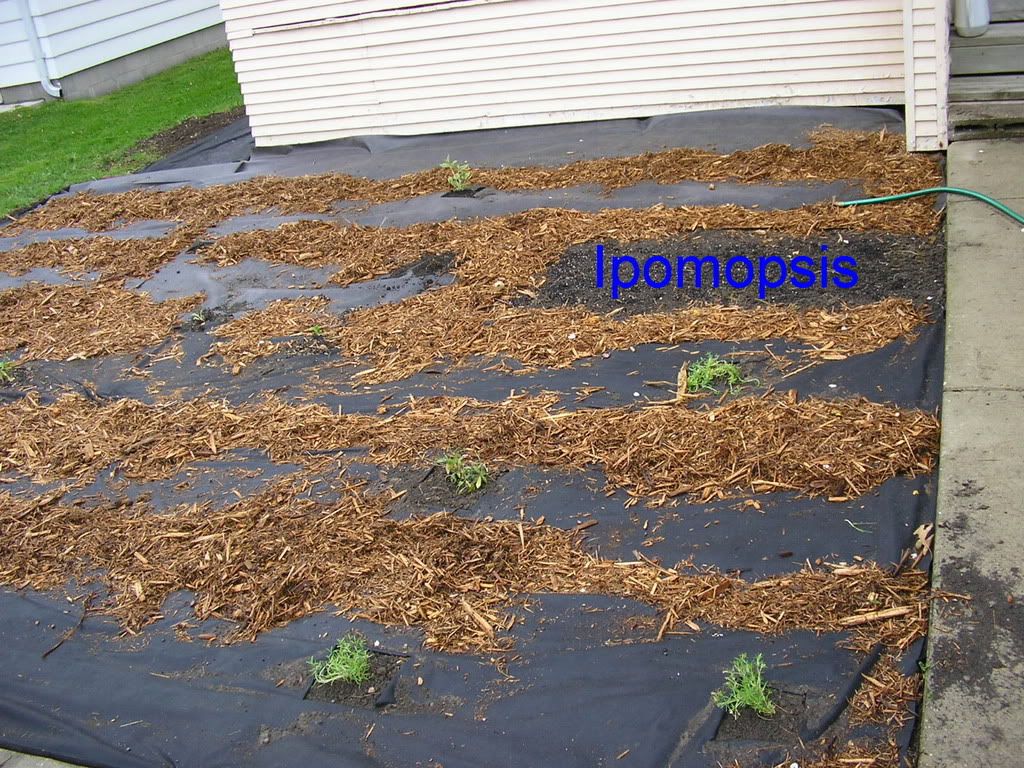
The yard is, effectively, complete now. We picked up the last two bushes (wine & roses weigela) from a local nursery and planted them Monday. We did the bulk of the mulch on.. um.. Tuesday? I think, and put in the accent bits - the shepherd's crook with the bird feeder and hanging basket of johnny-jump-ups (okay, okay, I know they're really violas), the plant stand with three gerber daisys, and the fire-pit-turned-bird-bath*. I think I strung the twine for the morning glories to climb on Tuesday too.. might have been a different day, though. Now things just need to grow.

The raised beds are now about half full of dirt, with a few more barrow-fulls to get added to each one.


I'm a little concerned that the dirt won't be deep enough in some spots (we threw in some brick edgers that were lying around in the yard unused to try to help with drainage in the beds, but that may have been a mistake because the soil over them is a bit thin now), but it's fixable, so it's not a deal-breaker. The last of the dirt will hopefully get moved tomorrow - I had to stop Tuesday when I couldn't lift the shovel anymore and my right elbow has been decidely cranky since then from the overuse and abuse; since there's no real rush, I took a few days off from shoveling to let it rest and heal up a bit. I'll likely start getting the seeds and plants planted next week - the tomatoes and other live plants from Burpee are expected to arrive on the 15th (except the Walla Walla sweet onions, which are already here).

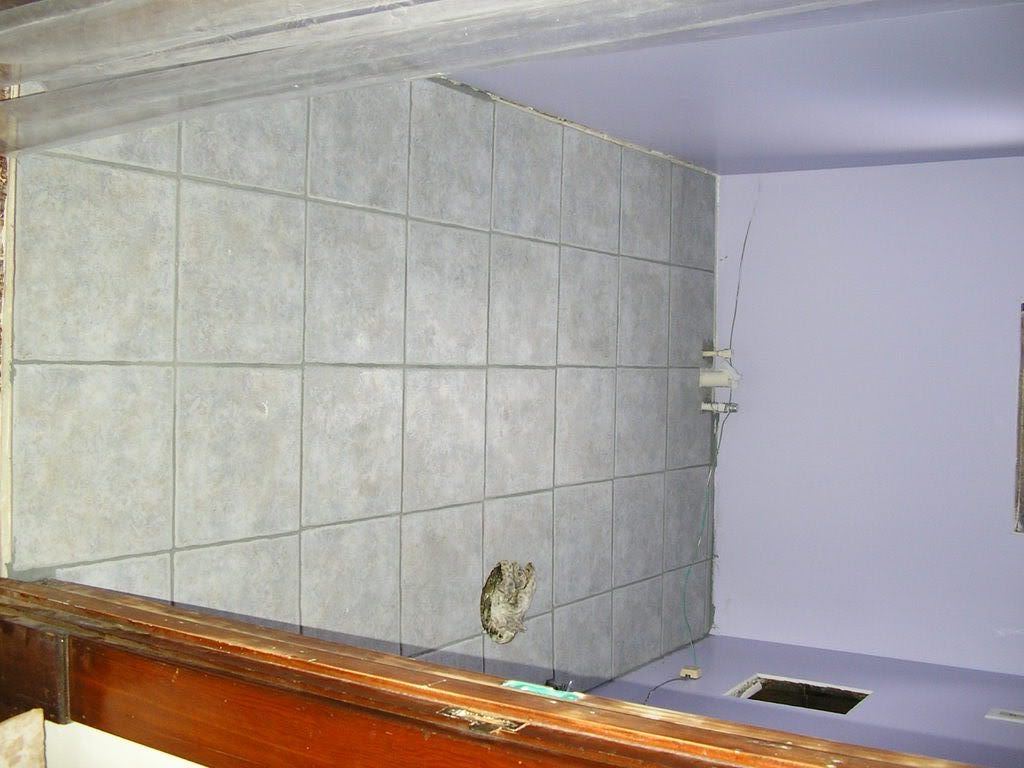
The crowning glory of the week, though, is the bathroom. Here is the finished tile floor:


And this is what it looked like yesterday:


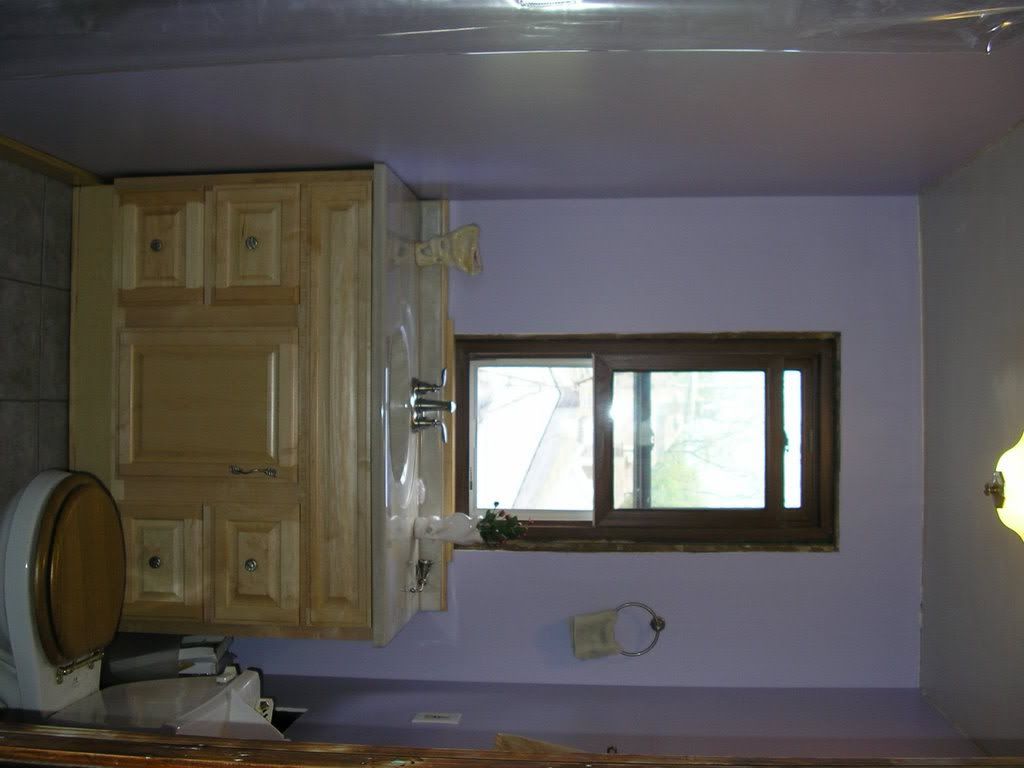
It's gorgeous. It represents a fair amount of sweat equity - mostly my dad's, but there's also enough of mine in there for me not to feel *too* guilty - but oh, boy, has it been worth it. We finished the last of the trim & got the heating vent in today, so here it is, more or less finished:


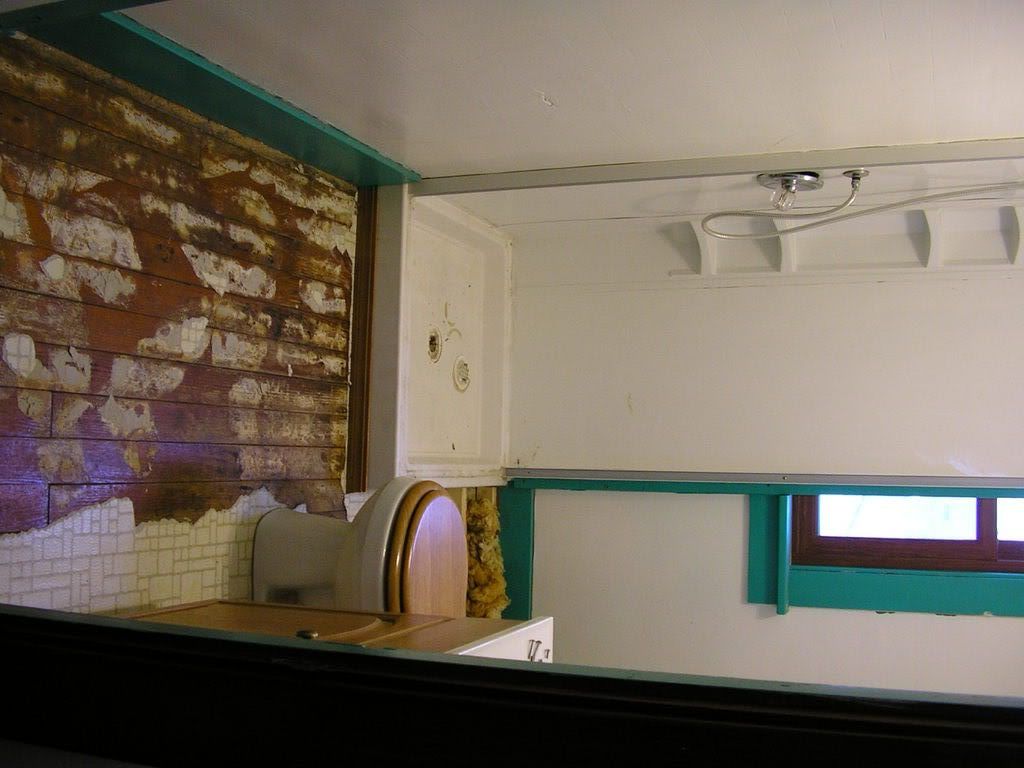
We still need to pick up a linen shelf/cabinet for the near corner, and we're looking for a corner medicine cabinet, but will likely have to built that to spec. The window - which until now was effectively blocked by the &#$%(@#*@& plywood that they used to back the &#*%&@#$) shower - needs another coat of polyuerethane and a blind, but I'll gladly get that installed as a final farewell to the ugliness that used to be there (as seen below):


And I realized yesterday as we were hanging the washcloth ring and the hand towel rack that I really rather desperately need some new washcloths! Up to now, all my bathrooms have been a variation on hunter green, so most of my towels and washcloths are darker colors that just don't look right in the new bathroom. They're also all at least 4.5 years old - the newest having been wedding gifts - so it's definitely time! I might have to hunt around for some linen yarn to make a few..

*The fire-pit was thrown by the woman I got my pottery wheel from, out of raku clay, and bisqued; she was moving to Florida and couldn't take it with her and asked if I could test it out for her. Unfortunately, we can't have an uncovered fire in our yard, and the piece is too large for us to pack safely when we go to events, so it's never been tested. However, lining it with a large plant tray and putting some leftover tile bits under and in the tray makes it a more or less effective bird bath. *shrug*

07 May 2007

Closer..

We've had a busy - and at times back breaking - weekend here in our little corner of Minnesota. Dad is here again this week, so we're working on finishing up the garden preparations as well as getting the bathroom finished. The weather held out - cloudy and not too hot - for the weekend, so we worked mostly on the garden prep.

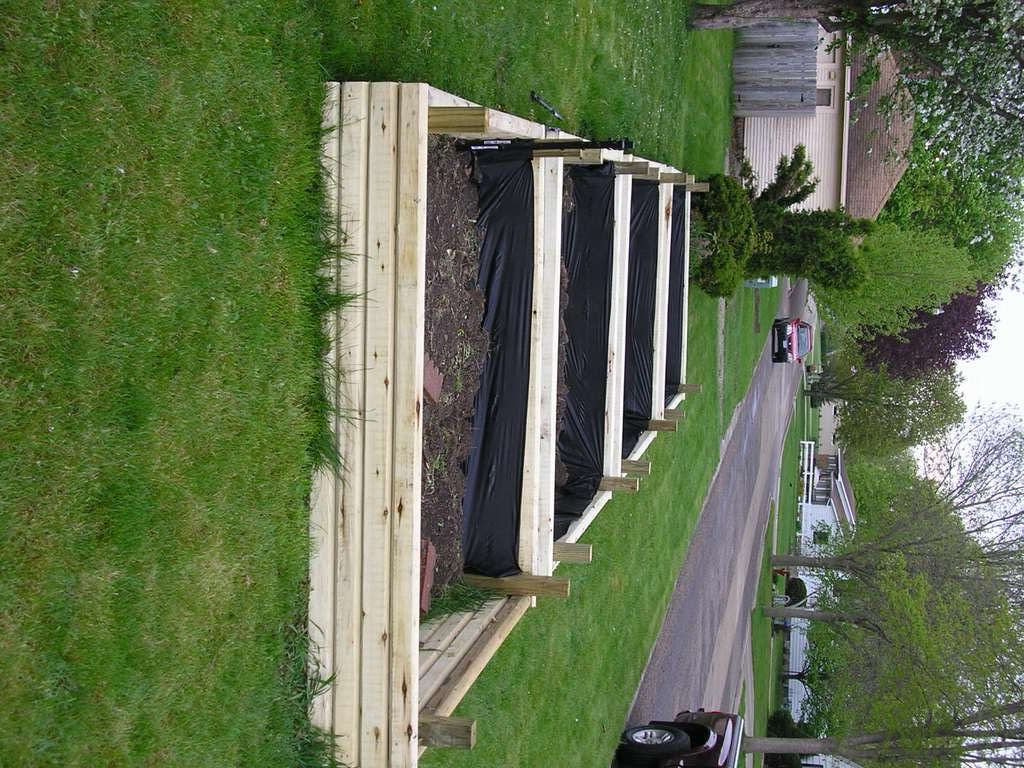
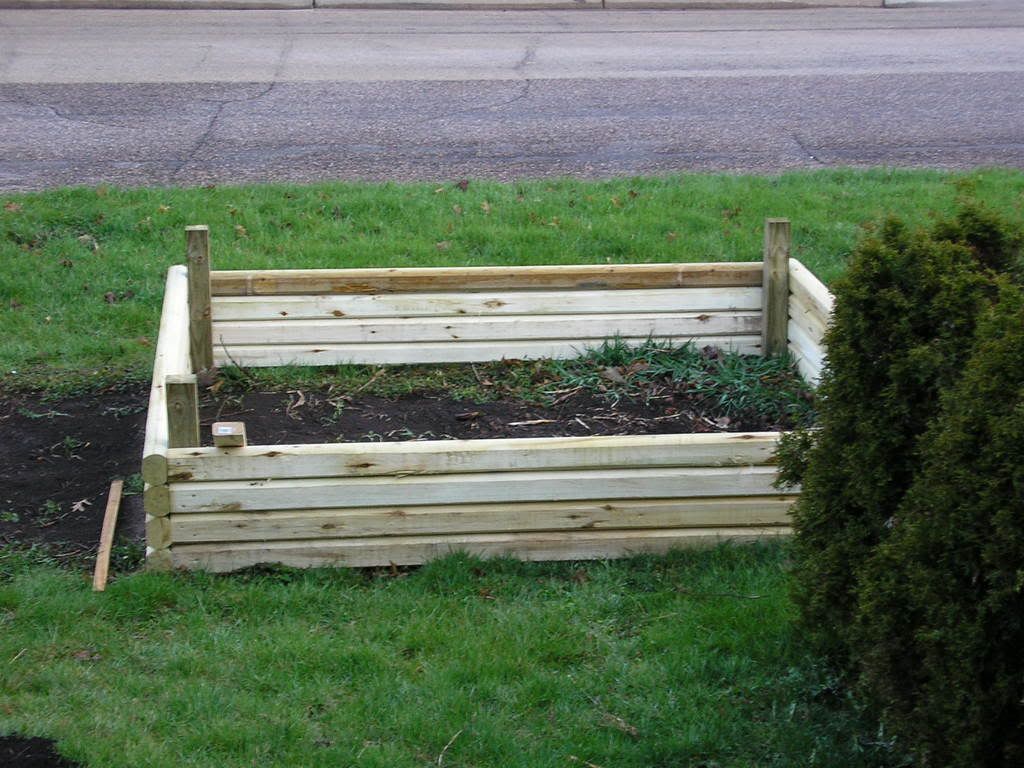
All four of the raised beds are finished now, and three of them are lined with weed stop around the sides (the fourth will get lined sometime today):


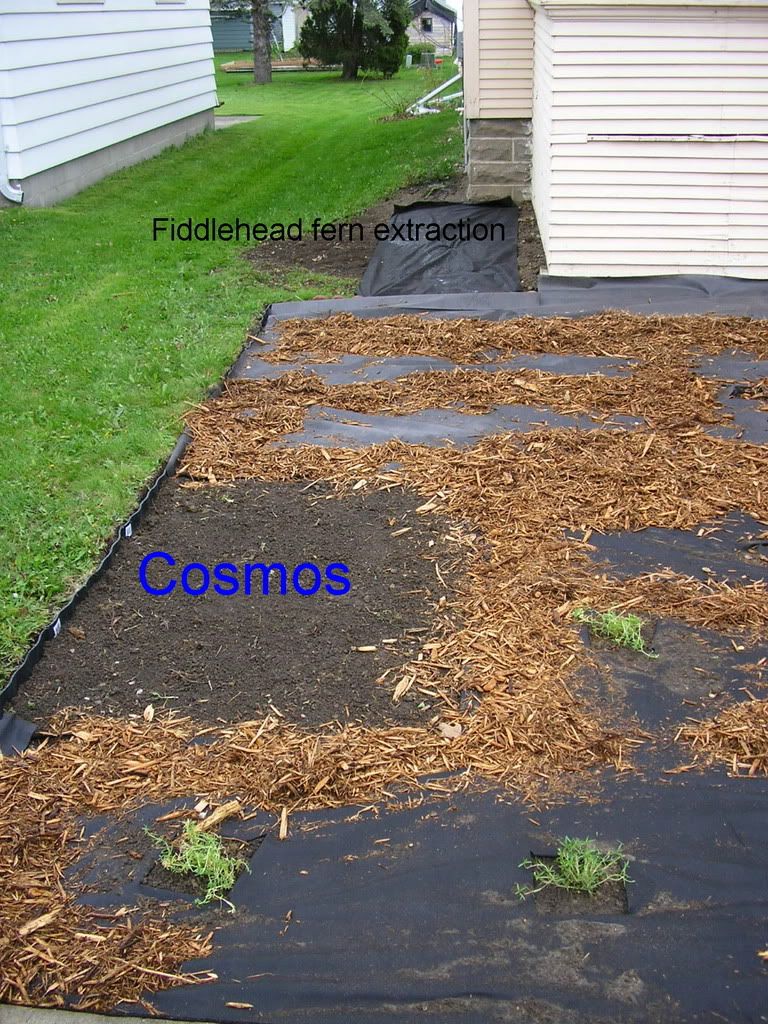
But the biggest change by far is the front yard. I didn't think to take a before picture, but image that the front yard was entirely covered with a variety of different weeds - dandelion, thistle, creeping Charlie, etc. - and was patchy and looked.. tired. Now it looks like this:


It's quite a transformation. It involved cutting the "sod" off the "lawn" - which is far more back breaking than it seems like it should be - tilling the soil under the removed sod, raking it all out even and removing the roots and twigs and other debris, and then laying the weed block, planting and mulching. We obviously didn't get enough mulch, so that's on the list to get more of today, but even as it is it's a *huge* improvement. It will take the plants a few years to really spread out the way we want them, but at this point, the hard work is pretty much complete.

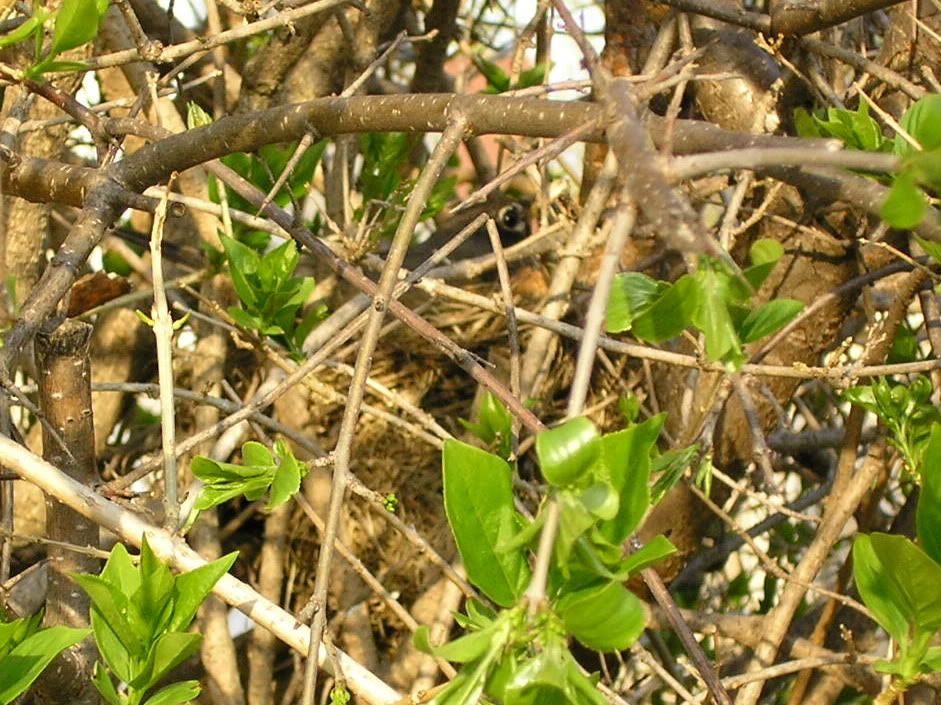
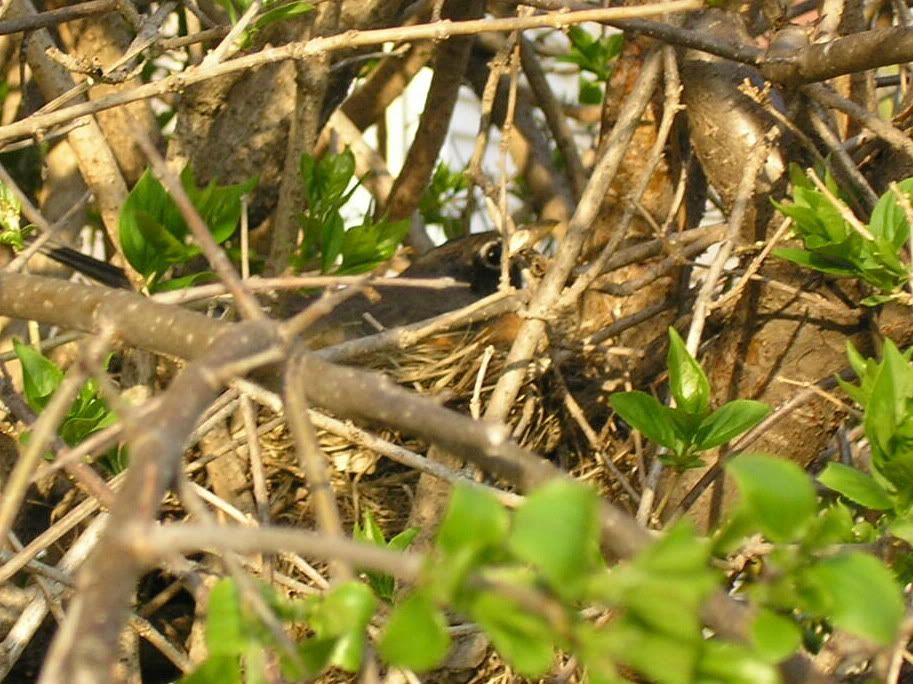
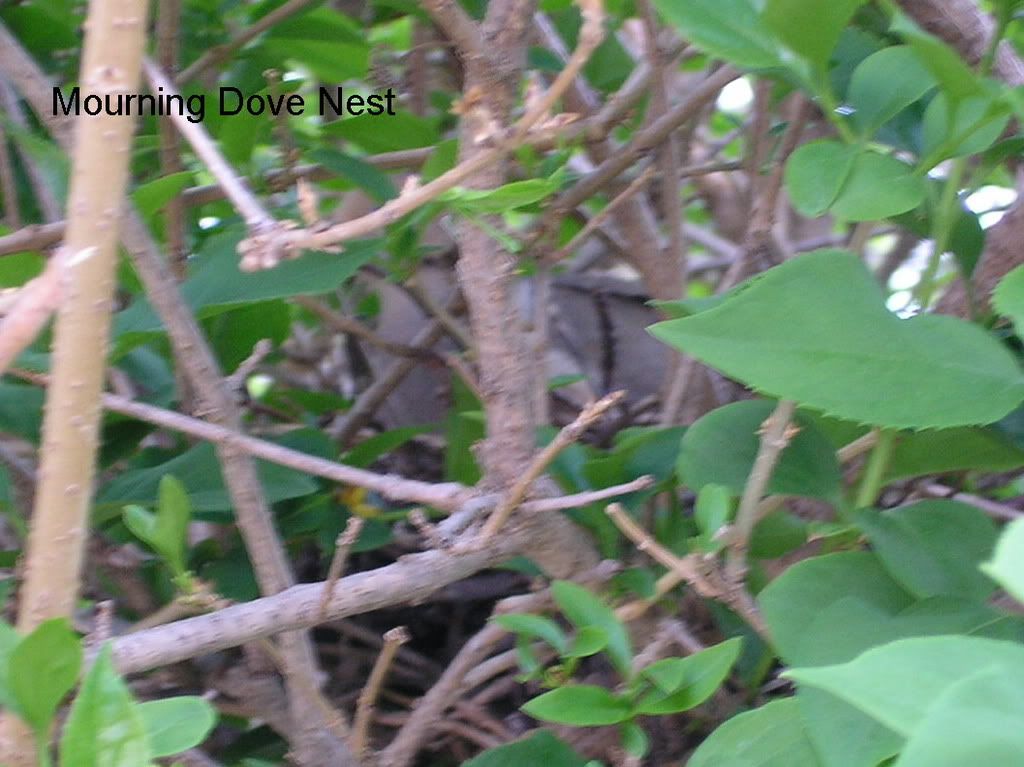
We had a couple near neighbors keeping a close eye on us as we worked this weekend:


Ms. Robin and Ms. Mourning Dove have both nested in the big unknown bush by our front walk. They both seem quite content to let us work around them as long as we don't do anything to threaten their nests. They are, at the moment, the only reason that unknown bush is still standing; it's far too overgrown for the spot it's in and we are planning to remove it and replace it with a mock orange, but the birds beat us to action this spring.


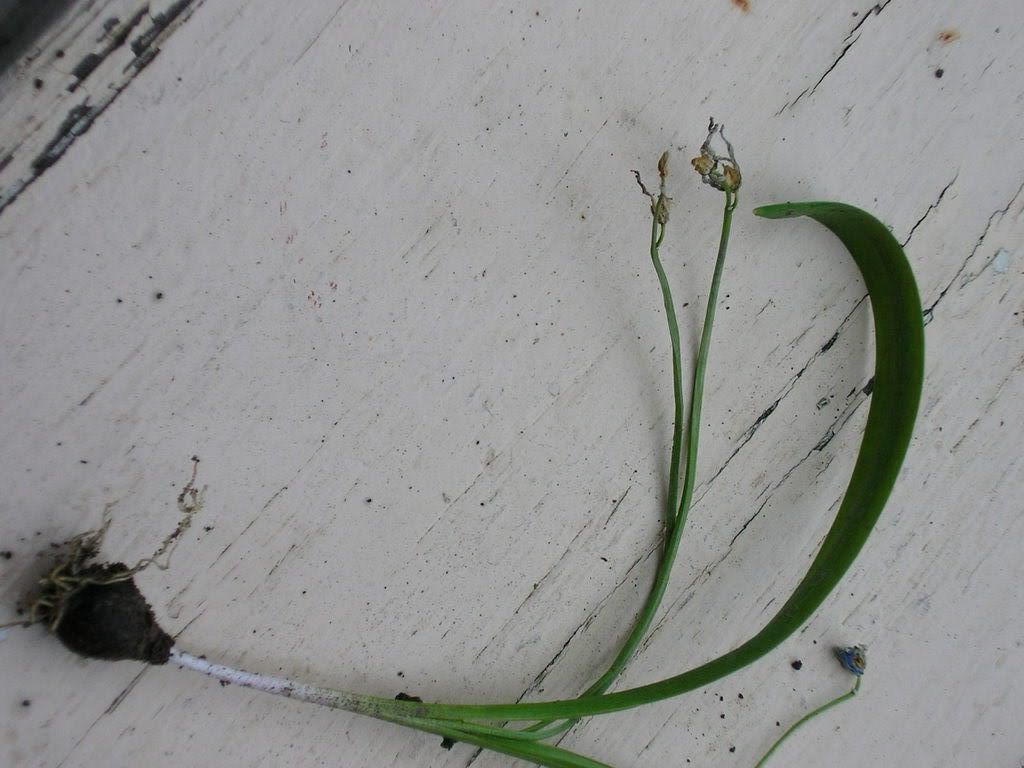
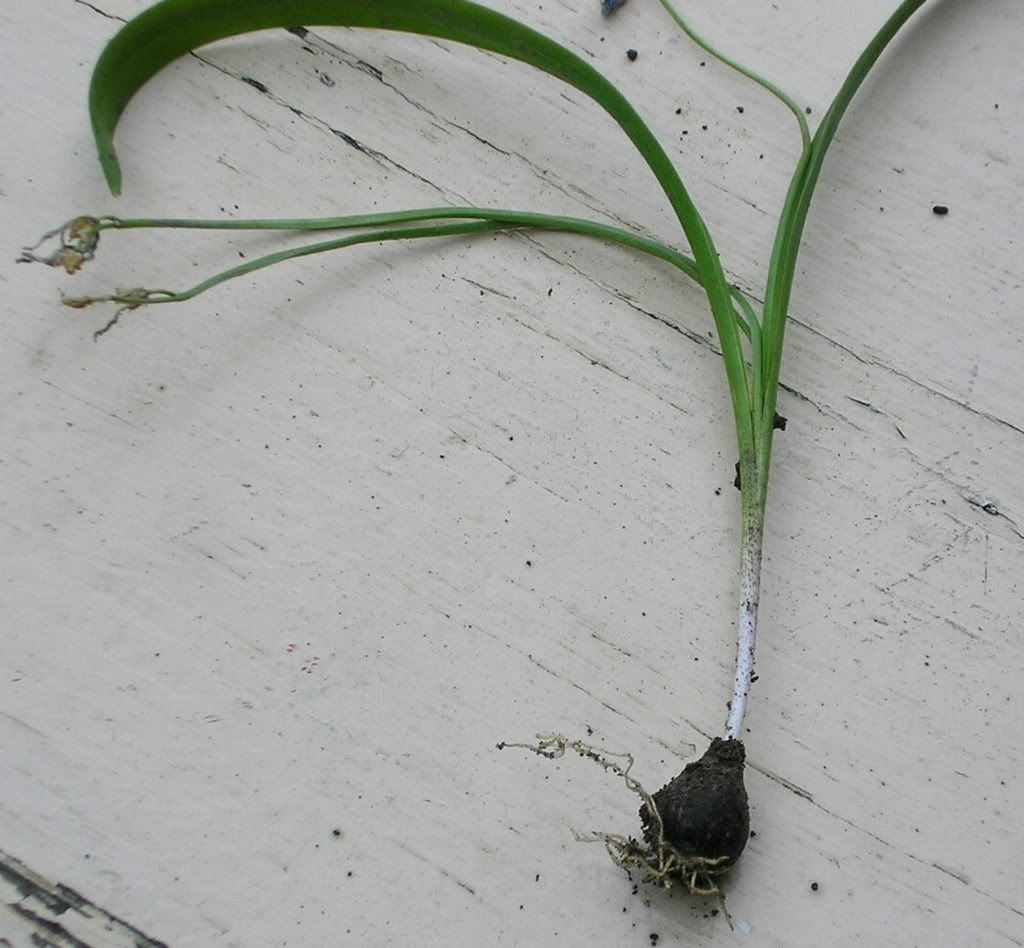
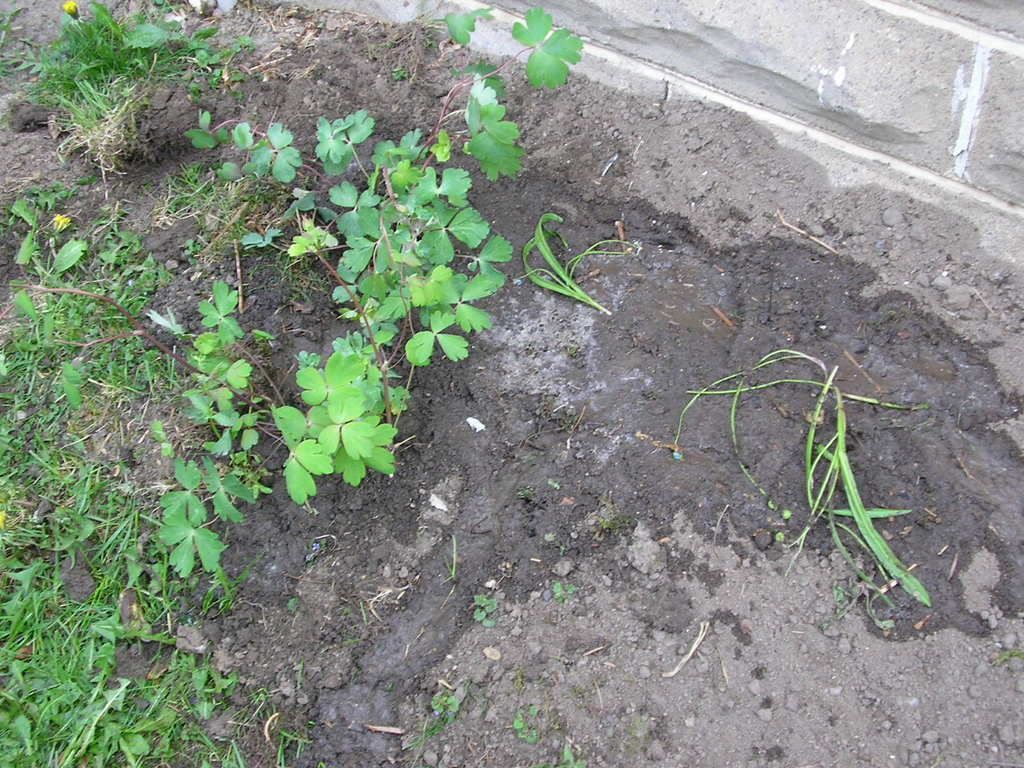
When we first moved into this house, Adam (one of my Garden Guru(tm)s) noticed this small little blue flower that popped up along the side of the house behind the big ugly bushes (which we removed last summer). It was just one lone little flower, though there was another that appeared in the side garden on the other side of the house, too. Yesterday as we were (well, really, as he was) digging through the dirt in that spot to try to remove all the fiddlehead ferns that have invaded, he found it again and dug it up to save. This morning, I found the other one and took a quick picture of it before replanting it by it's friend, along with some Columbine that was also rescued:


I'll bring the picture of the unknown little bulb - which looks like a small, black onion with just itty bitty little roots - up to the Extension office to see if they can help us identify what it is so we can maybe get some more.

Today we're grouting the bathroom tile (we cut and laid the rest of the tile on Saturday) with hopes to be able to reset the toilet by sometime this evening. We also need to run get more mulch and the other two bushes for the front yard, and maybe also the sugar maple for the boulevard. Tomorrow will likely be split between putting dirt (50/50 compost & black dirt, being delivered at 9 a.m.) in the raised beds and getting vegetable seeds started, and getting the vanity in upstairs. I have a feeling Jack and dad will work on the vanity and I'll be out in the garden, at least as long as the weather holds. We also need to get the trim up in the bathroom round the door and window, which will hopefully happen Wednesday, assuming the vanity goes in smoothly.

29 April 2007

Not so much..

Hrm. The plants are all in pots, but the front yard still needs to be cleared. It appears that we either need to wait until next weekend when dad gets here with the truck to get a powered sod cutter, or rent a non-powered one - which I'm told is a lot more work; my dad actually said that he'd opt to dig it by hand instead of use a non-powered sod cutter - sometime this week. We don't want to just rototill the sod into the dirt because the "lawn" is actually mostly weeds and we don't want to give them a head start to disrupt the new plants. Cutting out the sod won't completely eliminate the weeds, but it will at least make it less likely that they'll come through right away (and yes, we're putting down some gardening fabric to block them further as well).

Also, just because I'm not sure I've clarified, we're clearing the sod out because we're just replanting the front yard; the raised beds are actually in the side yard where we took out all the bushes last year. We have been warned not to try to plant in the soil where the bushes were because those type of bushes apparently turn the soil very acidic. So the solution is to build the raised beds, which will allow us to plant over that spot and give me room for a veggie garden.

On that subject, the rock plan for the beds just isn't going to work. It's (a) a bit pricey, and (b) too much work. Essentially, we'd be getting four loads of different materials and paying for delivery for that would be exorbitant; the alternative is to pick it up ourselves, which would require no less than 8 round trips in my dad's pick up. Since the suppliers is about 20 miles from our house, that's.. well.. more than I'm willing to pay and/or drive.

So, Plan B will be to put the sod we cut from the front yard (great suggestion, Cathy!) into the bottom of the beds to take up some space and feed the worms and then fill the rest with a mixture of black dirt, compost and sand. The supplier we've found will mix the black dirt & compost for us and deliver it - we'll be getting 6 yards total (and can I tell you how long it took me to figure out just exactly how much a "yard" is?) - and then we'll mix in some bags of sand here to "taste". Since we'll be finishing building the rest of the beds next Saturday or Sunday, I'm planning to have the dirt delivered Monday or Tuesday. Of course, at the moment the long term forecast shows rain next Saturday through Tuesday, so that plan might change..

Which really, would be okay as long as we can control when the delivery of dirt comes, because we also need to finish the bathroom floor. I started laying tile this weekend and have about half of it finished. I need to pick up more tile cement stuff tomorrow so we can lay the remaining two full-tile rows this week. Dad will help cut the tiles around the door and along the one wall that needs 3/4 tiles, which is also where we'll need to cut tiles to go around the toilet. Once the floor is in, we'll move the vanity out of the dining room (finally!) and install it, and put the toilet back (I can't wait.. I've so missed having a toilet upstairs in the middle of the night). We'll still need to do the trim around the room - which will likely mean we'll have to disconnect the sink to pull the vanity back out - but we're pr'bly going to wait on that for now because we haven't decided what kind of trim we want in there yet.

In other news (back to gardening), our neighbor from across the street came over to pick up some raspberry bushes this afternoon. We still have a fair number of them, but I'd say she took about half of what was out there, which is sort of nice. I'm re-thinking the plan of keeping any - they're just a bit too much maintenance for something we don't really use. In any case, the rest will get dug up the end of next week for delivery to folks up in the Cities who want them and/or transplant to the back of the fence. Then we'll RoundUp over that spot to try to kill any remaining raspberries and re-seed the spot with grass in a couple weeks.

23 April 2007

Light of day..

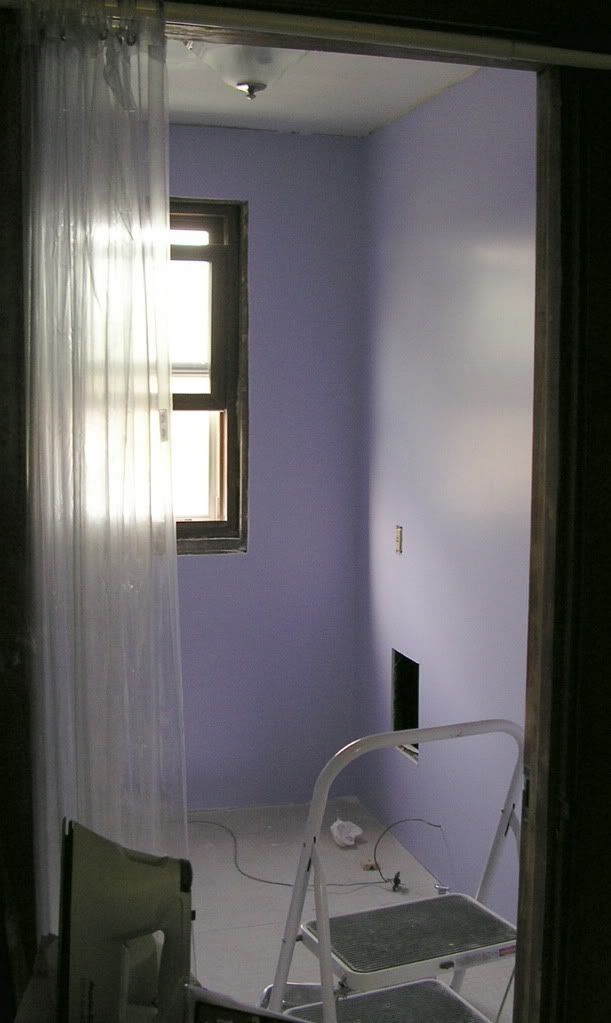
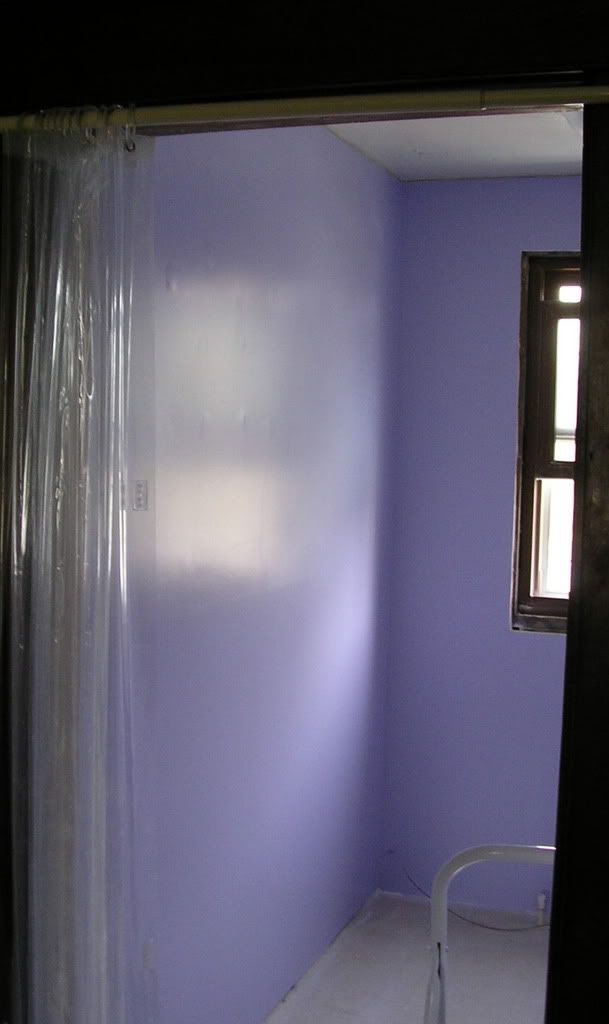
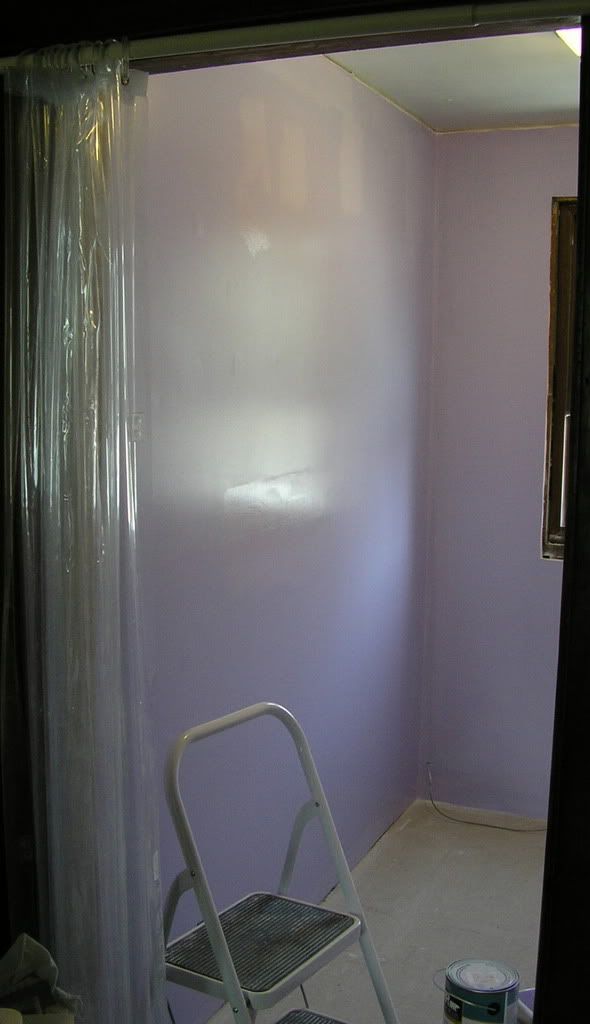
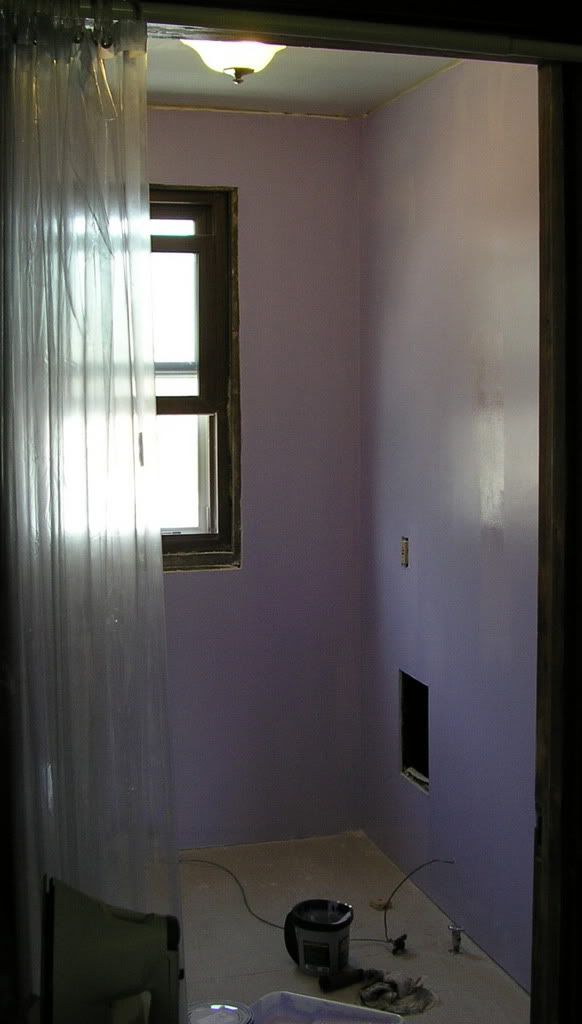
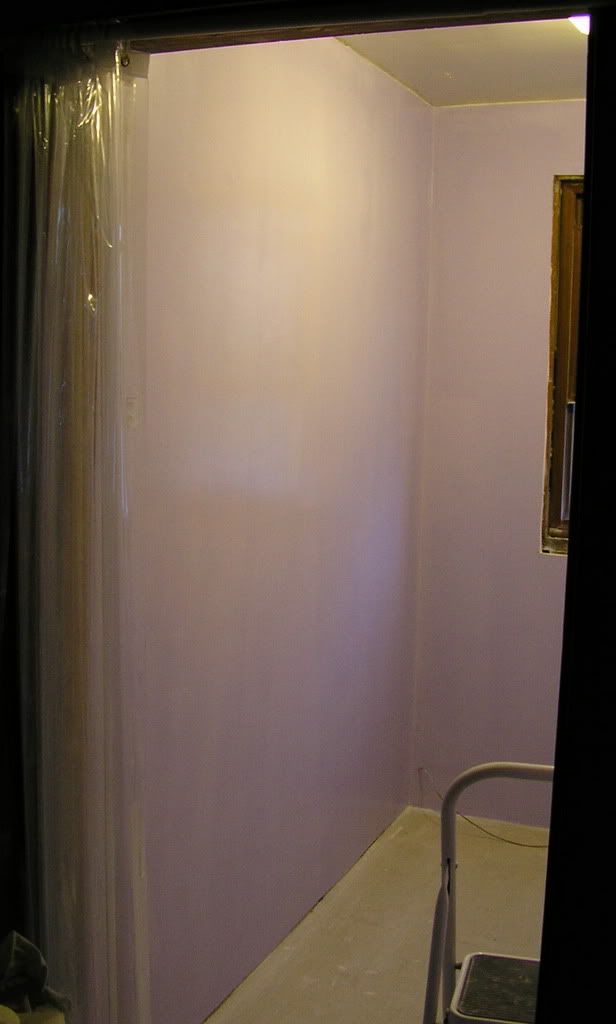
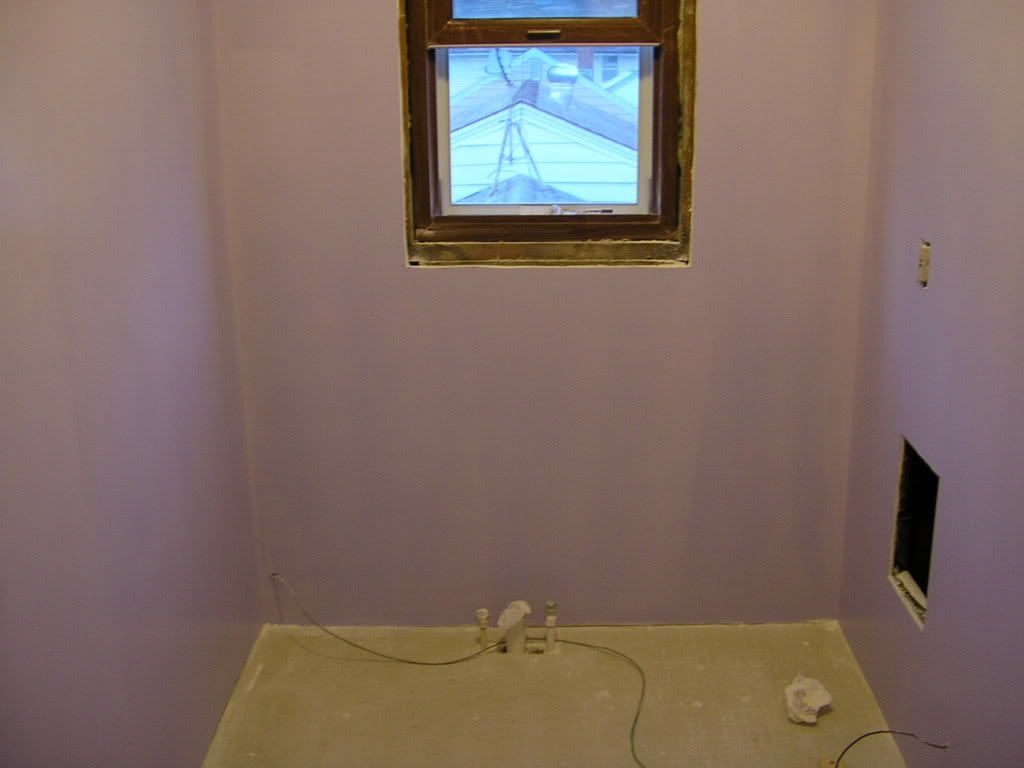
The paint's dry and it's daylight, so I was able to get some better shots of the paint in the bathroom:


But in much more exciting news.. It's HERE!


The box with my Breed Swap fleece and research arrived today! There are samples of 27 different types of fleece (apparently some were shipped to the coordinator, but never arrived) and research on 32 breeds of sheep. The fleece samples include an ounce of prepared fiber, a clean lock, and about a yard of 2-ply yarn. The research was all bound up in a 3-ring binder in plastic page protectors. On the right hand page of each is an attached plastic envelope for the lock and yarn samples (I already have mine sorted and put in the book .. yes, I'm a geek, I know) and room for our own notes as we spin each of the 1-ounce samples. The coordinator did a really excellent job in compiling all our research and formatting the books; I'm sure she had a fair amount of editing to do since I know that the research I sent her was originally much longer than what she was able to include (see above re: geek)! I'm really excited to really get to know each of these fleeces, it was about all I could do not to end each of the sentences above with an exclamation point!

Oh, and Cathy (sorry, I don't have a link or an email so I'm answering here!) asked why we were putting rock and sand in the bottom of the garden boxes. I'm doing it because it was recommended by my Expert Gardening Consultant(tm) (aka, good friend who used to do landscaping professionally). The beds are about 16 inches deep and we were discussing getting in a load of dirt to fill them when EGC mentioned that if I wanted them to really last and have really good drainage, I could do layers like that. Apparently, the rock helps the drainage and the sand keeps the good soil from working out as fast. Since I am sort of stuck on the idea that if you're going to do something, it's worth it to pay a little extra to make sure it will last, so I'm going to call some landscaping places to price options. If it's not something like twice as expensive to do the layers, we'll do that.

22 April 2007

What a difference a coat of paint makes!

Mom and dad came to visit this weekend and, as is usually the case when there are projects to be worked on, we .. well, worked on projects! Namely, we got the bathroom walls sanded, did the last coat of drywall mud, sanded again, and painted; brought some yard debris to the green dump; and did some gardening prep.

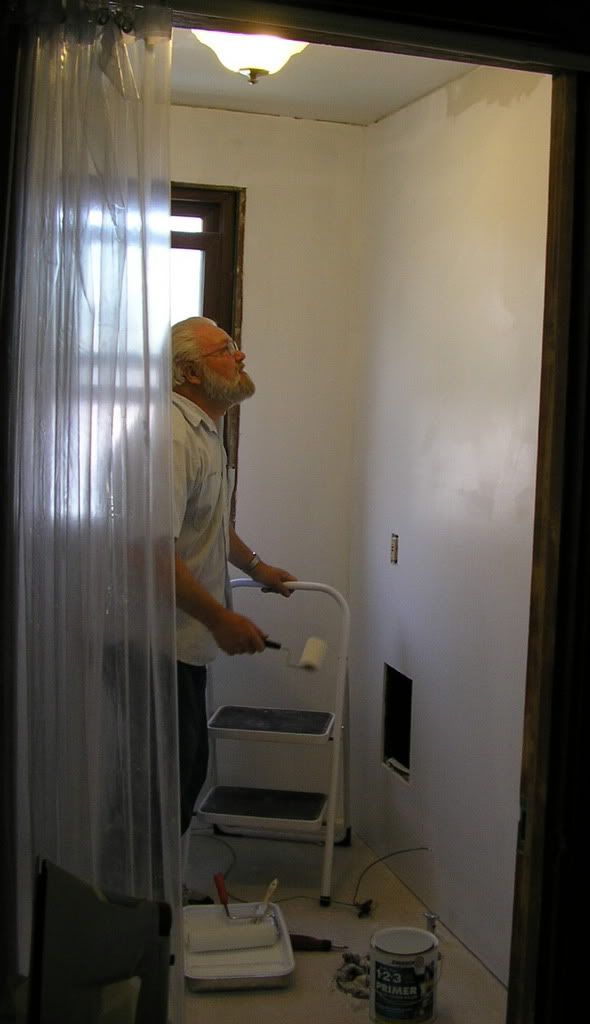
Here are some in progress shots of the bathroom.. first (because really, the sanding and drywall mud is sort of.. boring.. unlike.. watching.. paint.. dry..) the primer:


Dad predicted, and was correct, that once we got the walls all one color the room would look markedly improved; it also looked a good deal larger. Next, the first coat of the lavender paint (I don't remember the exact name), which is still a bit wet in these pictures:


Just a little bit ago, we finished the second coat (and therefore also still a bit wet):


I noticed the pictures sort of washed out the lavender, so I tried to get a shot that would show it a bit better. Not sure if it worked, though.. For what it's worth, if you click through to Photobucket for any of the pictures, the color of my default Photobucket pages is about the right color.

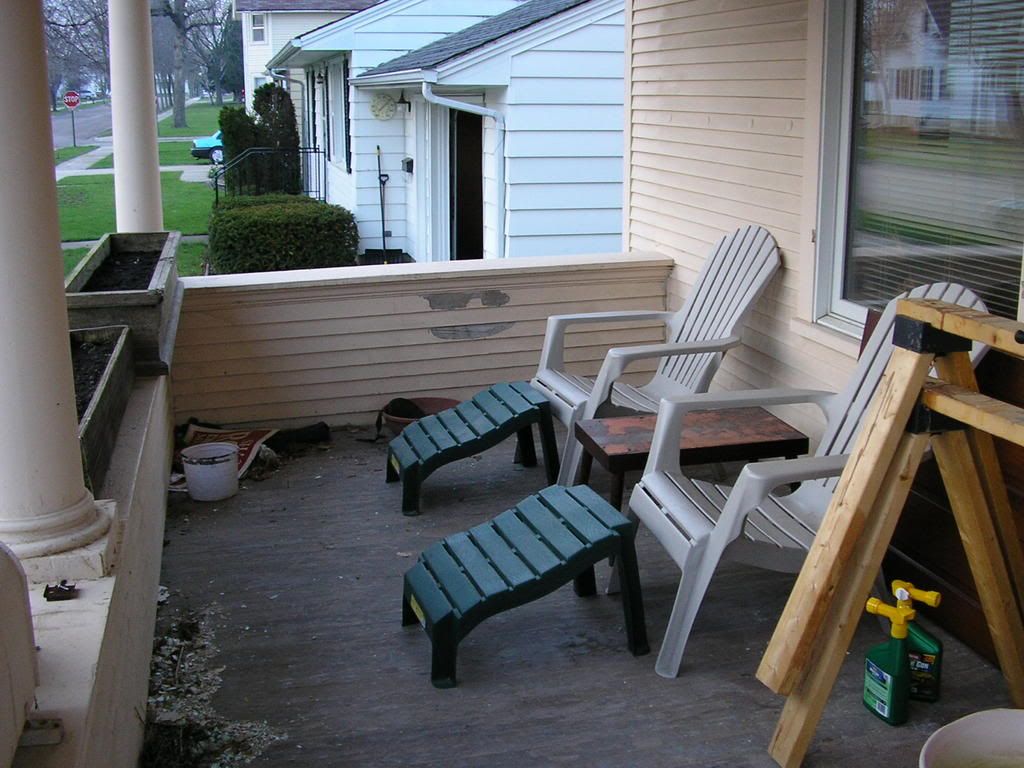
In addition to running some yard debris to the green dump, we brought the debris from the demolition of the bathroom to the dump, which meant we got our sitting area on the front porch back:


The wooden boxes on the front of the porch contain some of the composted soil we got from the green dump and some morning glory seeds. I also started some peppers - jalapeno's, Anaheim's, and a rainbow mix - but they're not terribly exciting yet. What is exciting is that we built the first of what will eventually be four 8'x8' raised garden beds:


When dad comes back in early May, we'll finish building the rest of the garden beds and fill them (at the moment the plan is to get a delivery from a landscaping supply place and do a layer of river rock, a layer of sand, a layer of composted soil, and a layer of black dirt mixed with peet) and plant the front yard (right in front of the porch; the plants for that should arrive this week). In the meantime, next weekend we'll be tiling the bathroom floor.

And since you asked.. um.. no.. I haven't really been knitting much lately. *shrug*

01 April 2007

Stairs.

Before:


This is the best shot I have of the stairs before we started doing any remodeling. This is actually from the day we closed on the house and I wasn't really focused on getting great shots of the stairs from the top, but you can at least sort of see what they had in for carpet on the stairs.

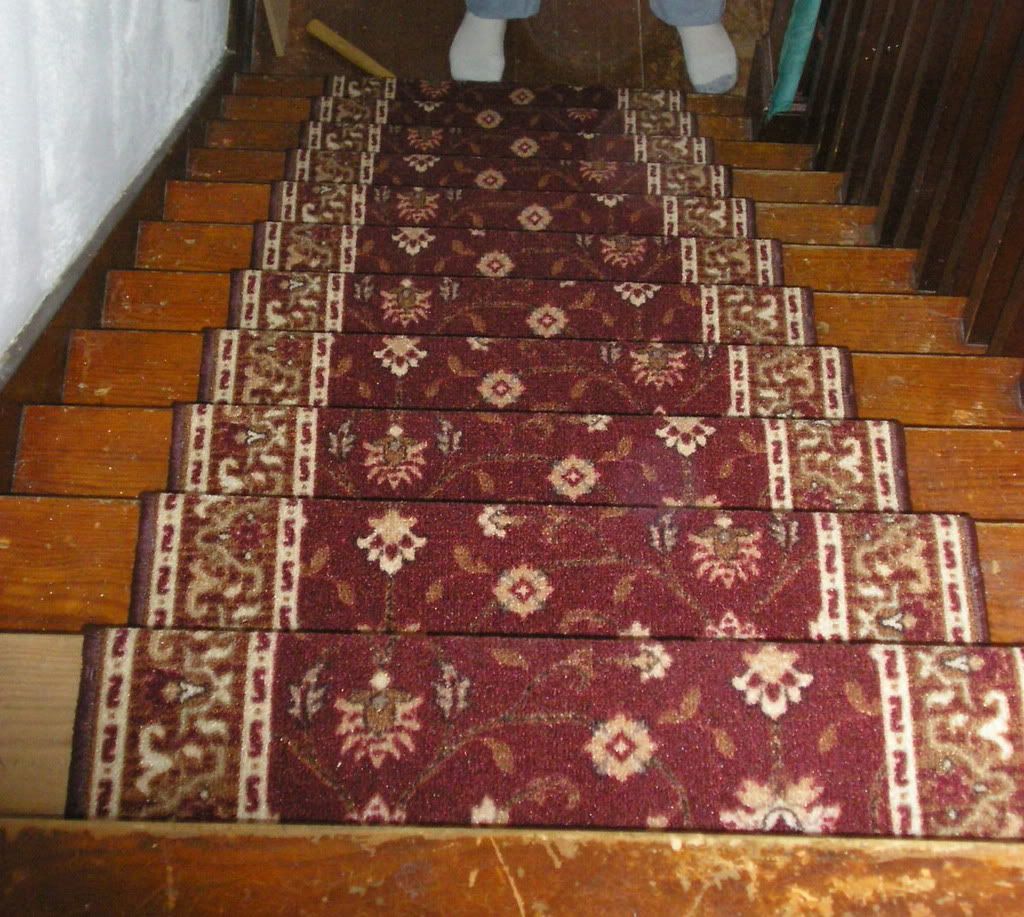
After:


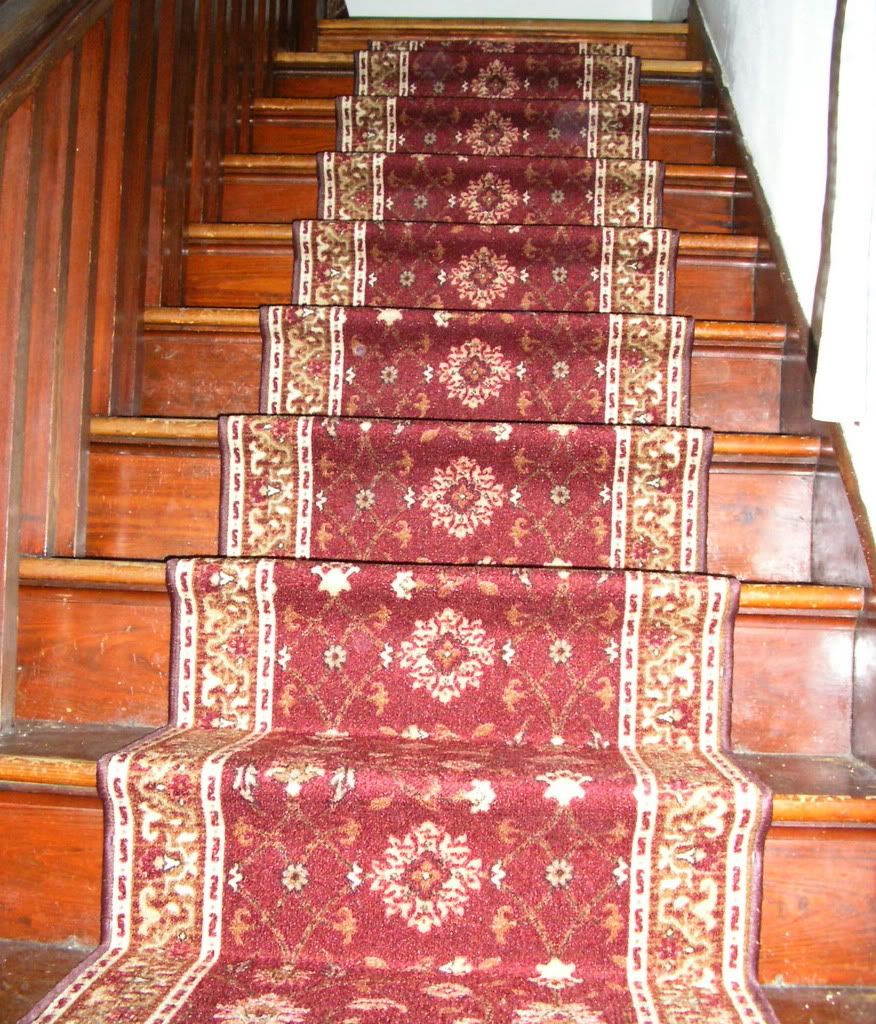
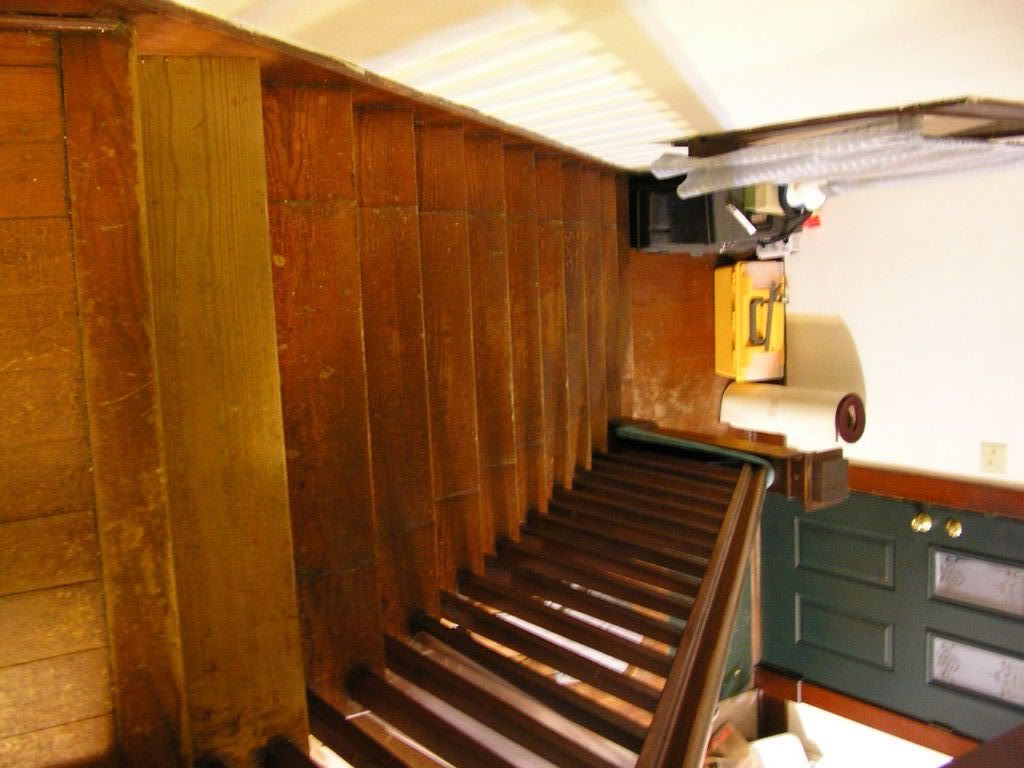
The left shot is the three steps from the landing to the upstairs hall; the middle is the main staircase from the top; the right is the main staircase from the bottom. Folks who make carpet runners for stairs are tricksy - see how the pattern lines up on each step? It's kind of neat, but totally unplanned on our part!

And this is what Jali thinks of all this remodeling nonsense:

31 March 2007

A quickie before moving on to other things..

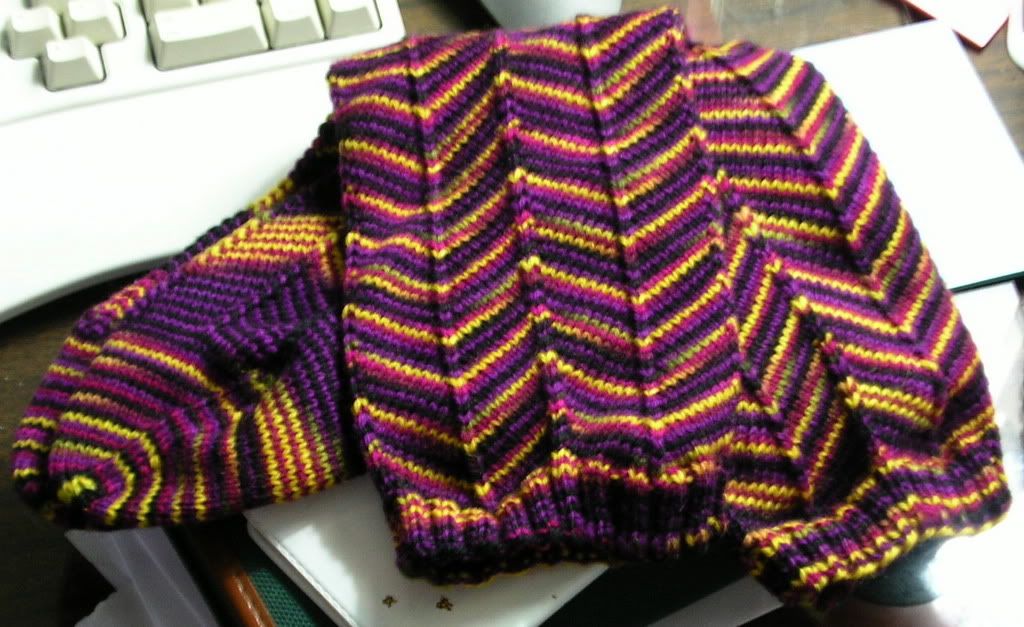
The pansy Jaywalkers are finished!


They're.. well, not my favorite socks. :/ Even though I knit the ribbing on needles a size smaller than the leg, the ribbing is loose and the leg is still a bit snug at the top, due to my shapely calves. The foot is a bit loose as well, because the stockinette for the sole should also likely have been done on a smaller needle size but switching between two different sized needles for each round would have driven me to distraction. *shrug* I'll wear them, I just won't likely make another pair.

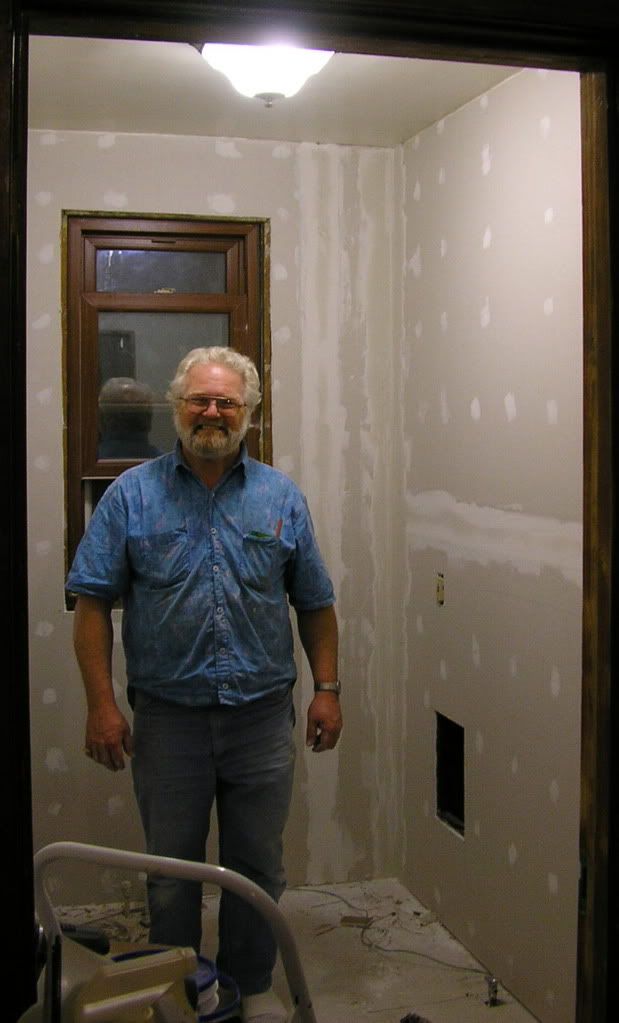
In other areas of productivity, we've been back at the remodeling this weekend. Dad came to help us finish hanging the rest of the drywall:


That's Dad hamming it up as he paused before mudding the last corner so I could take the picture. *smile* You may also remember that there was a heating vent over the large hole in the wall on the right that was painted that lovely (*choke*) green; that was picked up this morning, along with the hardware from the door, by a man who lives just outside of town who does sandblasting. We should get them back all nice and clean later this week. We won't be painting them. Ever.

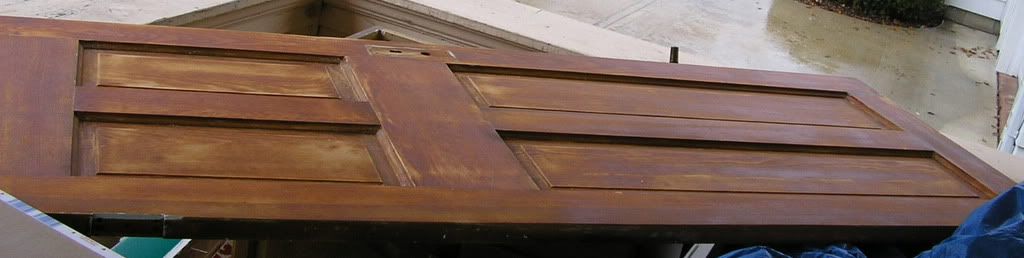
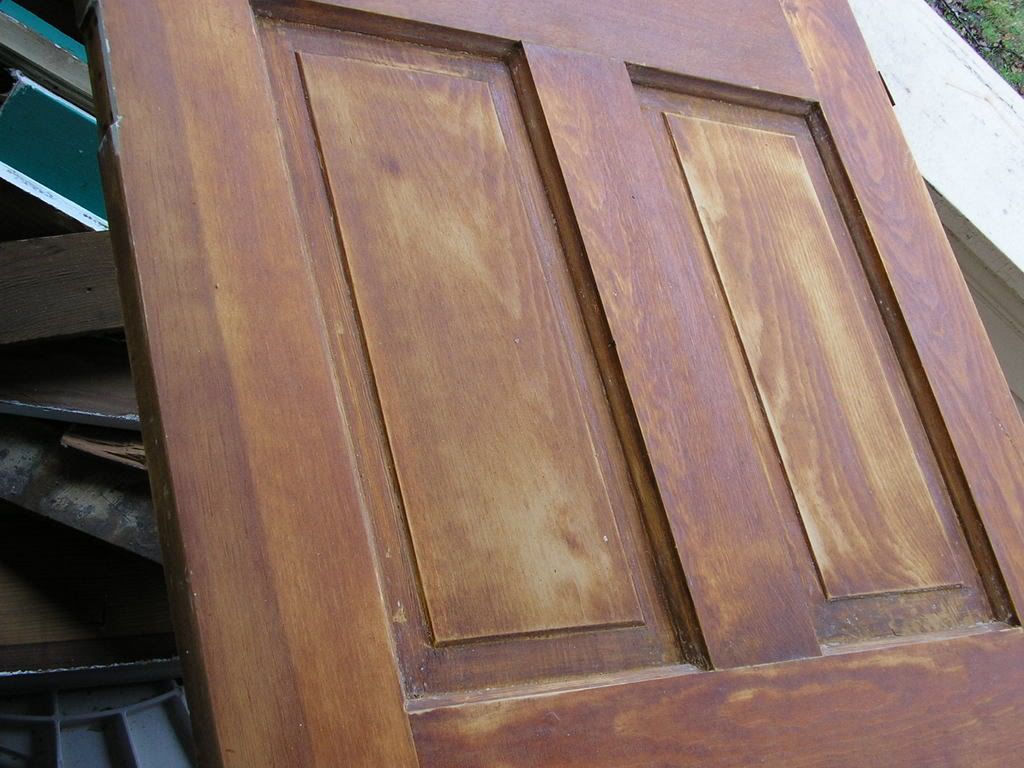
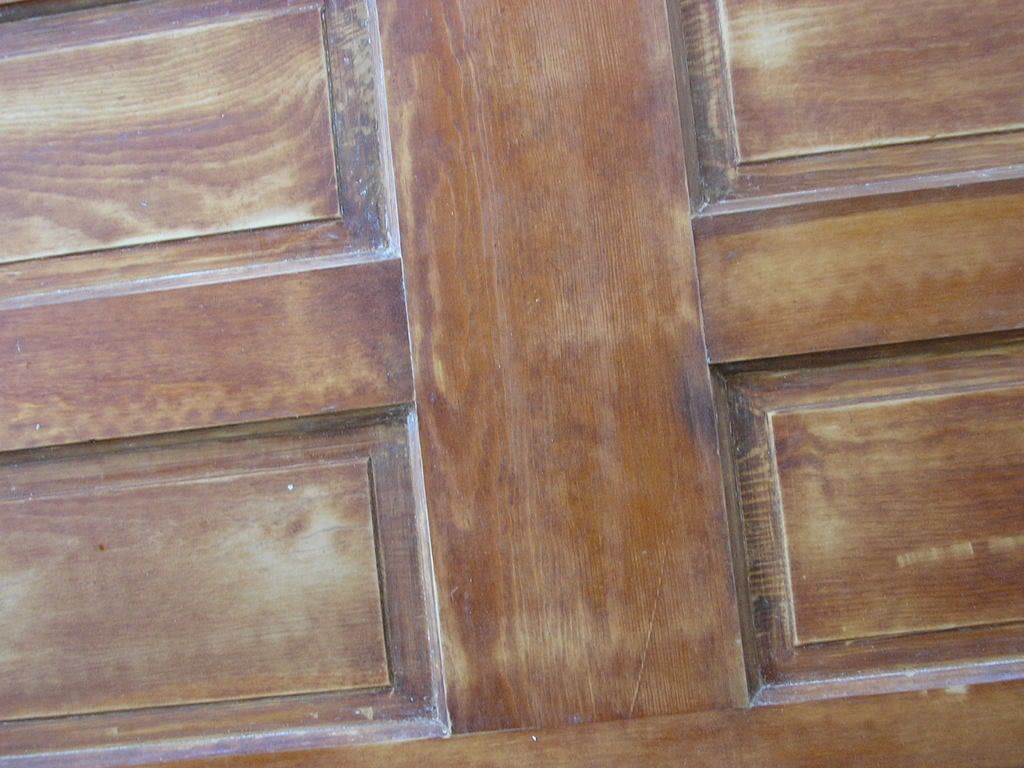
Hanging the rest of the drywall also meant that I could dig the door out from under the tarp (where it had been stored with the drywall to keep it from getting rained on - really an extra cautious step since it takes a very hard blowing wind to get rain back to the porch wall!). Now, before you look at the next set of pictures, remember that this door had been painted over completely at least four times, on top of a coat of varnish...


The worst part, not surprisingly, were the bits around the panels - they're rounded, or concave or however you describe them; the paint stripped out pretty clean thanks to the varnish underneath, but getting the varnish out required quite a bit of hand detail sanding and at least an entire pack of medium grain sandpaper. It looks infinitely better, but in truth, we still need to strip the varnish off the other side. :(

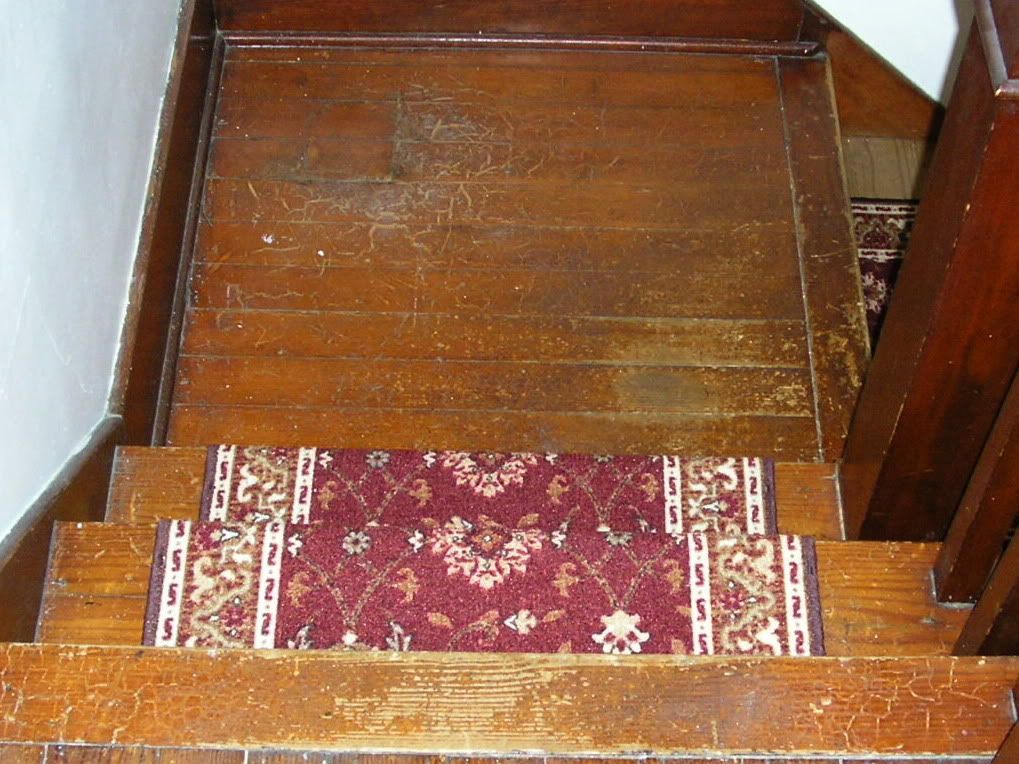
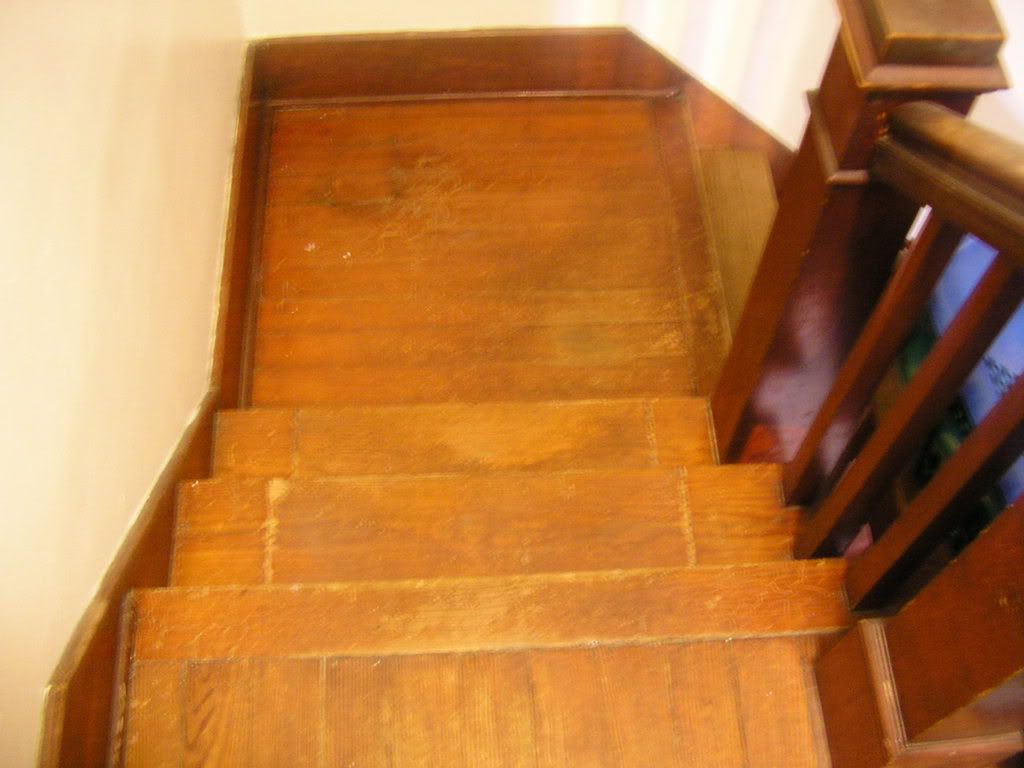
In a fit of.. something.. not quite sure what.. we also decided that it was time to make the stairs not quite so squeaky. At the moment, each and every stair creaks when you step on it. And this morning, there were rectangles of what used to be an off-white, rather thick nap carpet on each step that was *impossible* to clean - the vacuum couldn't quite get to the back corners, it was nearly impossible to clean the area up to the edge of the carpet without a toothbrush, etc. So the first step was to rip out all the little carpet pieces. Fortunately, they weren't glued down, just nailed, so while dad was mudding corners upstairs, I pulled nails out of the stairs, swept and mopped:


They're still rough - they really need to be properly refinished, but that's a bigger project than we're ready to undertake at the moment, so we're doing what we can with the knowledge that we'll need to undo it at some later time to do it all properly.

Tomorrow, Jack will nail the steps all down again, which dad tells us should stop the squeaking. Once that's done, we'll put in the carpet runner I picked up this evening:


(You can really see how bad the stairs are in this shot.. *cringe*) I think it will look really nice with the woodwork, but it does somewhat limit our options for painting the wall in the stairwell. *shrug*

25 March 2007

A different type of fiber..

Specifically, fiberglass.

This is how our upstairs bathroom looked Wednesday (all pictures are clickable thumbnails; click them to get a bigger version):


You can see that we've already started ripping up the linoleum flooring, and that we've removed the sliding glass shower doors, but otherwise, very little has changed. Yet. (Yes, we had lovely hardwood floors throughout the upstairs.. lovely hardwood floors that someone decided to cover with linoleum. Poorly, at that.) Note the absolutely atrocious paint - that's some brand of aqua green and it's the same as the color I'm trying to eradicate from my kitchen. What you can't see in the picture is that they also painted the entire door a combination of this aqua and white - an entire, old, farmhouse door with four recessed panels. The most egregious part of this bathroom, however, isn't clearly visible from the door.


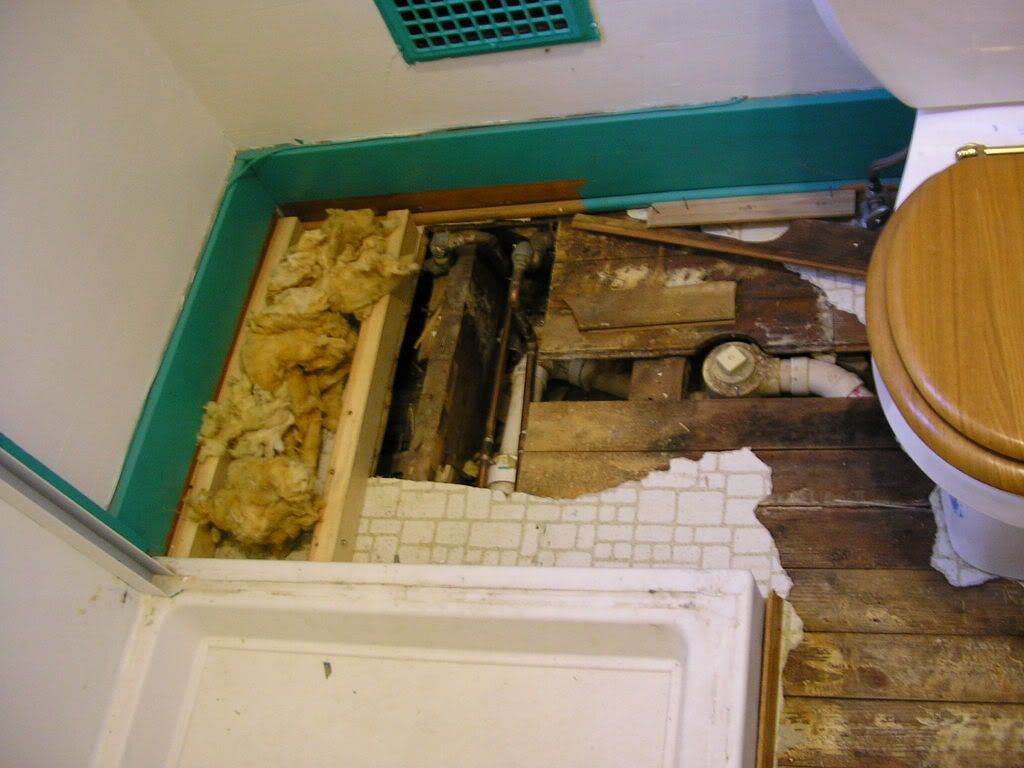
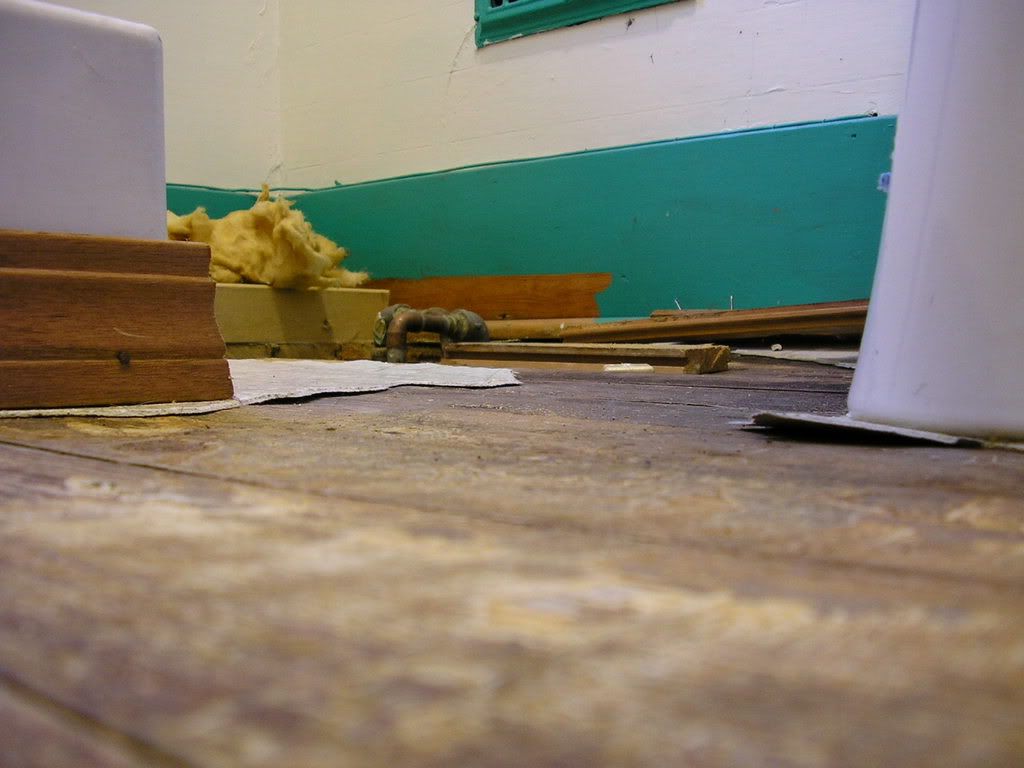
Those are two shots of the plumbing nightmare that Dumba$$ Do-It-Yourselfer who decided that a 5x8 foot bathroom needed a shower concocted. You'll notice in the second shot, which was taken with the camera resting on the floor of the bathroom, that the copper pipes come up above the level of the floor. Presumably, this was done to allow the pipe to travel over a floor joist (though we're not quite sure why that was necessary at all) rather than acquiring the tools to route the pipe through the floor joist. To cover this unsightly mess, said DDIY built a shoddy "box" out of 2x4 and plywood that created a still unsightly and unstable step up at the back of the bathroom. Also note that there's a sewer trap that's just barely visible in the second picture that also comes up through the floor boards. This trap was installed for the shower and connects to the toilet sewer drain.

We decided some time ago that there is no need for this house to have two full bathrooms (or rather, 1 and 3/4 bathrooms), especially given the terror that was the upstairs bathroom. We've speculated that this bathroom may at one time have been the only bathroom in the house and that there may have been a small-ish clawfoot tub where the shower was installed. However, the owner prior to us had an addition put on the first floor that consisted of a large full bathroom and a back entry/laundry room, so there's no longer a need for a full bathroom upstairs (and we've never used the shower, not least because the drain in the floor was set 1/2 an inch too high so it wouldn't drain properly). The first order of business, then, was to remove the damned shower:


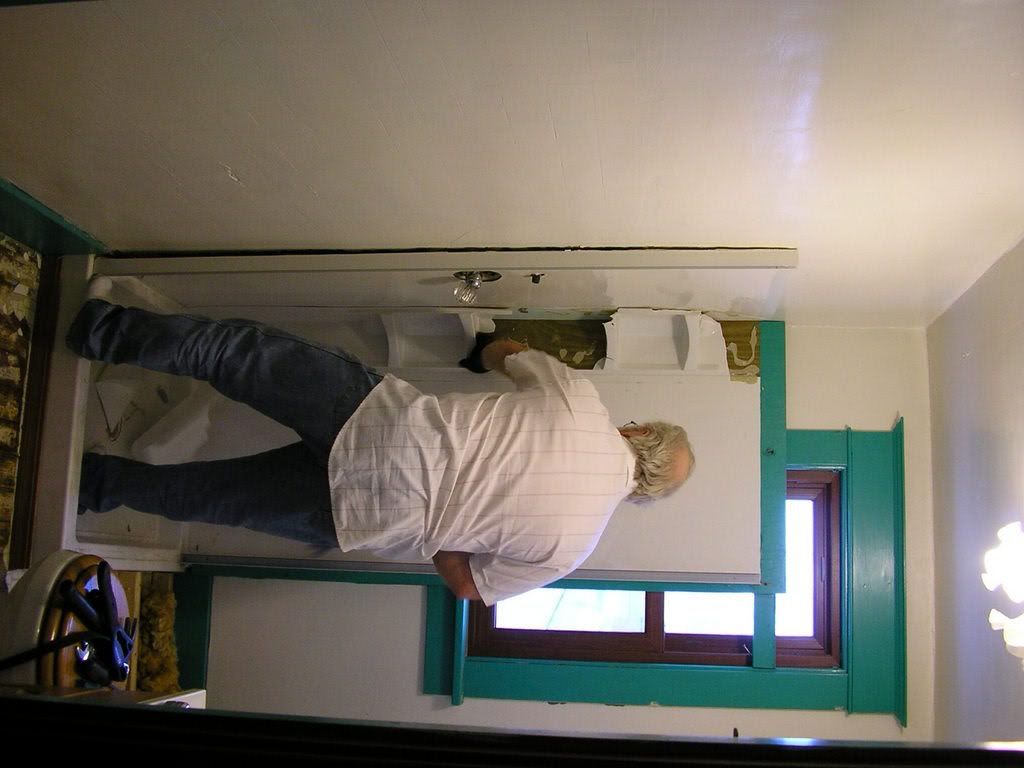
That's my dad - who is really quite an accomplished carpenter, plumber, electrician, etc. This is at least his fourth bathroom remodel - he did the bathroom in my parent's home some twenty years ago and has more recently constructed and/or remodeled both bathrooms in my sister's house extensively. We hope this will be his last bathroom remodel, but there are no guarantees!

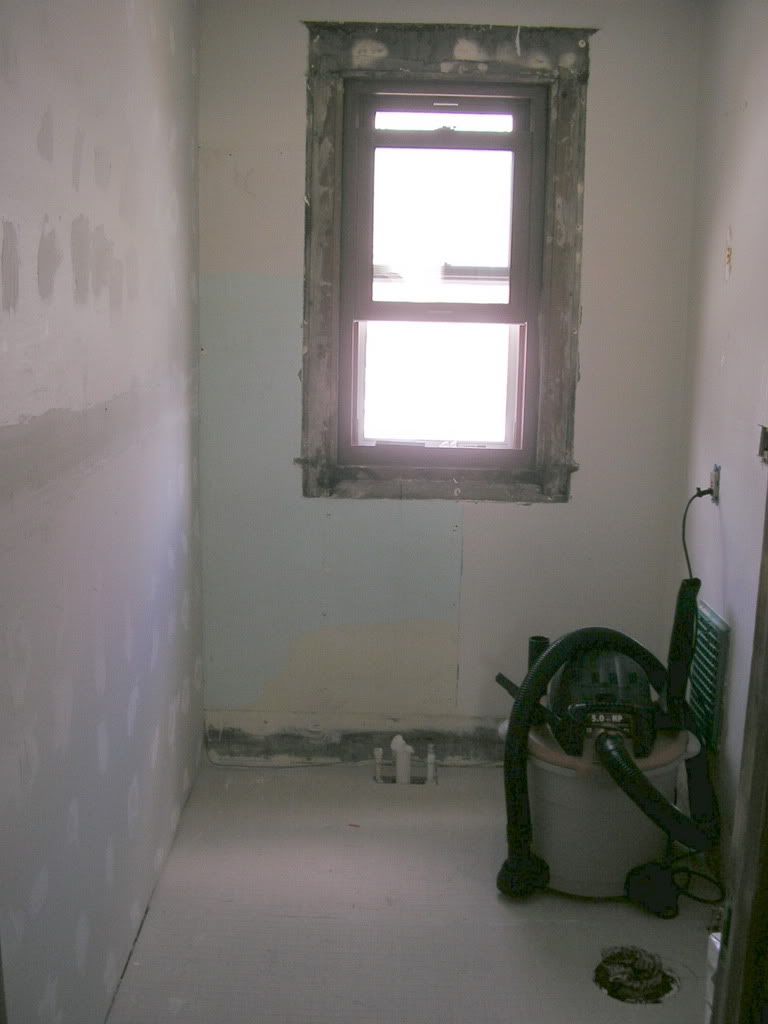
At any rate, you can see pretty clearly the mess they made in installing this shower. To begin with, the room simply isn't big enough, so in order to brace the back wall of the shower, they had to install a piece of 3/4 inch plywood that covers most of the window. They then proceeded to epoxy the shower surround to the plywood and the adjacent wall. We had to utterly destroy the surround to get it out, but both glass doors were salvageable.

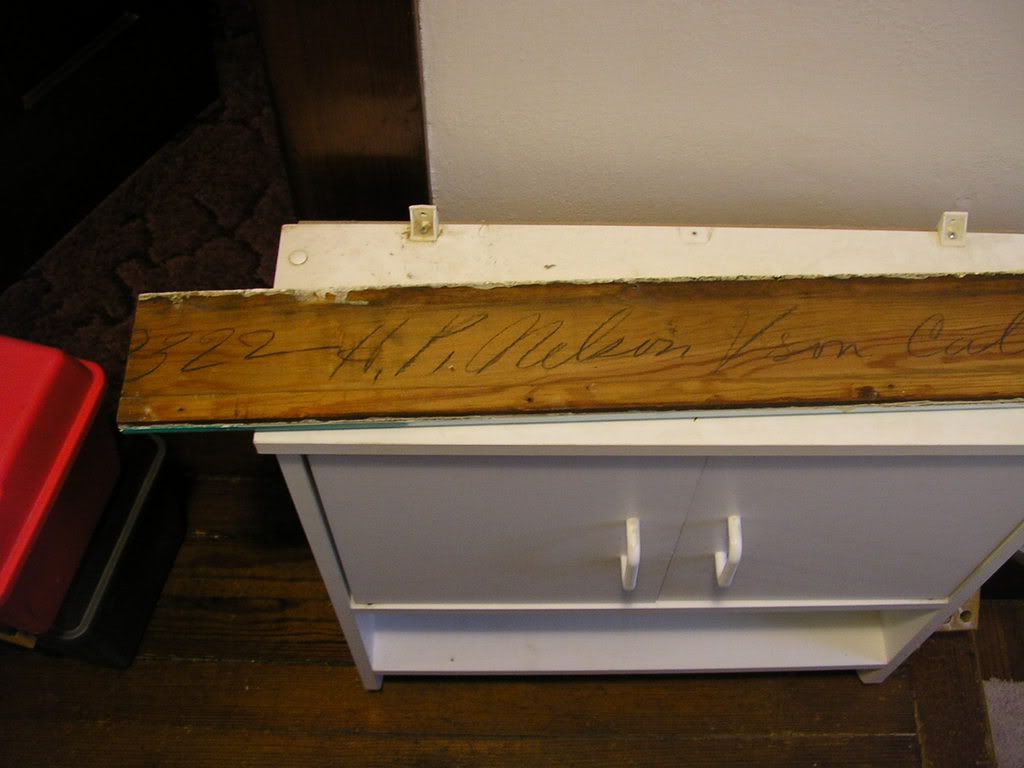
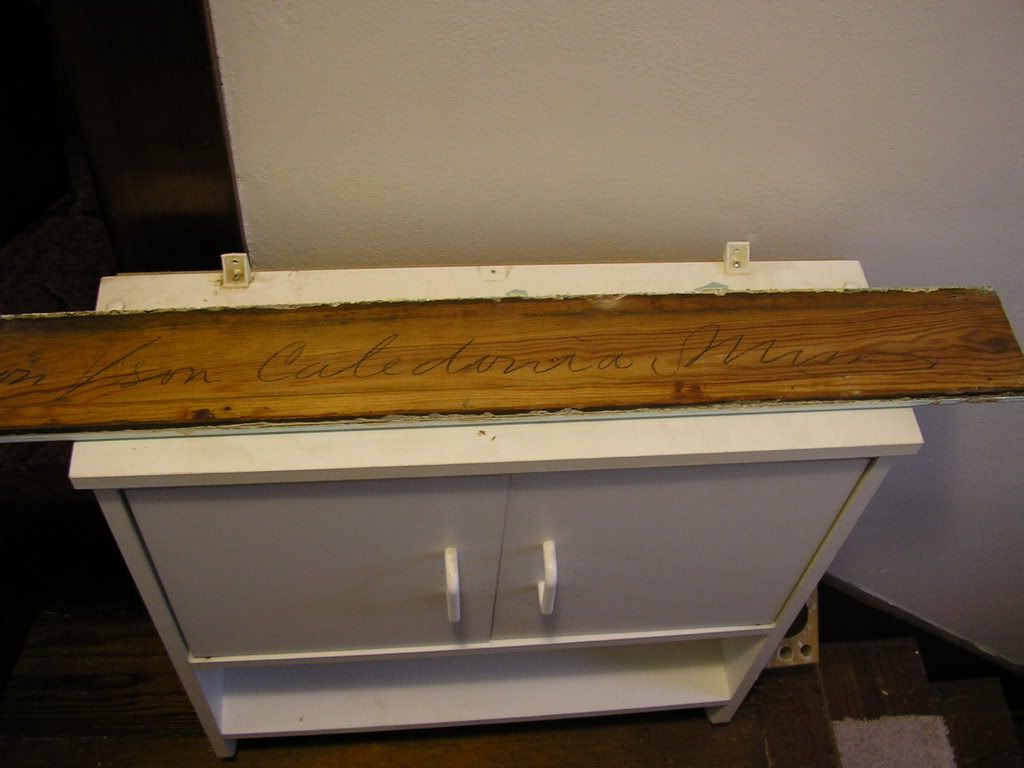
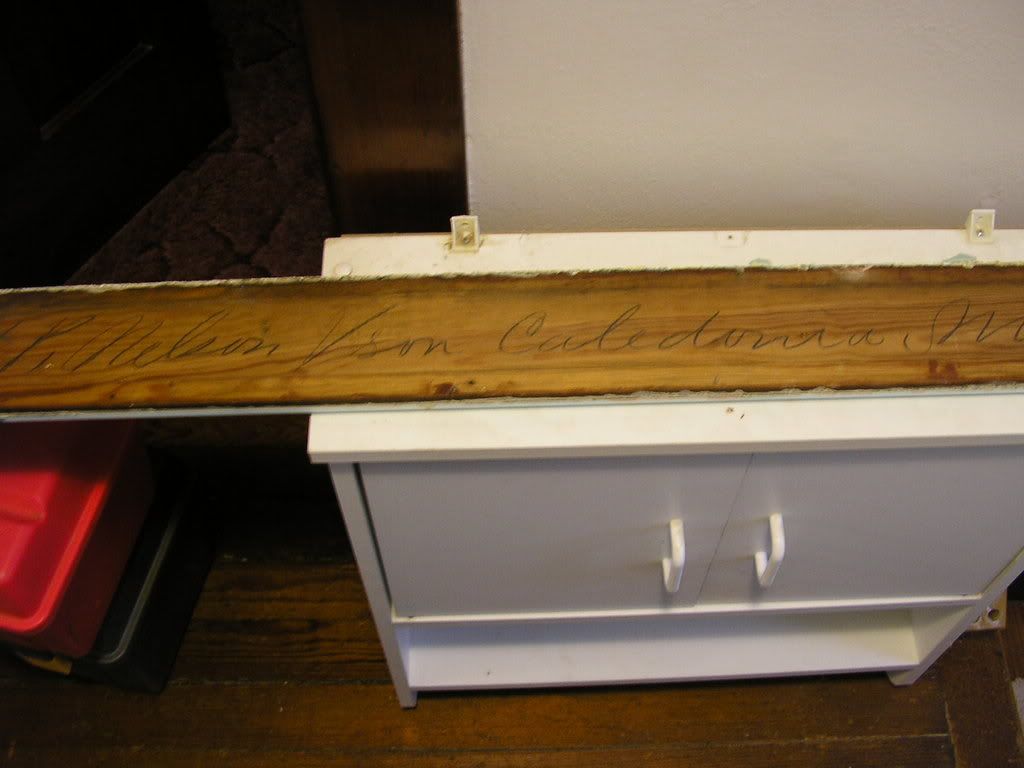
We removed all the trim in the room because the better part of it needed to be replaced anyway; they cut through the window sill to install the shower, so we need to completely reconstruct the trim around the window. We didn't think it was worth stripping the paint off the 6 inch kick board, or the door trim, so we'll be replacing it all with something likely smaller and pr'bly more modern (for better or for worse) once the rest of the room is finished. In so doing, though, we found that the lumber for the trim in this room (and likely the whole house) was supplied by H.P. Nelson & Sons, Caledonia, MN:


Up next, we wanted to move the vanity. We're almost 100% certain that the vanity has been in the front corner of the bathroom since the house was built because they worked the lathe-and-plaster around the drain and the water pipes. However, we wanted more counter space in the bathroom and without a tub or shower by the window, there's plenty of room to put in a 4 foot vanity and still leave adequate space around the heating vent. So we moved the vanity and sink over by the window. (By the by, if anyone knows someone in the SE MN/SW WI/NE IA area who wants a 30 inch wide by 22 inch deep bathroom vanity and sink, have them contact me.)

Because the shower was already plumbed (albeit poorly), we didn't have to run new water pipes up to the bathroom; we just had to fix the ones for the shower and route them properly through the floor. (We also capped the water pipes and drain for the old sink.) We opted to move the only outlet in the room from the front corner to the back corner so it would be closer to the new vanity, and to remove the built in medicine cabinet that was above the old vanity.


The plumbing and electric work took dad the better part of Thursday, Friday and Saturday. In the meantime, I stripped the paint and old varnish off the door (no pictures - it's out on the porch under a tarp with the remaining drywall at the moment), which involved no small amount of detail sanding. Sometime after dinner last night, though, we were able to lay the first concrete board for the new floor:


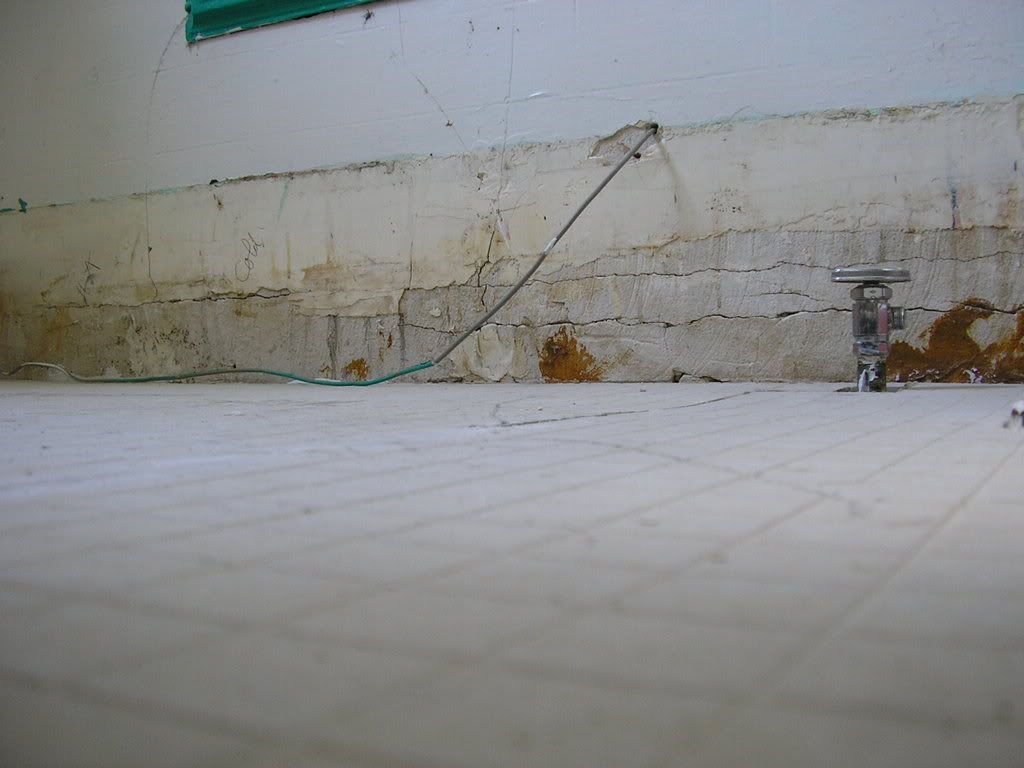
You can also just barely see the new outlet in this shot, as well as the fully unobstructed window and the mess of the wall left after we removed the shower. The wire that you see along the back wall is actually our phone line, which was glued in behind the shower and tacked to the kickboard to run through the room into the den, which is the next room over on the right.

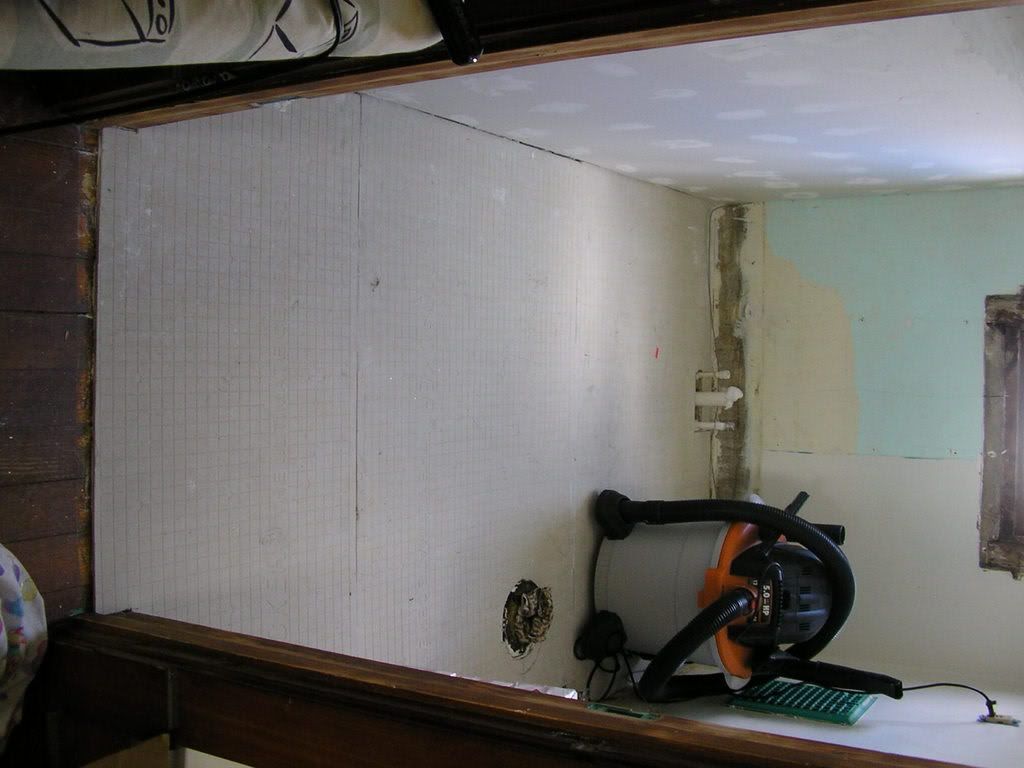
This morning, we laid the rest of the concrete board for the floor and hung the drywall on the left hand wall:


Dad will be coming back next weekend to help us finish hanging the drywall (he has a small bit of plumbing work left, too: the old sink drain is capped, but sticks out too far from the wall, so he needs to open up the wall and remove the elbow just inside to put the cap inside the wall), after which we'll prime and paint the room (we picked up a lovely lavender paint) and then lay down ceramic floor tile (a matte grey that looks like chiseled rock) over the next few weeks. (We'll put the toilet back in after next weekend so we can use it in the interim; not that it's necessary, just nice in the middle of the night!) Dad will be back in early May, at which point we expect to finish the last bit of floor tiling (some of the tiles will need to be cut to go around the toilet and the plumbing for the new sink and we're not quite up to that job without supervision!) and install the vanity & trim.
All in all, it's been a very productive and moderately exhausting week, especially as all of this remodeling fell immediately on the heels of a work-related trip to South Carolina for three days. That said, I'm very, very pleased to have this project started and well on it's way and can't wait to get the rest of the dry wall hung so we can start the painting and tiling in earnest.