Showing posts with label peek-a-boo. Show all posts

19 February 2007

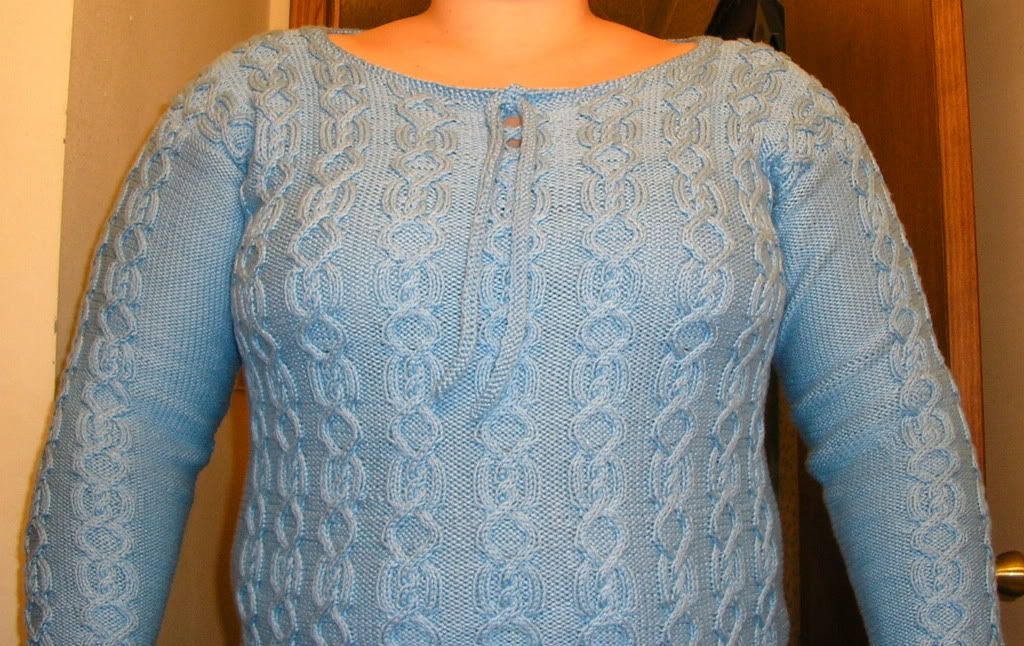
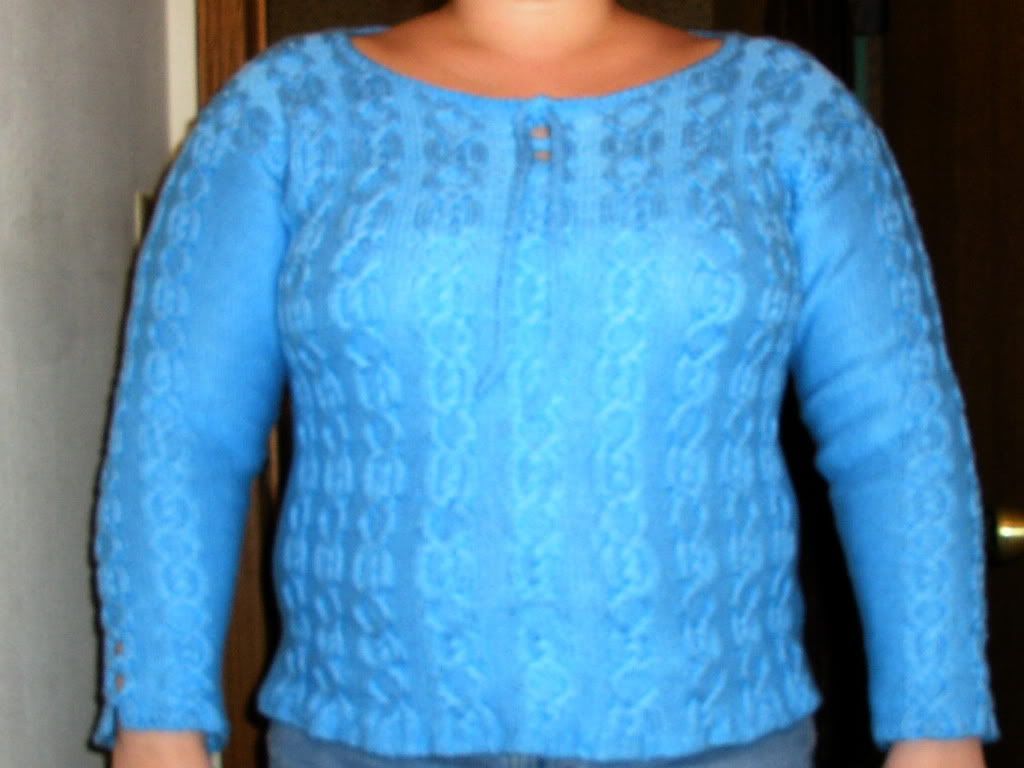
Peek a boo! I see you!


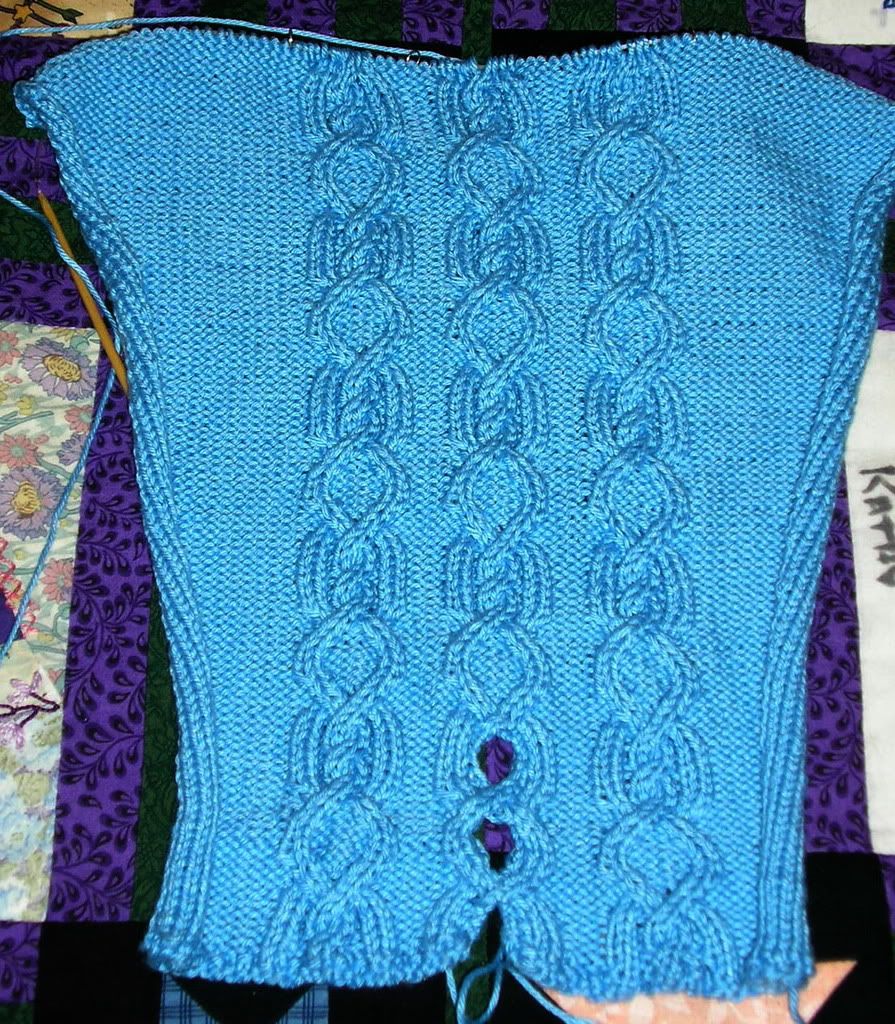
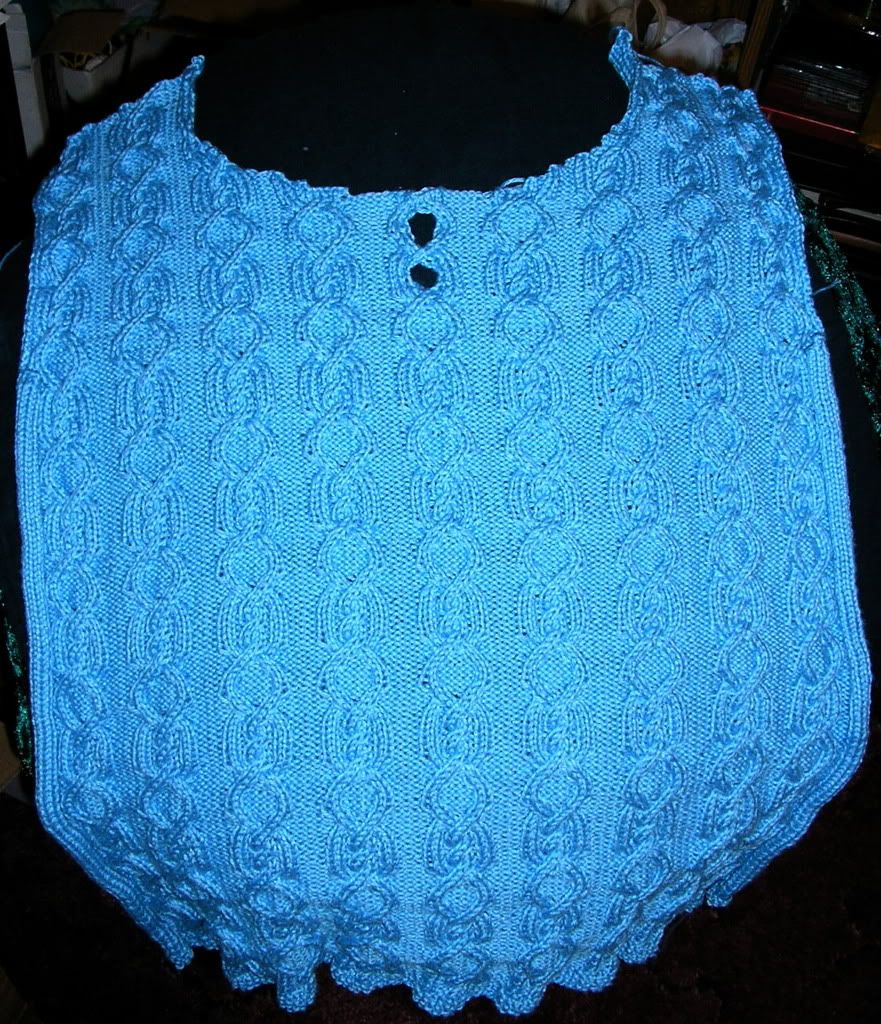
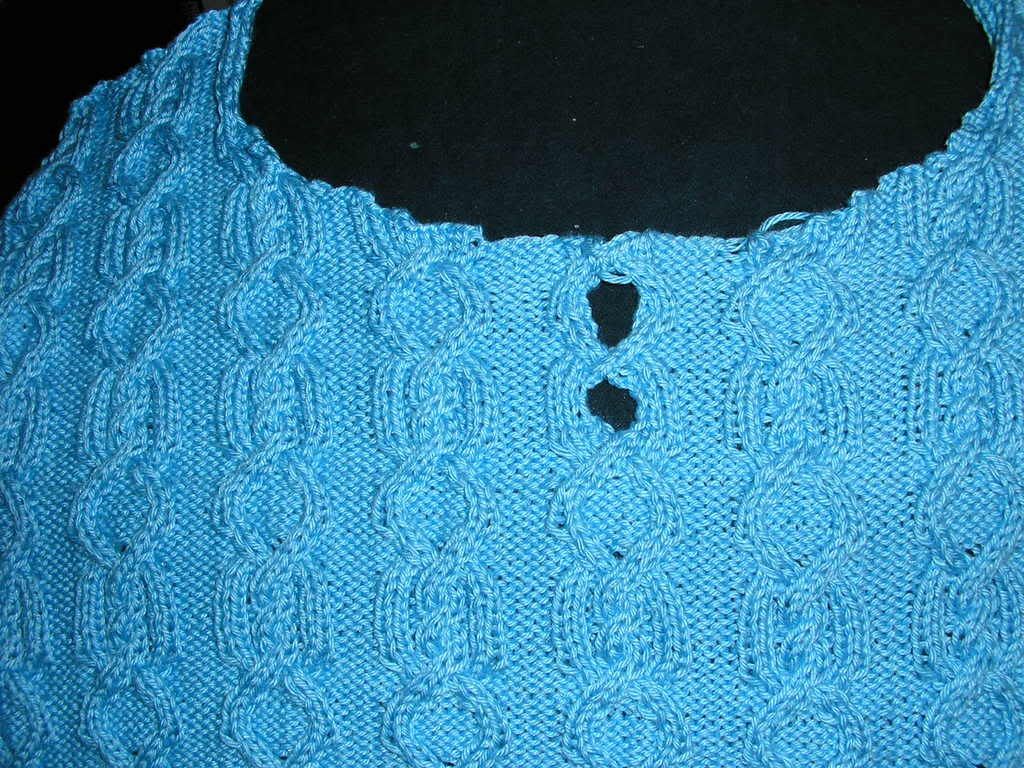
All done! (Sorry the photos suck; the modeled ones even moreso.)


The first picture is blurry, but more color accurate; the second is not blurry, but completely washed out.

*sigh*

I'm a little worried that the arms will be a bit too small - I have fat arms, though, so maybe it won't be quite so tight on the recipient. I need to remember to include a note with care instructions, though. It's cotton/modal and I don't want her to wash and dry it and have it be too small. In any case, I'm giving in one more blocking round now that the seams are in, so it pr'bly won't get sent until later this week.

13 February 2007

Teapots, part three!

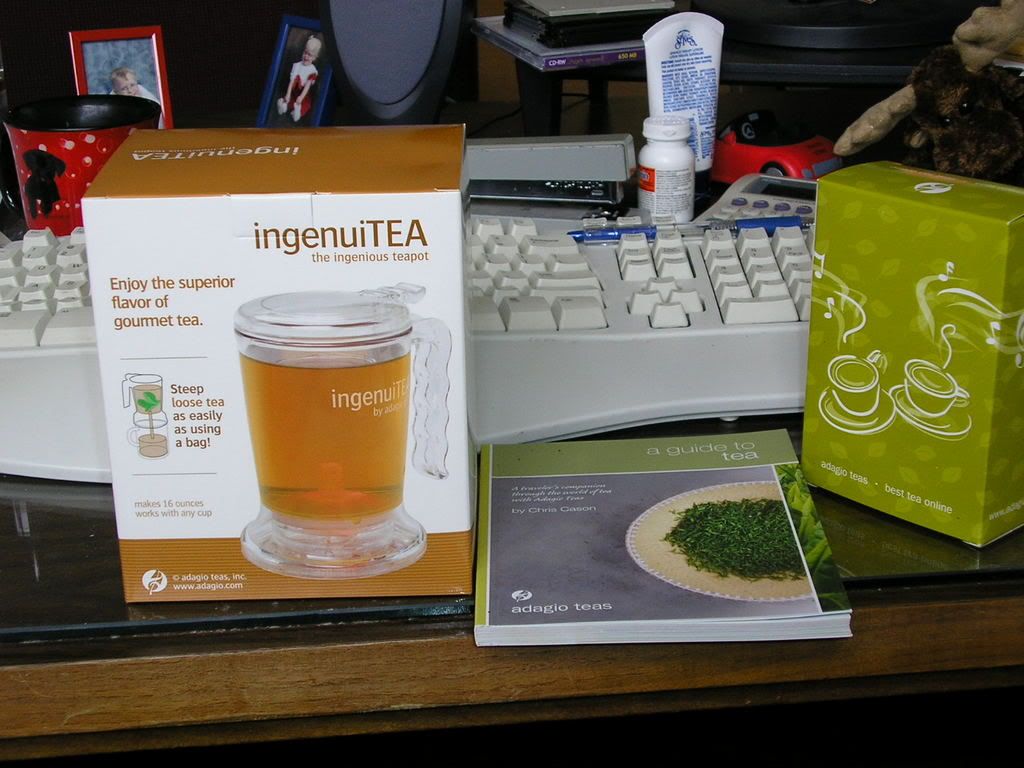
It came!


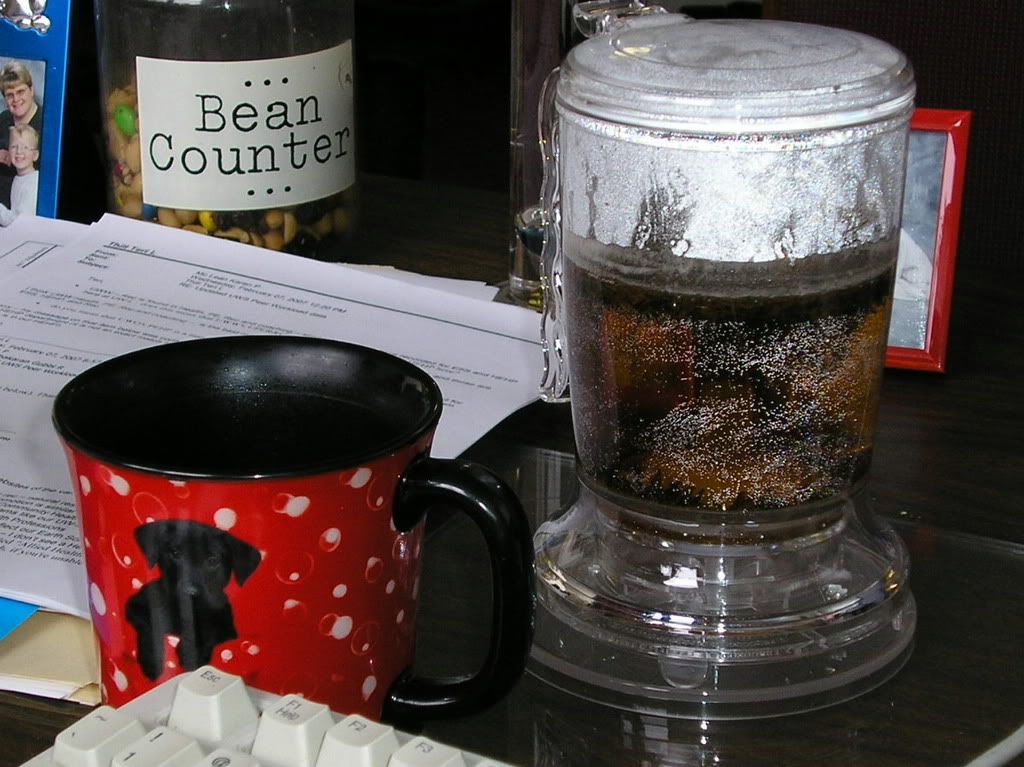
It's bigger than I expected (the pictures below help with scale), which is neat. And holy "samples" man! The little box on the right contains four not-so-sample-sized tins of flavored tea - oriental spice, vanilla, mango, and strawberry. There's pr'bly enough for 10-12 cups of each flavor in the tins! Having been on a chai kick lately, I decided to try the oriental spice first.


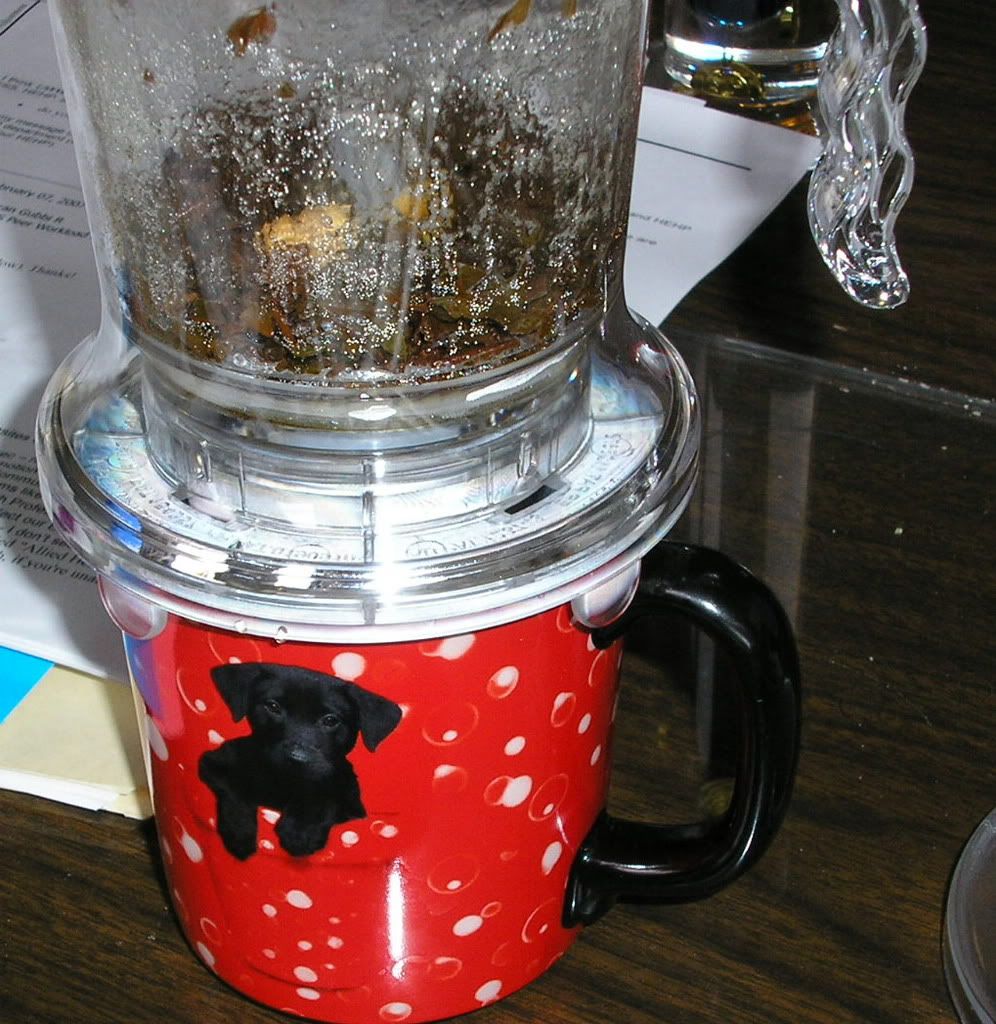
It took me a few minutes to figure out how it works because I thought the little video on the website showed a lever that you slide to make it pour, but you just set it on the cup to make it pour (there's a little piece that slips down to block the water from pouring, but the edge of the cup pushes it up out of the way).


And I was almost stymied in my quest to try it Right. Now. because the sewer pipe for my building has apparently decided to back up which means not only do we all have to trek out to another building to go to the bathroom, but also that we aren't allowed to run any water or pour anything down the drain. Fortunately, I bring in water every day from home (the water here has a chemical/cholorine taste), so I just needed to decide it would be okay if I drank tea out of my unwashed cup from yesterday.

MMmmm.. I need to learn more about how much tea is enough - the oriental spice was tasty, but not quite strong enough.. or something. Maybe it just needed a little milk. I guess I'll have to make another cup and try that out. *grin*

In other news, do you know about the DeStash blog?! Evil thing. I've added it to my blogroll just in case something irresistable comes up (because, you know, between several pairs of socks, at least three sweaters for myself, and at least one more bucket hat, I don't have enough projects).

Speaking of projects, though, I finished the second sleeve for Peek a boo in the car this morning (all but the last cast off because I think this one ended up a row shorter than the other and I want them to match; the other sleeve is at home so I'll have to check tonight). I'll try to get the pieces blocked tonight, but I have a planning meeting with the Board officers for HCWR from 6 until about 8, so I may be wiped out by the time I get home.

So that means I need to figure out a commuting project to start tomorrow. I need to make another bucket hat, but since I'm stubborn and didn't want to buy a 16 inch circular when I could make five dpns work just as well, it's not really a good project to toss in a bag until it gets past the brim part. I have yarn for Celtic Icon (but not the yarn used in this picture; I have Knit One Crochet Too Angora Soft in Light Moss & Moss from Webs) from Inspired Cable Knits, a sweater kit from Blackberry Ridge, and the Easy Lace Jacket kit (which I was a bit surprised to find included Cascade 220 for the yarn) from White Lies Designs, all for me. I feel sort of obligated to do the Blackberry Ridge kit first, both since it's the oldest of them but also because it's going to quickly be too warm to wear it comfortably. But the Lace Jacket is whispering things like "but I'll be quicker", so I'm a little torn.

11 February 2007

Teapots, part one

I've had a cold that seems determined to stay squarely in my throat for the past couple of weeks. While this is all sorts of annoying, especially the first week when it made my throat so sore I could hardly swallow (yes, I was cultured, no it wasn't strep), it has forced me to reacquaint myself with tea.

I am generally a coffee drinker, but I can't drink coffee - usually not even decaf - after noon or I don't sleep well. With this cold, I needed something hot to drink in the afternoons that wasn't cocoa, which is usually far too sweet. I am what could only be described as an occassional tea drinker, but I do appreciate good teas. What's more, I'm also an occassional potter and as such, have made a couple of teapots on my time, some as gifts, but two that I've kept.

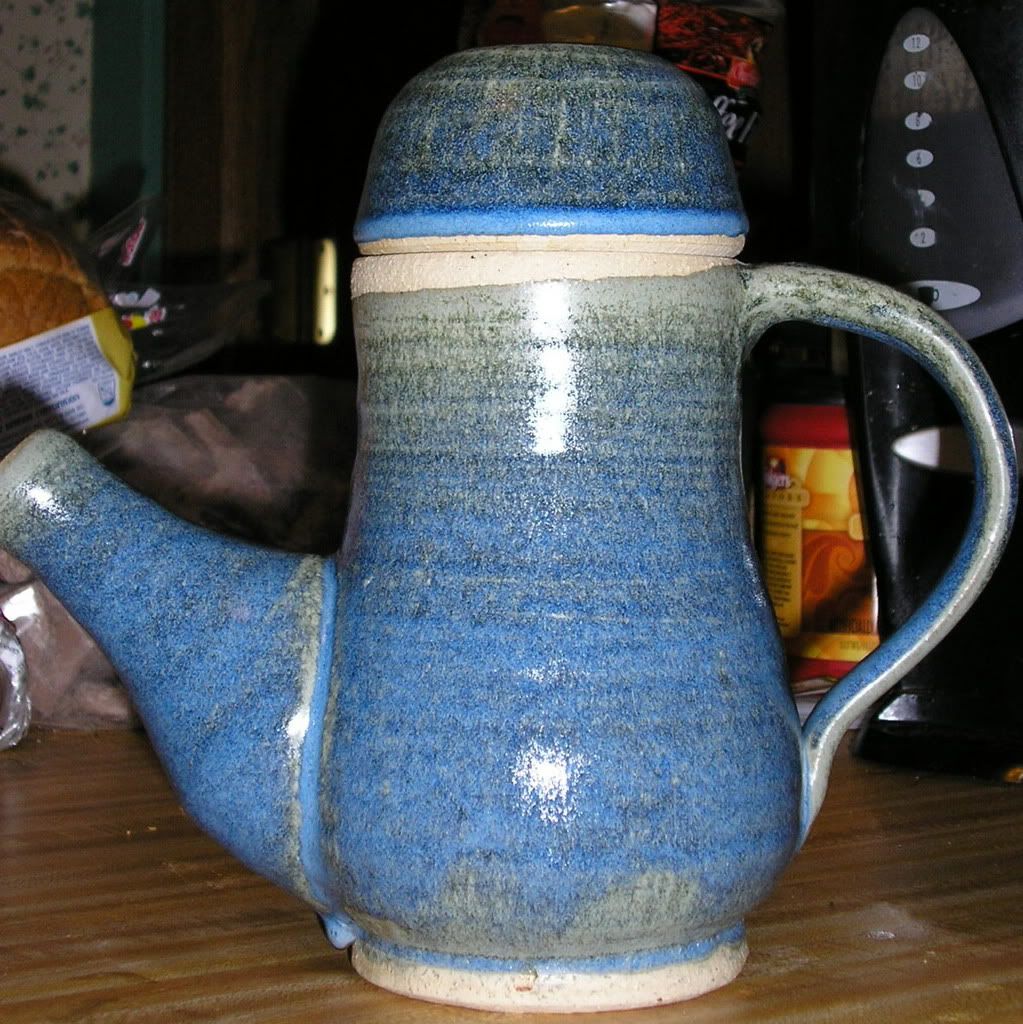
This is the larger of the two and one of the pieces I'm proudest of.


A couple of general comments on teapot construction to start with. First, teapots are generally heavy and somewhat thicker than other pieces. This is so that they hold in the heat a little longer. A tea cozy will also help with this, but I've never been motivated to make one.

Second, they're typically thrown on a wheel in three pieces - the main body, the spout, and the lid - with a pulled handle attached at the leatherhard stage. Putting together the pieces can be tricky, so usually when throwing a teapot, it's recommended that you throw at least one main body and matching lid, but two or three potential spouts. When you put the teapot together, you identify where you want to attach the spout to the main body and then cut the appropriate slant out of the spout so that it matches the point of the body where it needs to attach. This is not necessarily as easy as it sounds, which is why you usually throw more than one spout. When you have the spout ready, you outline it on the main body and then carve holes out of the main body where the inside of the spout will be so the tea will pour through. You can just carve out the whole spout area, but I usually carve out smaller drain holes so that I can leave the tea bag in the pot and not worry about it getting stuck in the spout.

Third, it's important to remember physics. Because the spout and the body of the teapot are essentially one vessel, the water/tea level will be equal in both parts when you fill it. In other words, you can only fill the teapot to a level equal or lower than the bottom of the opening of the spout. You'll notice in the above teapot that this means that the actual capacity of the teapot does not include the tall neck. Even with this limitation, this teapot holds at least two decent cups of tea.

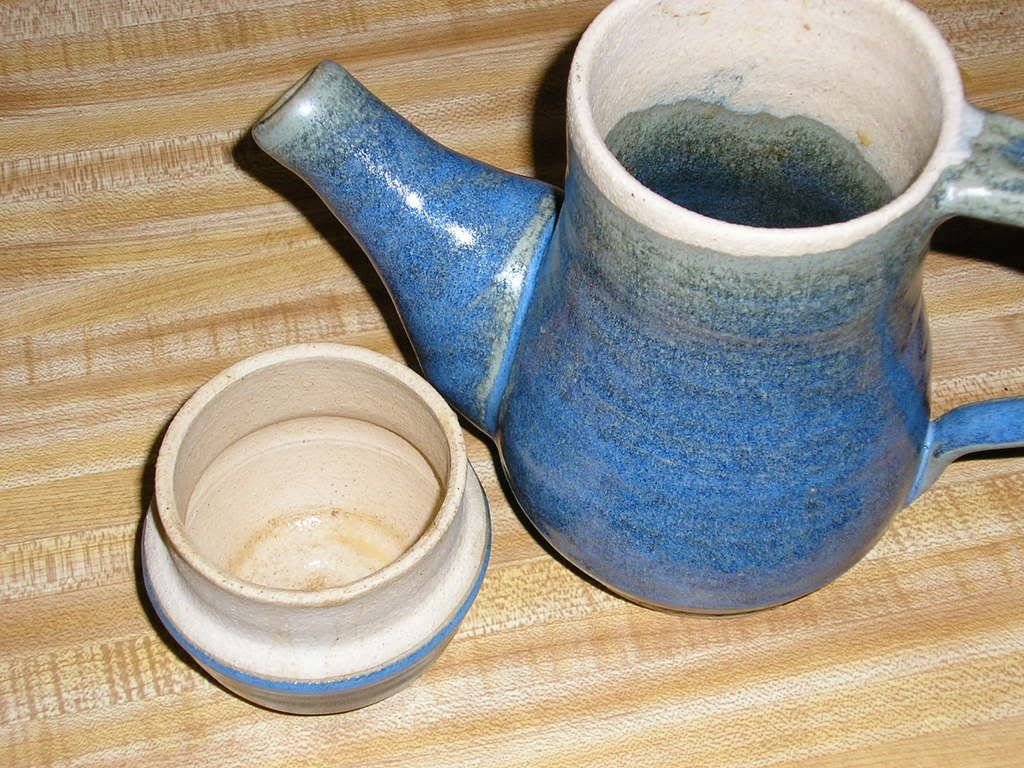
However, the reason this particular teapot is one of my favorite pieces is because I was somewhat clever in designing it. The lid is also a tea cup, you see.


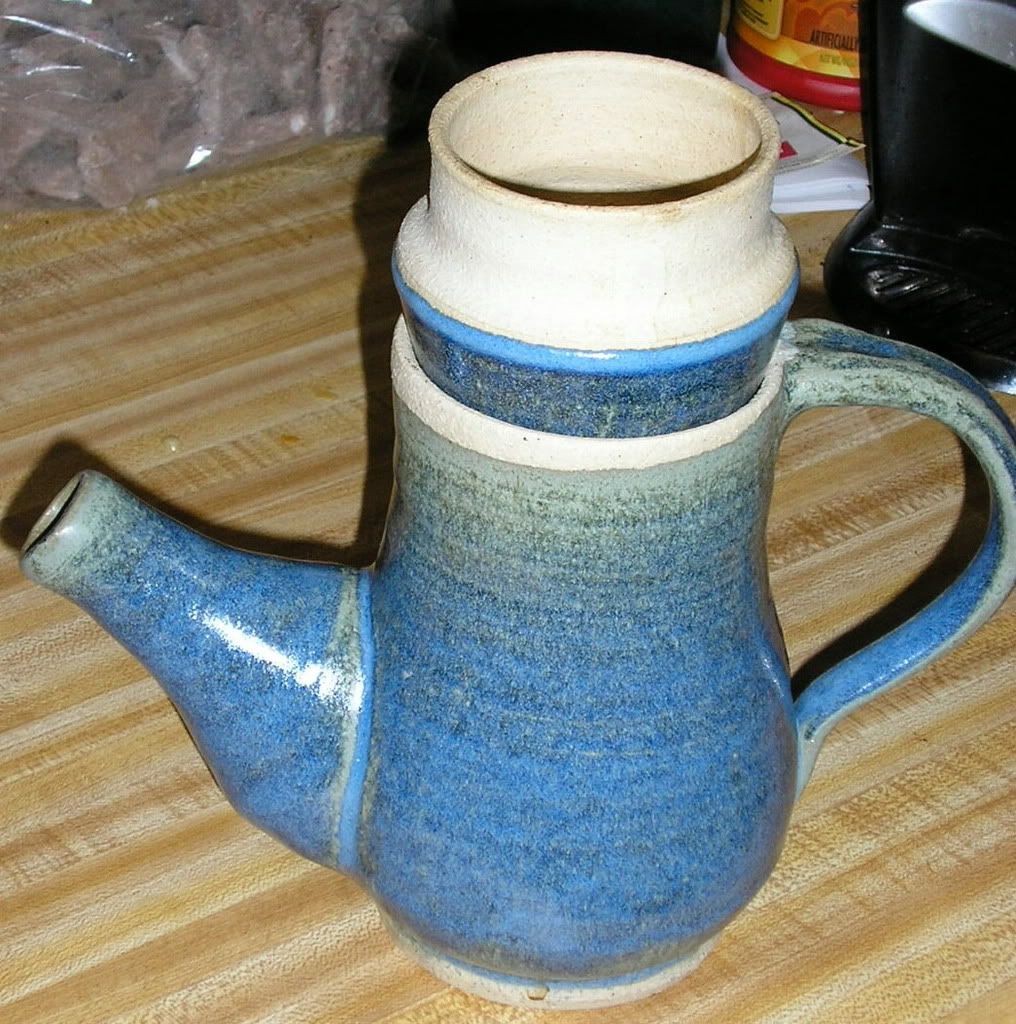
So, I can make tea in the teapot, leaving the lid on while it steeps and then just flip the lid over and have my tea cup ready to go. The steam from the steeping tea warms the cup so the tea in the cup stays warmer a little longer. As an added bonus, the lid fits over the top of the teapot "upside down" as well - which allows the tea in the pot to stay warmer longer, and keeps the tea cup warm at the same time.


So, while this is one of my favorite pieces, it hasn't been used much until this past week when I found myself craving a warm beverage I could drink at any time. The larger capacity makes it ideal for home when I'm unlikely to be too distracted by other things to finish the pot while it's still warm.

My other teapot has migrated to work in the last week, and I'll try to remember to take pictures of it and talk about it tomorrow. It's not nearly as clever, but it's better suited for use in the office.

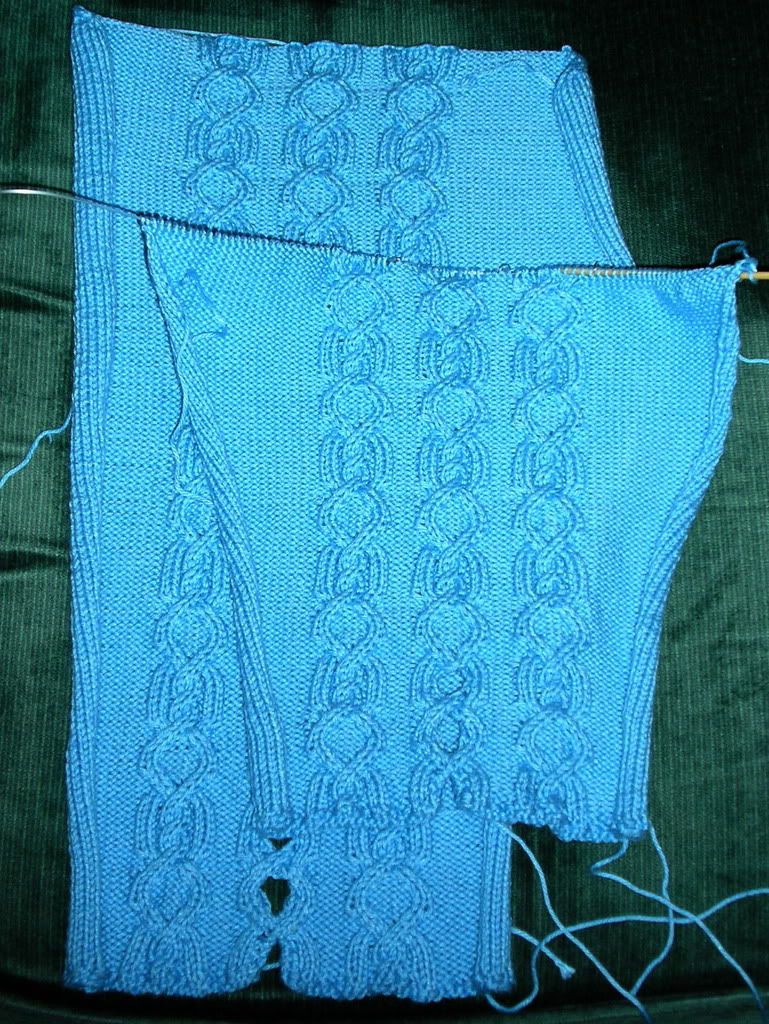
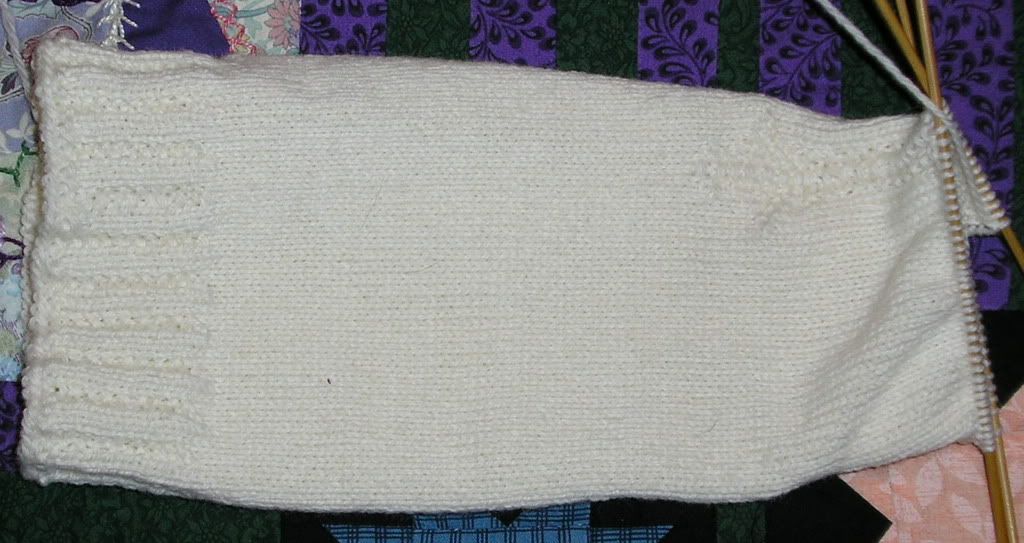
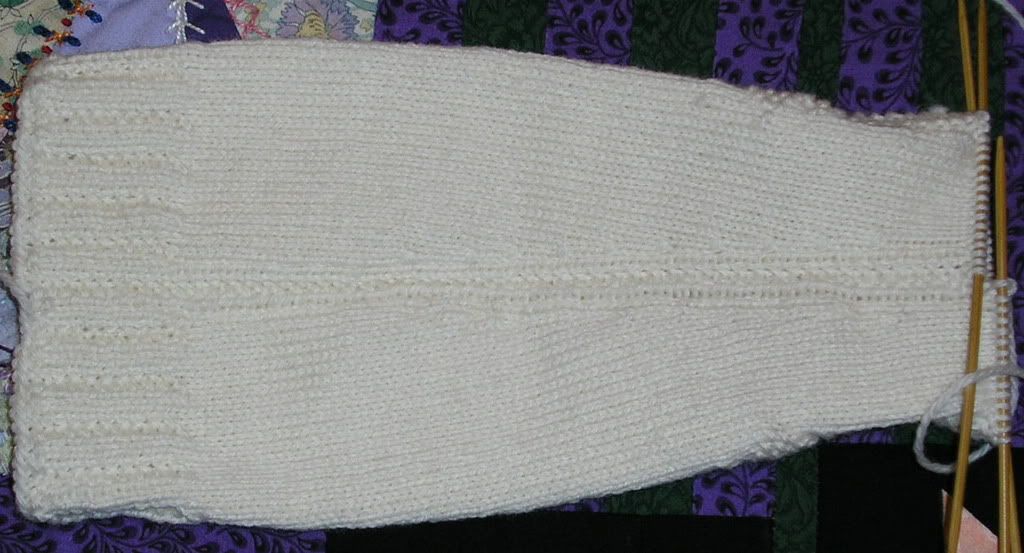
And lest you think I've been a complete slacker since finishing the stockings last week, here's a picture of the Peek a boo sleeves in process:


The first sleeve is finished and the second is a little more than half complete. Because the sides of both sleeves are all reverse stockinette, they roll in pretty terribly; the finished sleeve is much wider than it appears in this picture. As this is a gift, it has a deadline of later this month, which I don't think I'll have trouble meeting. I'll need to block each of the pieces separately before seaming, which will take a couple of days, but if I get it seamed next weekend that's still plenty of time to get it off to the recipient.

Then I need to decide what to start next..!
16 January 2007

As promised..

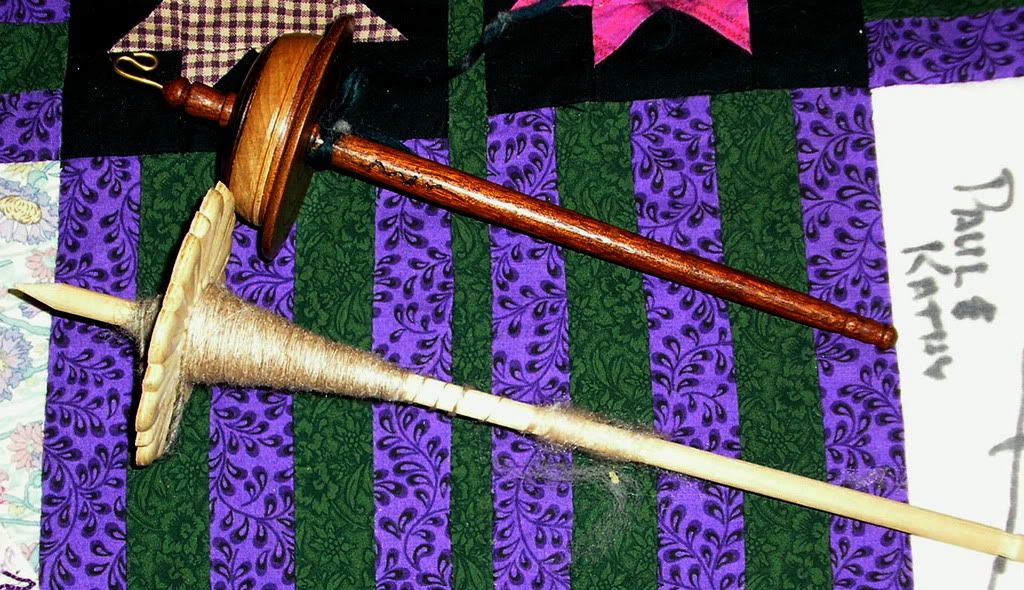
I didn't manage to do it with natural light, but here's a picture of the first of the baby camel/silk tussah top singles:


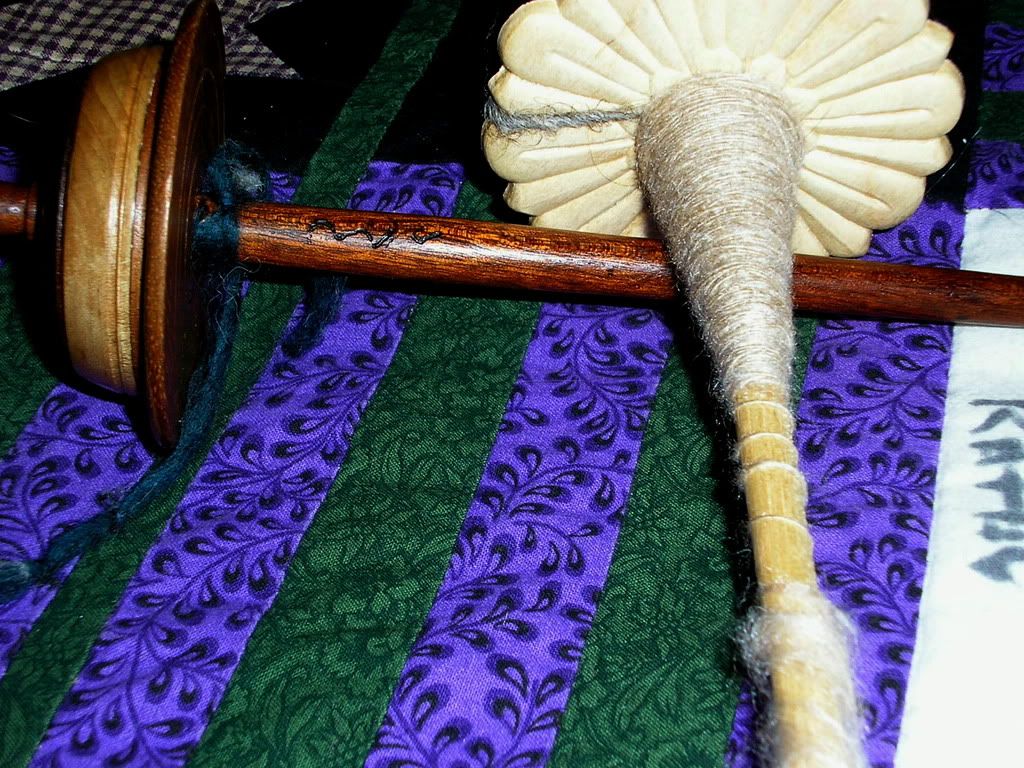
I tried to get it from a couple angles as it's sort of shiny and the flash does funny things. I also wanted to get a shot to compare the lighter bottom whorl from Pixel with my top whorl from Cate. The bottom whorl has a longer shaft, so I'll have to remember to try to spread the singles out up the shaft so it doesn't get too "bottom heavy". I also managed to get two shots of what I assume are the makers mark on my top whorl.. I don't recognize it, though, and keep forgetting to ask Cate who made it! Oh, and I believe Pixel did the carving on the bottom whorl, which is really quite lovely.

I'm still trying to figure out the best way to draw this stuff. The silk seems to want a long draw, but then I end up with unevenness in the yarn, so I've been working with a shorter draw, but then I get occassional clumps where I draw a bit too much. There's lots of this, though, so I imagine by the end of it all I'll have figured it out. I'm also giving this quite a bit of twist; I don't know how much crimp camel has, but I know the silk has none and I don't want the yarn to fall apart when I try to ply it.

And the progress to date on the Peek a boo sleeve:


The sleeves are going much quicker than the front/back, which is very nice. This is getting set aside for the moment, though, because these:


.. have an earlier deadline. It was really difficult to get a picture that showed any of the clock detail. I'll have to try with natural light and no flash to see if that makes it better, but by the time I managed to get time to take a picture in natural light, I suspect at least one of these will be finished. I'd be a little farther if I hadn't had to rip back through three of the calf decreases because I didn't read far enough in the directions and didn't start the clock where it should have been the first time. Even so, this is going pretty quick, even on US 2s.

15 January 2007

Bed time.

Hopefully I'll be able to find time tomorrow during daylight* to take pictures of the following:

  • The first singles from the baby camel/silk top roving I got from my Secret Pal. I found one of the spindles I was given a while ago by Pixel that was light enough that I thought I could give it a go. It's a bottom whorl spindle, so I had to remember how to do the half-hitch thing, and the shaft could use a once-over with some fine-grain sandpaper, but I was still able to get a decent start on it.
  • The first of the largesse stockings. I cast on for it Sunday and except for some adventures in spacing the calf shaping decreases due to slightly larger row gauge and completely forgetting to start the clock pattern at the appropriat time, I'm finished with the calf shaping and the clock.
  • The first Peek a boo sleeve, to date. I worked on it through Friday and it's about half finished I think. The stockings will likely go faster than I suspected they might, though, so I'm not too concerned about finishing Peek a boo in time for the intended birthday.
Tomorrow night I also need to package up my last package for my Secret Pal. I've rather enjoyed spoiling her, but I can't go into it more until she gets the last package. *smile*

* This is, unfortunately, unlikely. I'm in meetings from 8 until 4 straight, without even a break for lunch, and I suspect that the last half hour there might be spent trying to put out whatever fires might have erupted during the day. I will try, though.

10 January 2007

I've been trying to write this post for several days..

.. yeah. Sorry!

I finished the front of Peek a boo this weekend:


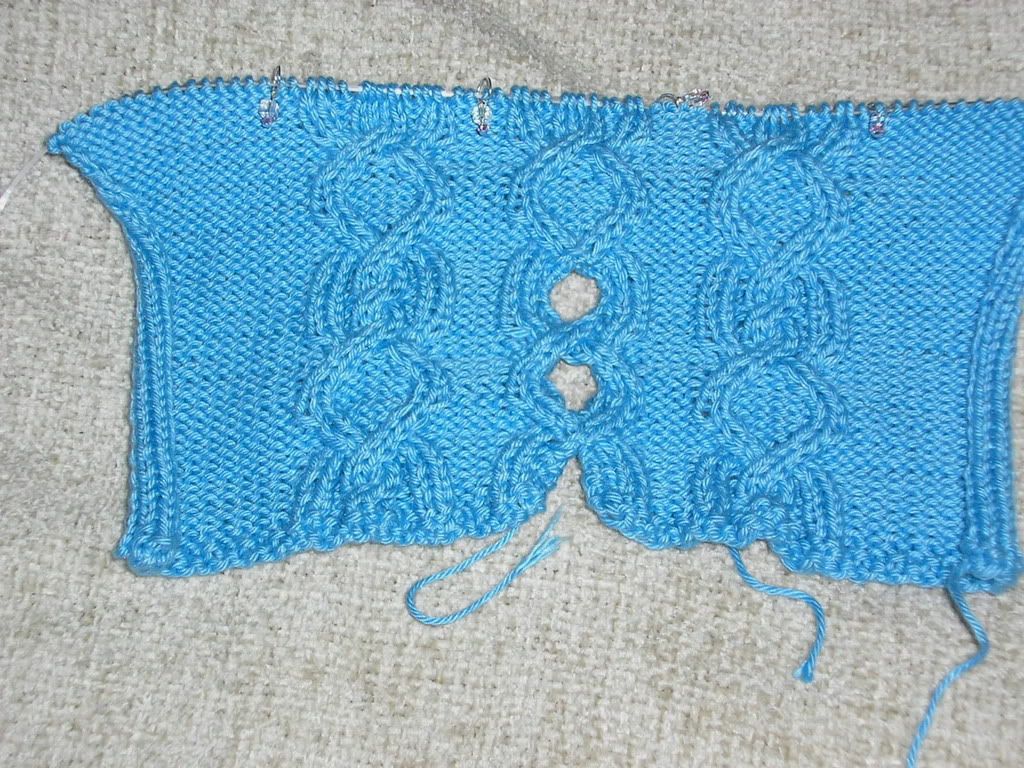
The little peek-a-boo bit in the front looks messy to me, but I'm hoping that once the ends are woven in and it's blocked, it will look better. I'm really glad to have the two big pieces of this one finished. Like I said, I do like it, but I'm either bored with it or with the yarn. :/


This is the start of one of the sleeves. The peek-a-boo bit here looks much neater to me and I have to admit that the fact the each sleeve only has 3 of the cable panels is rather nice so far. I hope to have the first sleeve at least mostly complete by the end of the week.

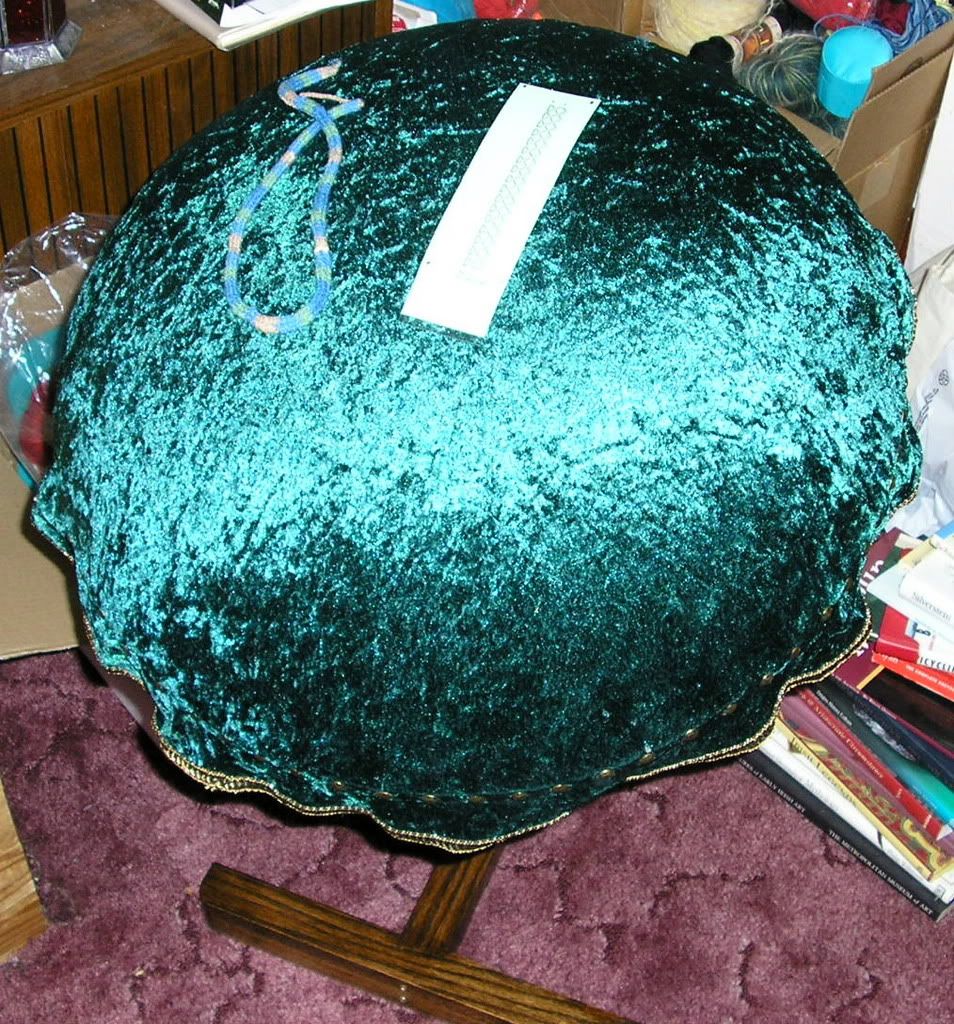
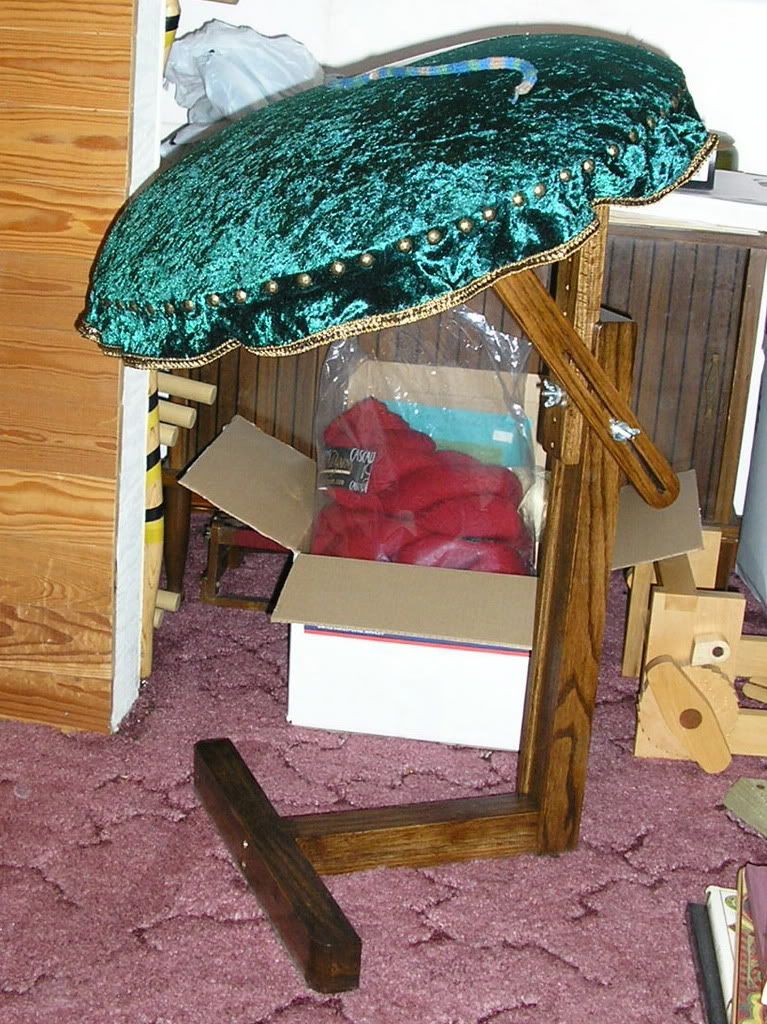
And since you were wondering (I knew you were; it's okay! *smile*) the front is modeled on the bobbin lace pillow stand that my dad made me for Christmas:


He made it from a pattern someone had posted on the web (which I can't find anymore or I'd like to it) and since the picture in the pattern showed the stand with a pillow, he also made a pillow to go with it. I own a small cookie pillow with a small pseudo-roller insert - and there's a small lip on the front edge of the stand so that I can use it with the stand - but it's no where near as large as this one. Unfortunately, I wasn't expecting dad to make the pillow or I'd have warned him to put stiffer stuffing in it. I think it will be fine as it is if I'm sure to use sharp pins, but if not, the pillow can still be used as a gorgeous display stand. (And as I said, I can use my smaller lace pillow with the stand to work with, so it's just an issue of swapping one for the other.)

The stand collapses pretty well and is pretty much completely adjustable - I can make it higher or lower, or change the angle of the arm to be steeper or shallower. I've been too tied up with knitting lately to try it out in action, but I'm contemplating some options and might get something simple started soon to get back into the hang of things.

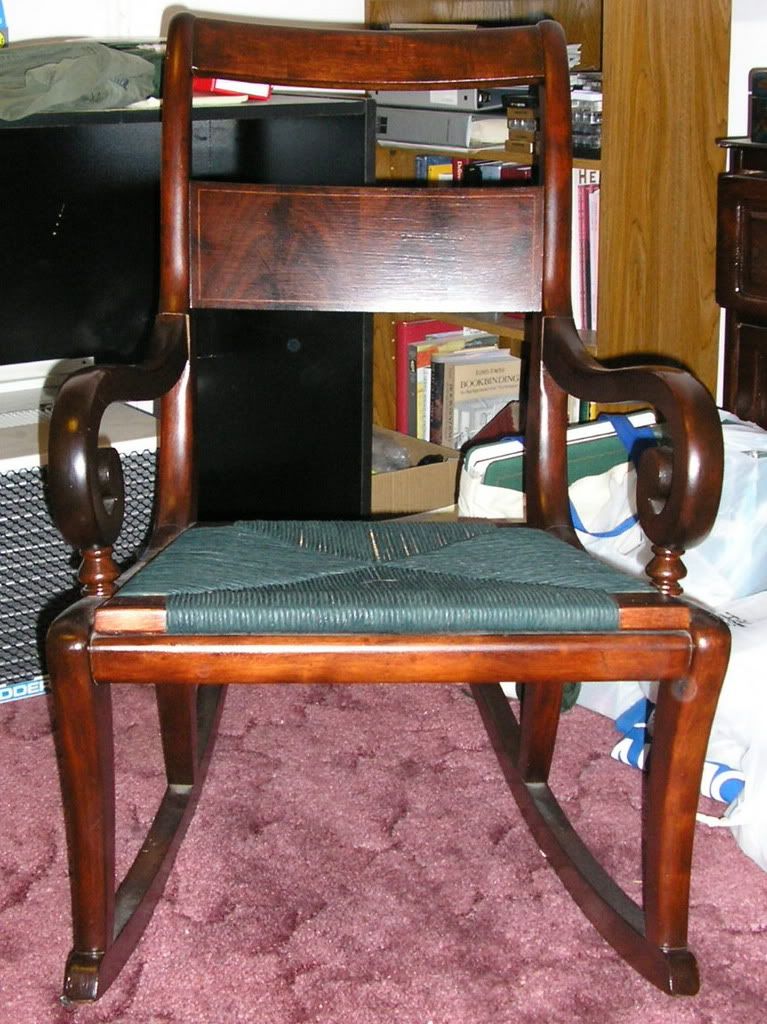
And because Dad keeps track of these things, he made the stand to match (stain and pillow cover) the colors he used when he refinished my rocking chair several years ago:


The two pieces together look wonderful, but I couldn't get a shot from a decent angle to show them both.

(If you look in the lower right hand corner of the pillow stand profile picture, you can see the end of the tablet weaving loom he made me last year; I've not abandoned it, but am stuck at the moment trying to figure out something to use as tensioning bands because everything I've tried seems to snap under the tension I like to use. Ironically, the thing I can think of that would likely be best would be short bands of tablet weaving done in silk, which I'd prefer to make on the loom, but can't because the tension is too loose without them!)